Compare Two Models
In this tutorial, we will use Workflows to run two different Instance Segmentation models on the same image and qualitatively compare their predictions.
Note: We will use YOLO models pre-trained on the 80 classes in the COCO dataset in this guide, but Workflows is even more powerful when used with your fine-tuned models custom-trained on domain-specific objects of interest.
Difficulty: Easy
Time to Complete: 5 minutes
Prerequisites
This tutorial only requires a free Roboflow account and can run on the Serverless Hosted API with no setup required. This is the easiest way to get started and you can migrate to self-hosting your Workflows later.
You can also connect from the cloud platform to an Inference Server running
locally by clicking the "Running on" selector at the top-left of the platform UI
and pointing it to localhost or your server's IP.
Once you have an account, create a new (empty) Workflow then continue below.
In Detached mode, you run both the Inference Server and Workflow Builder UI locally without a Roboflow account or API Key. In Detached mode, you forego cloud connected functionality like remote deployment, monitoring, integration with the cloud model hub and dataset management platform, and are responsible for implementing your own access control.
To run on your own machine without a Roboflow account, follow the
installation instructions and start your Inference Server
in development mode (using inference server start --dev).
Then, navigate to the local Workflows builder at localhost:9001/build and create an empty Workflow using the purple "Create a Workflow" button. If prompted, choose "Build My Own".
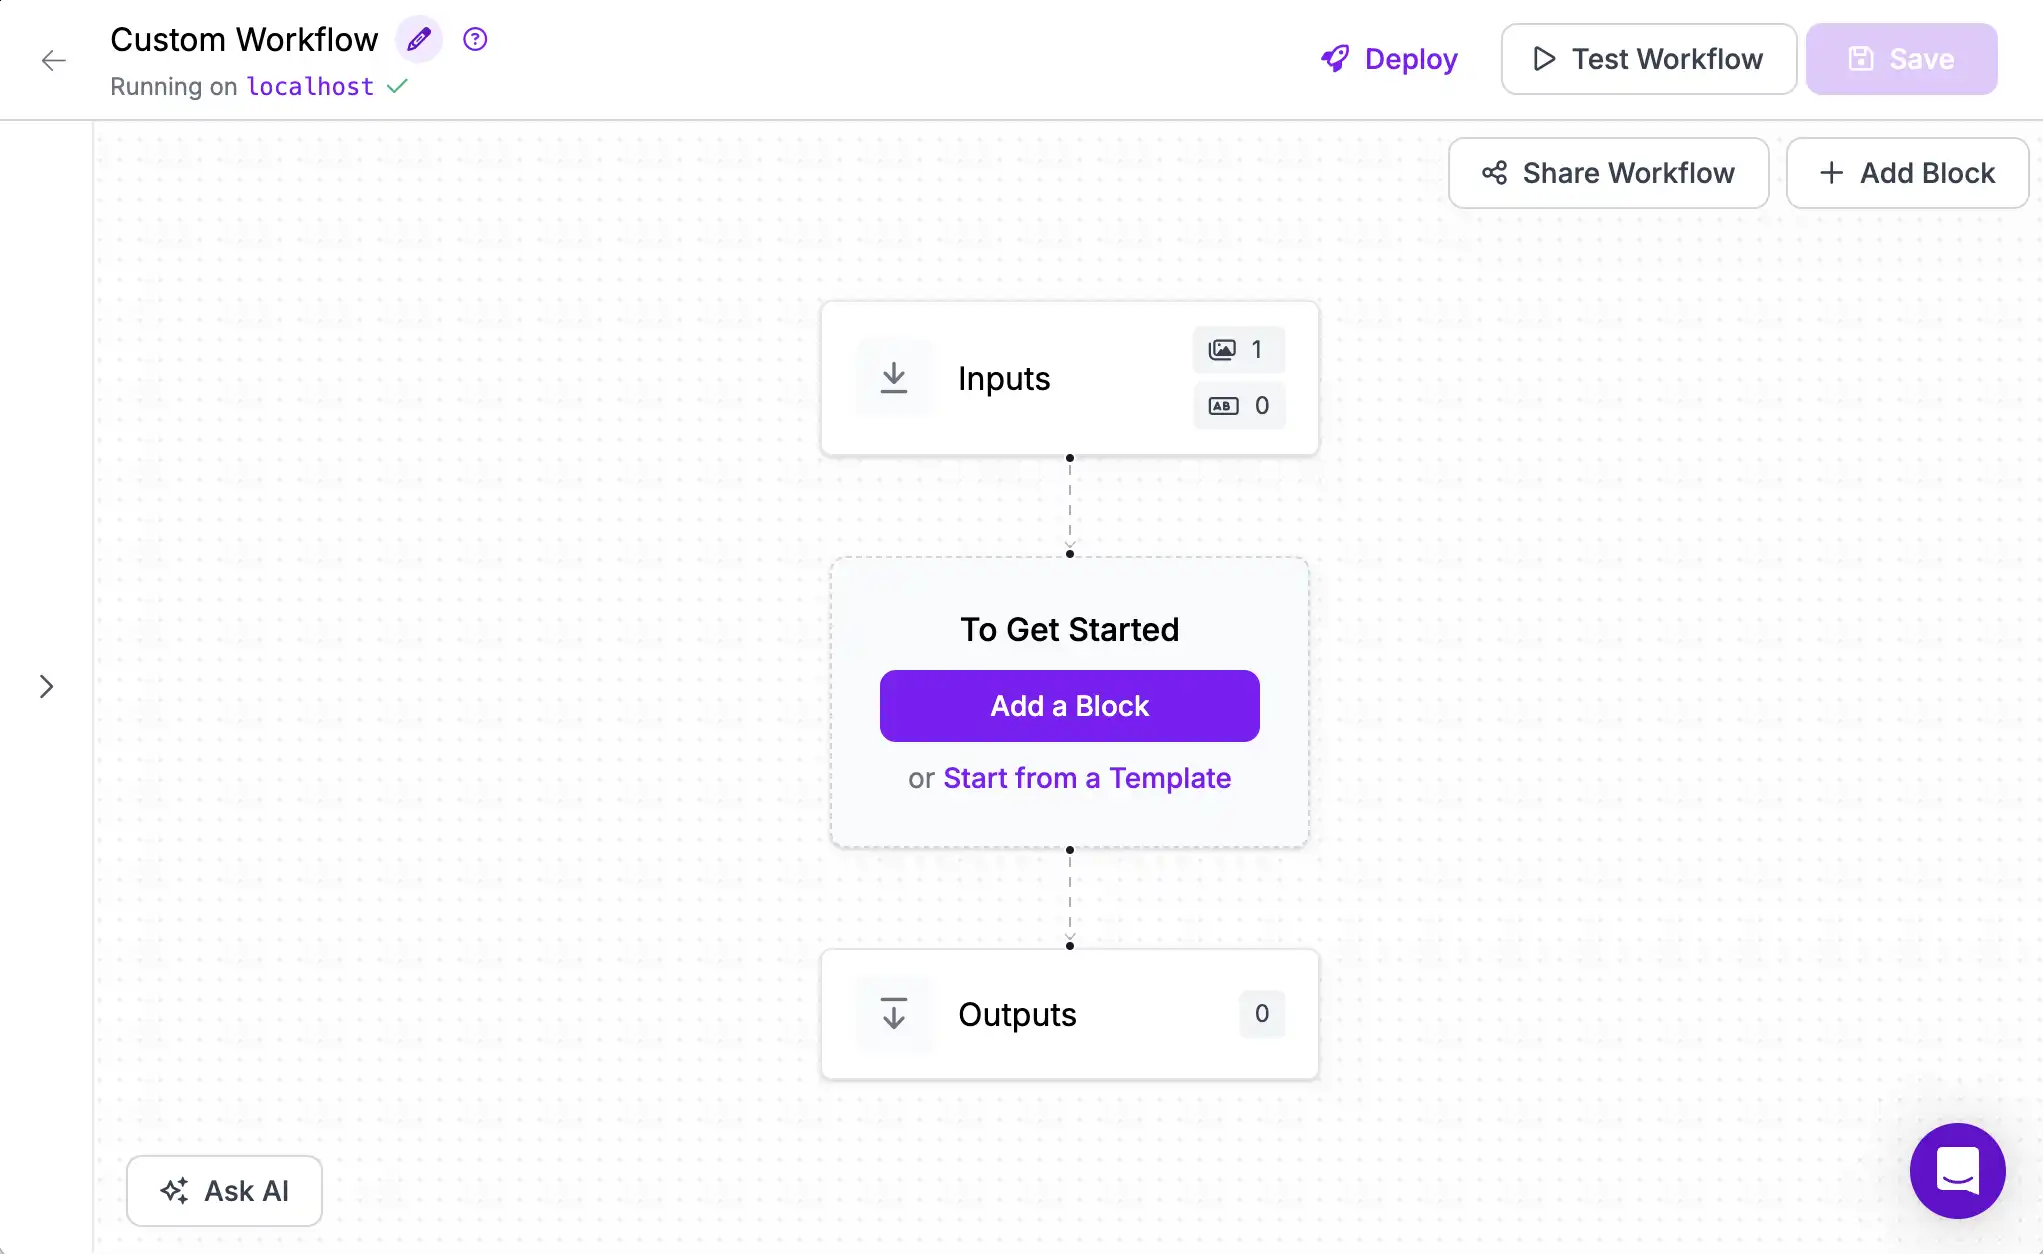
You should now have an empty Workflow and be ready to start building.
Rename Workflow
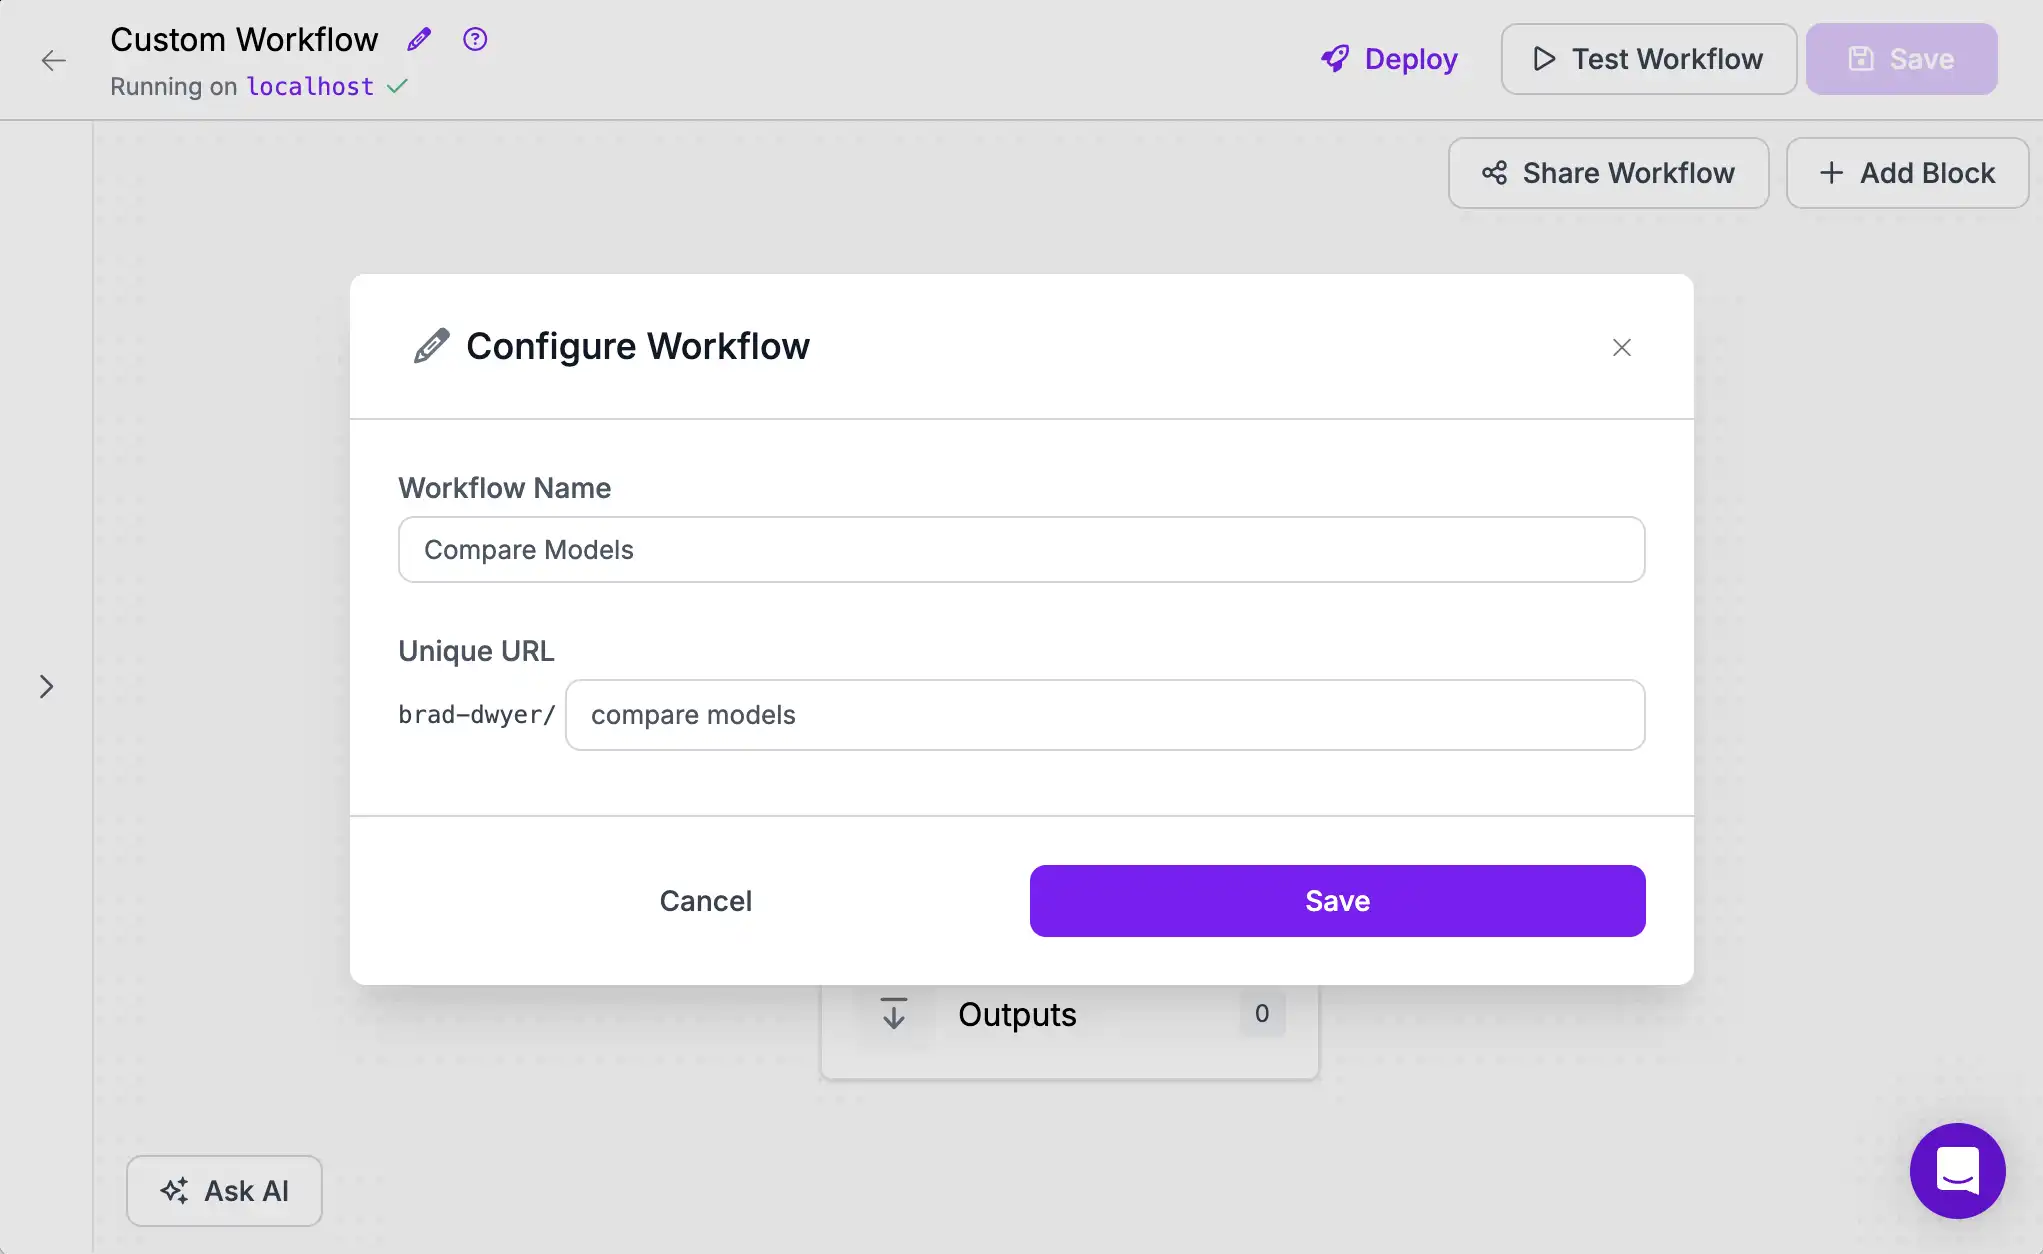
It's best practice to give your Workflows a descriptive name so that you can keep them straight. To do so, click the "Edit" icon on the top left of the Editor UI and update the name and endpoint URL. This identifier will be how you reference this Workflow via the API later.
Add First Model
We will be adding two Instance Segmentation models to this Workflow. Segmentation models find objects of interest in an image and predict their contour. They are best for use-cases that need to measure objects' size or cut them out from their background.
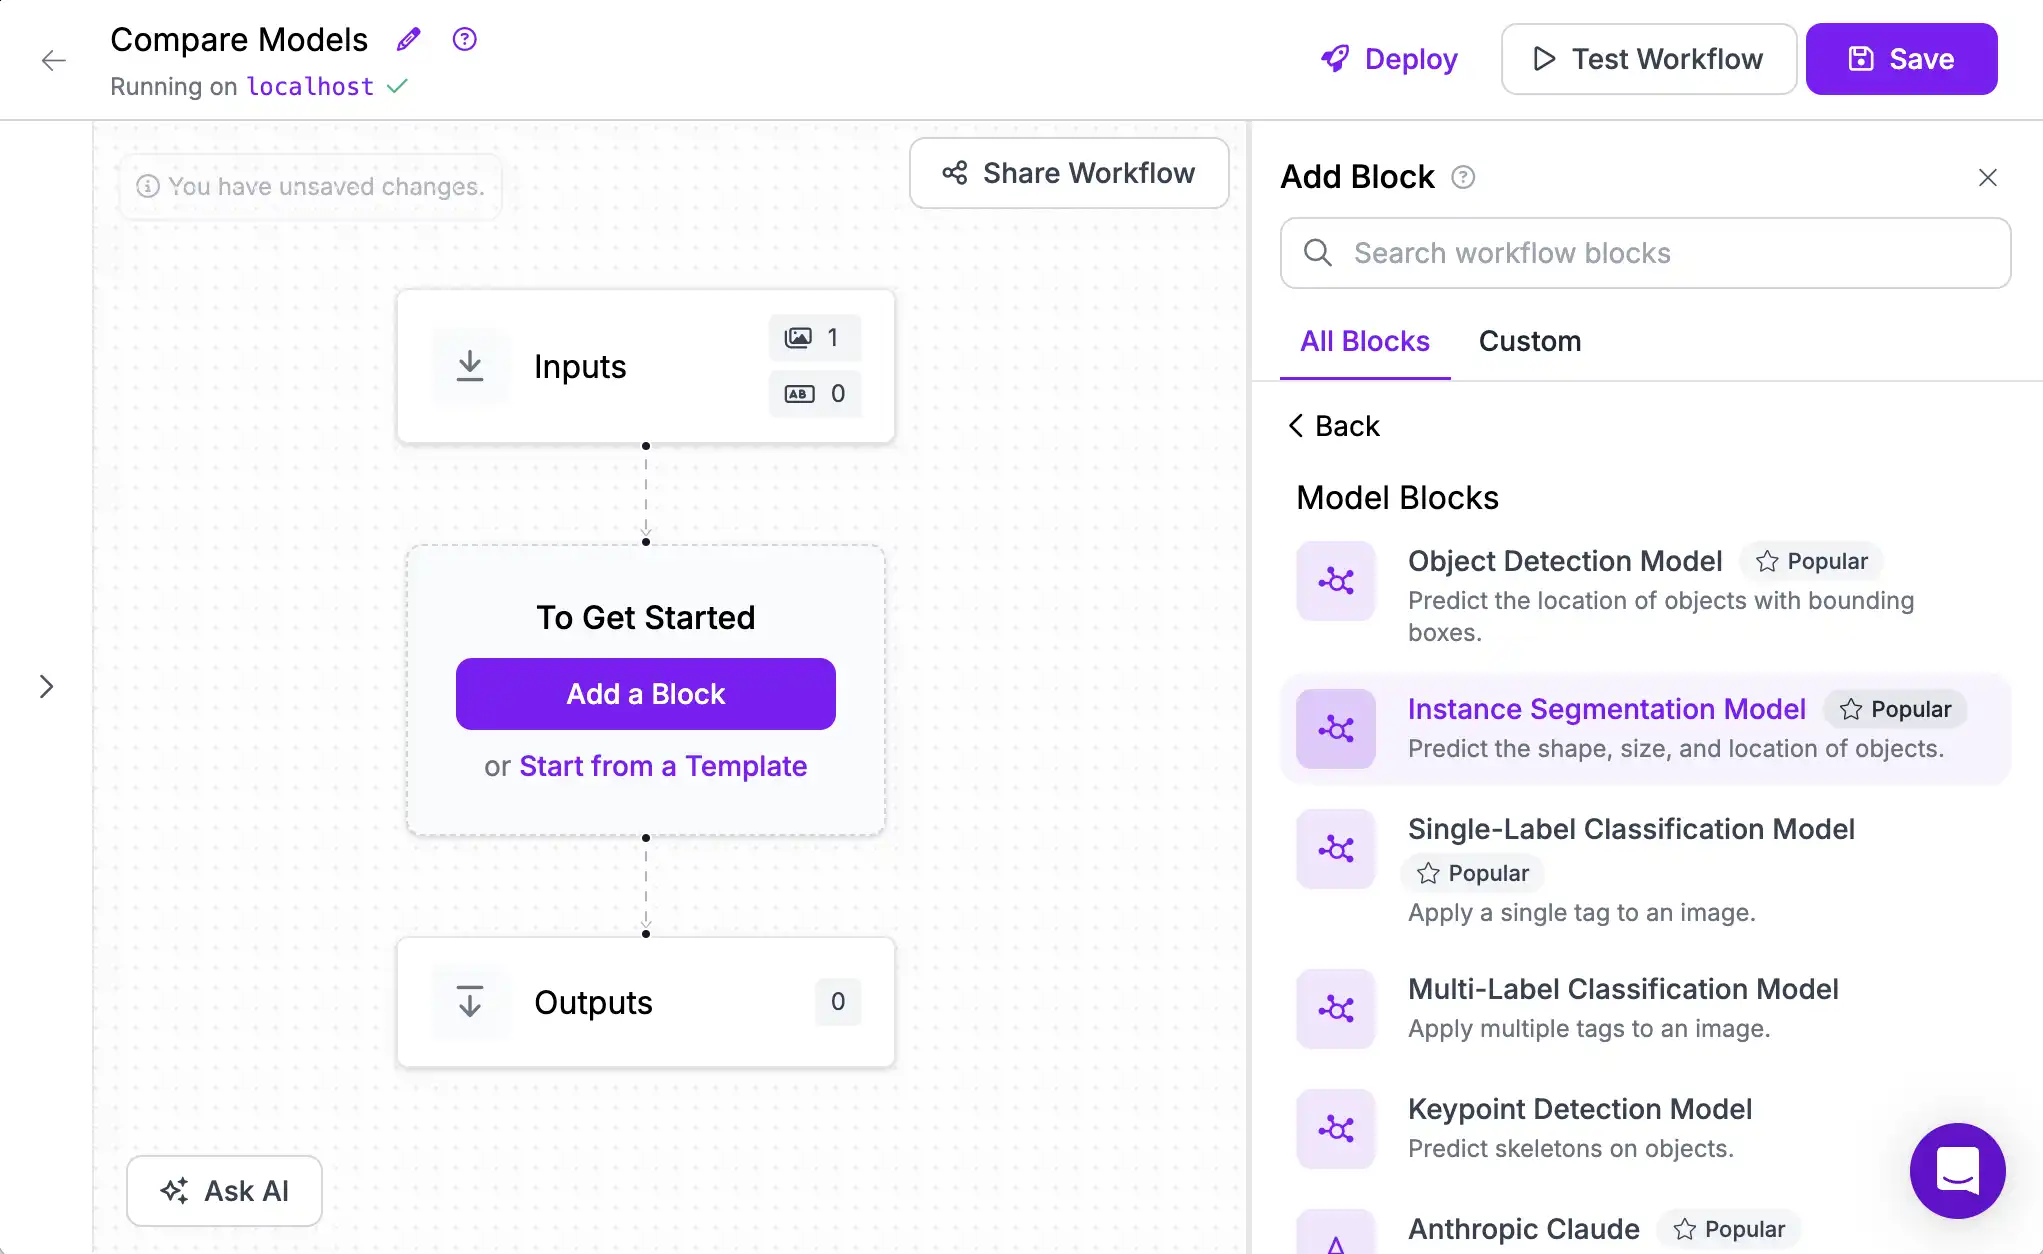
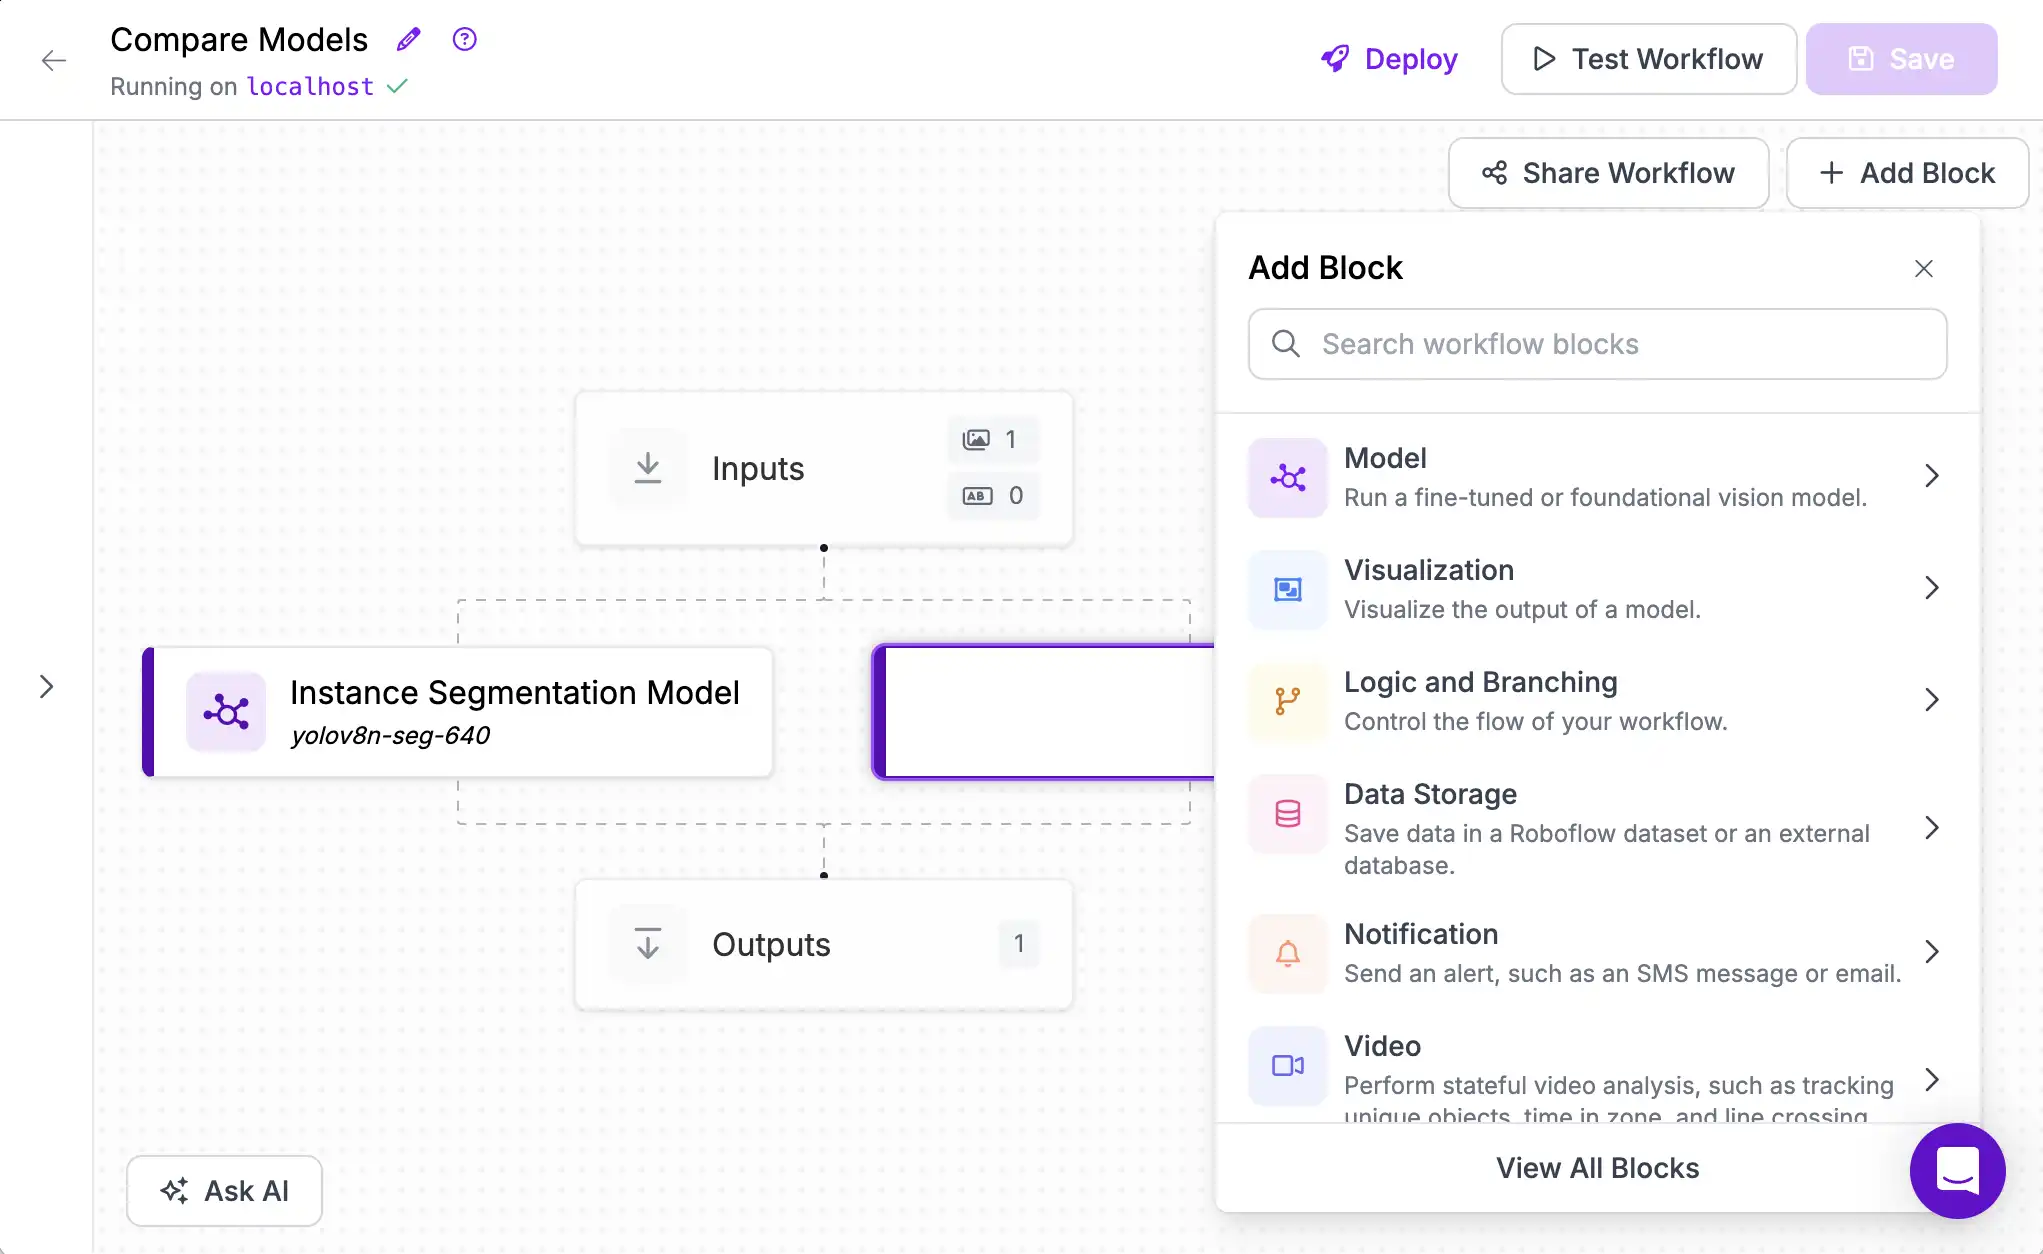
Click the "Add Block" button and select Models, then choose Instance Segmentation as the task type.
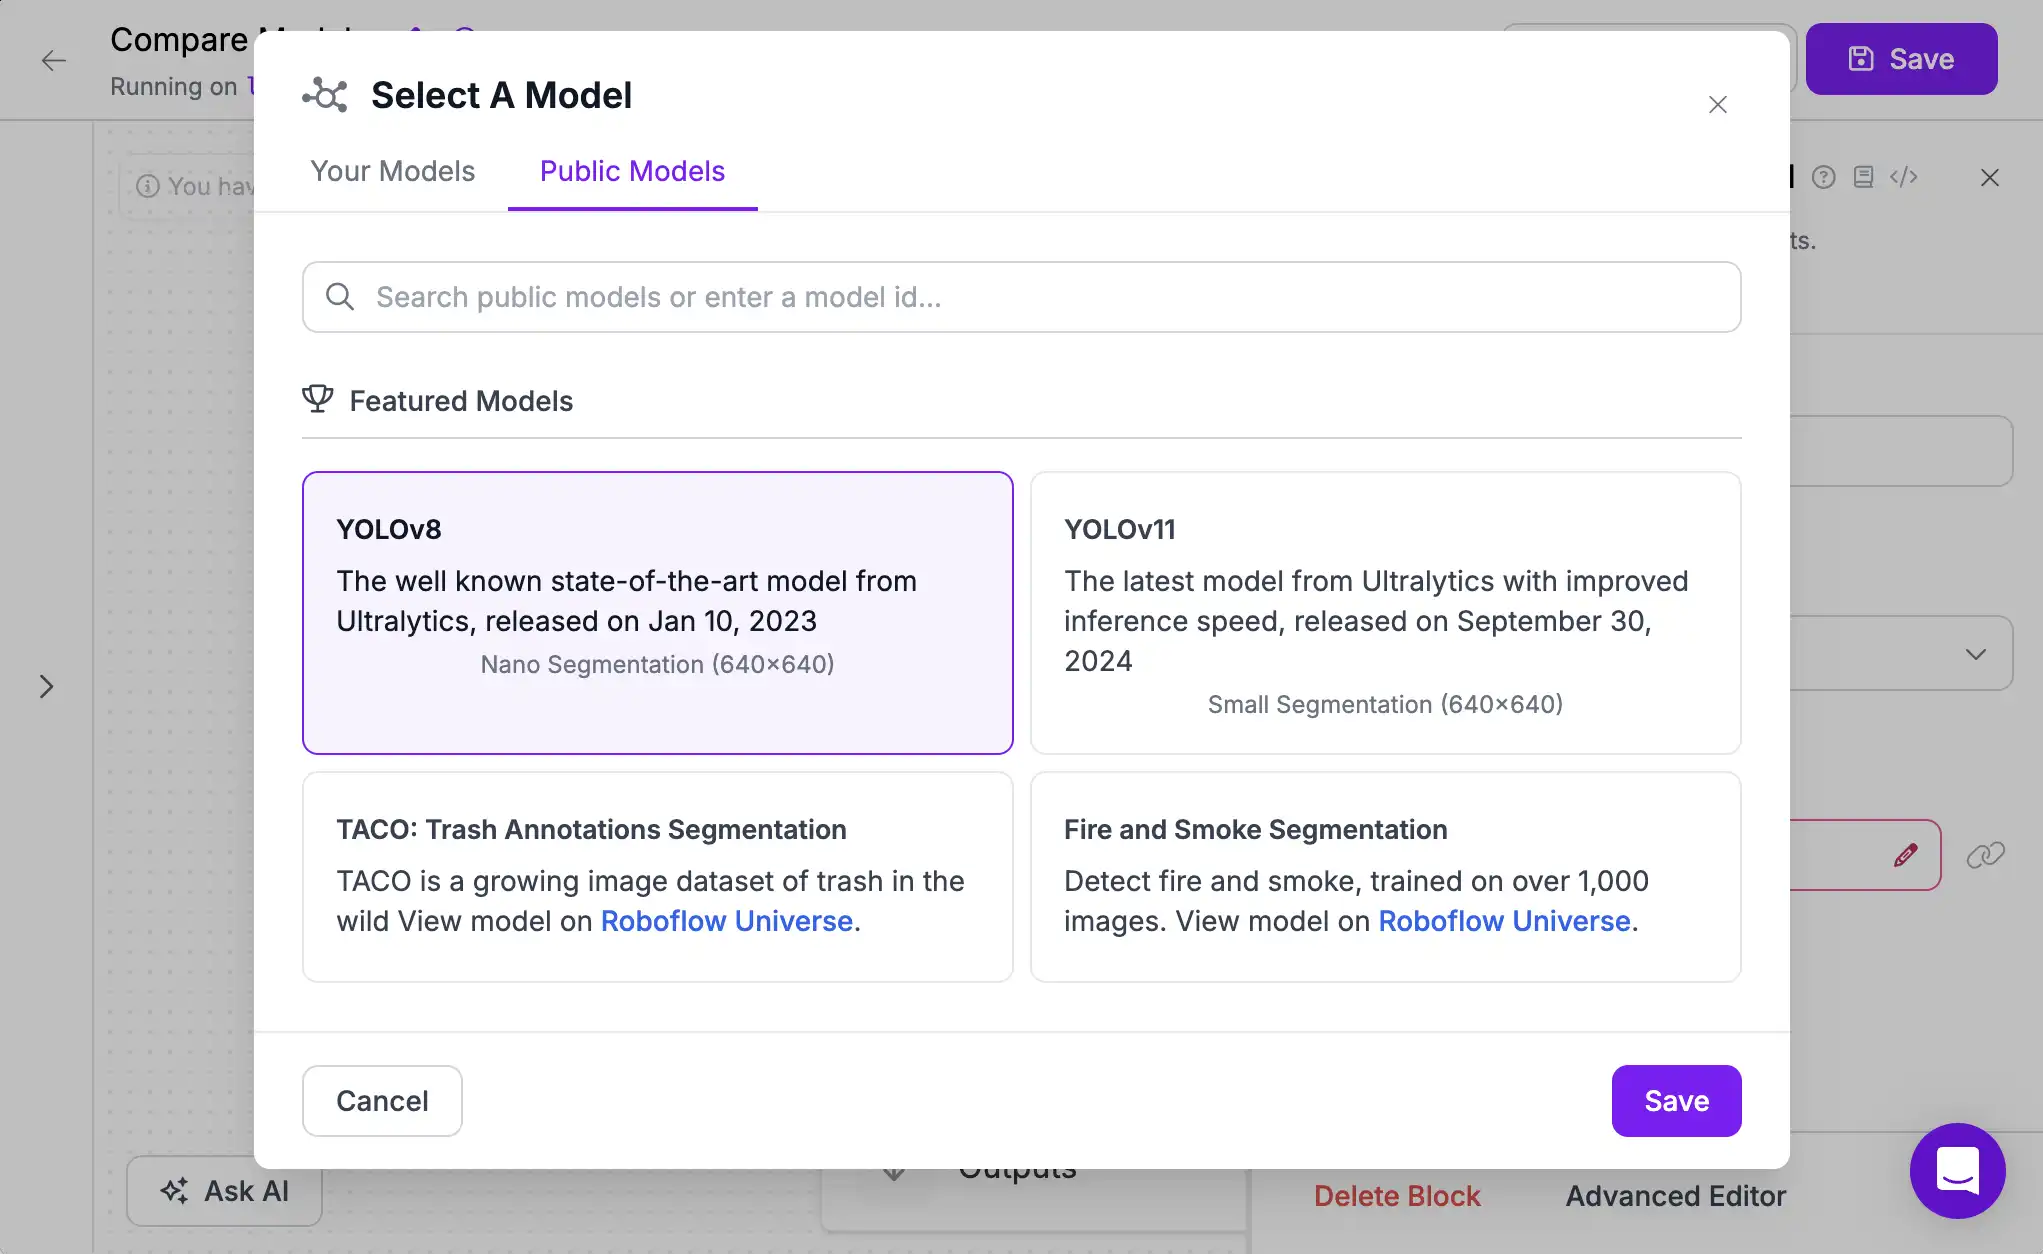
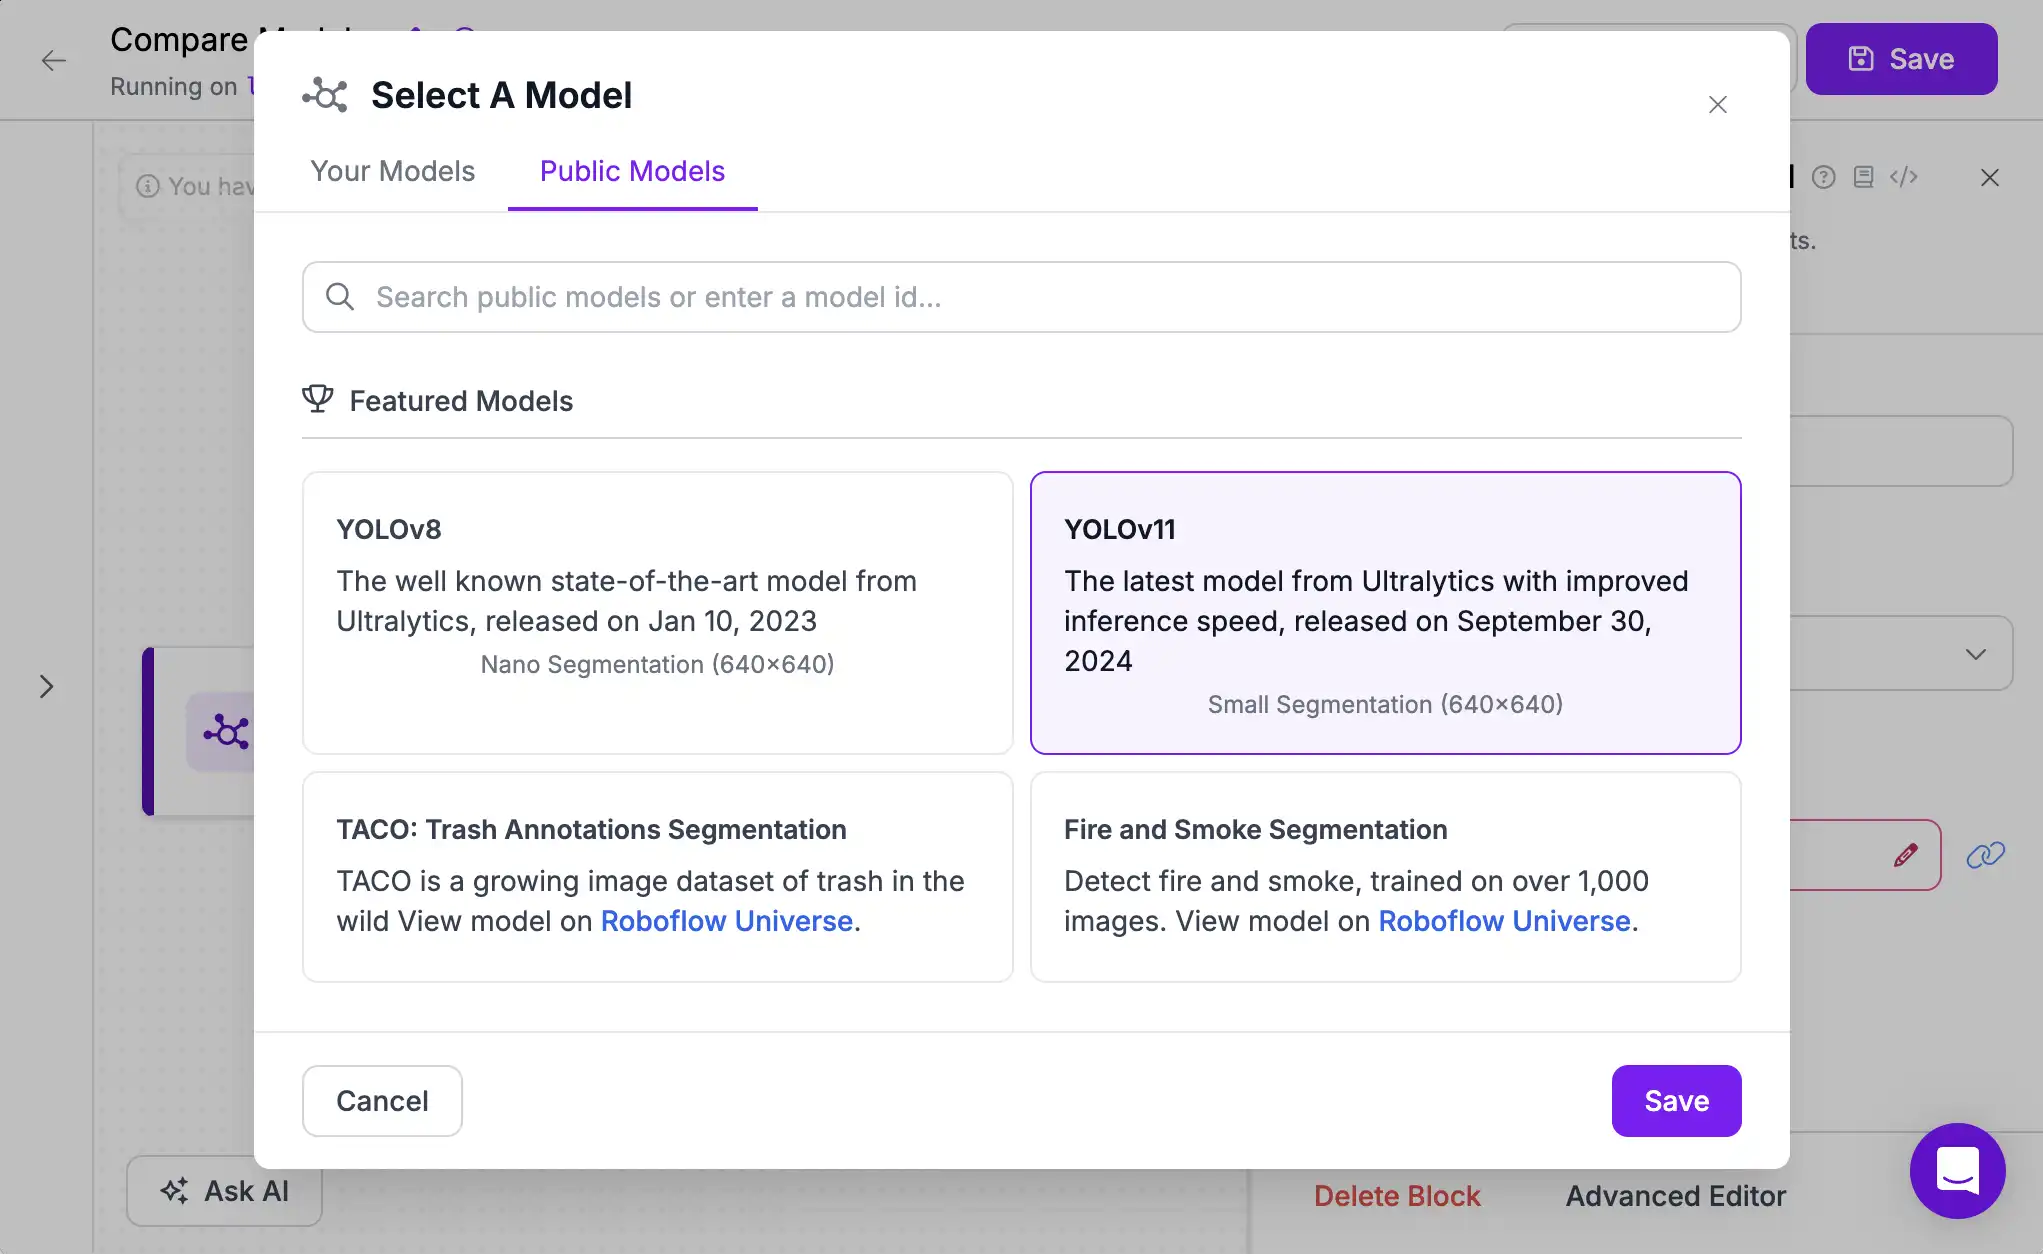
We will use the pre-trained YOLOv8 Segmentation model. If you have already trained a model on Roboflow, you can alternatively choose one of your fine-tuned models or a model ID another user has shared on Roboflow Universe that predicts your desired objects of interest instead of the 80 classes of common objects that these models identify.
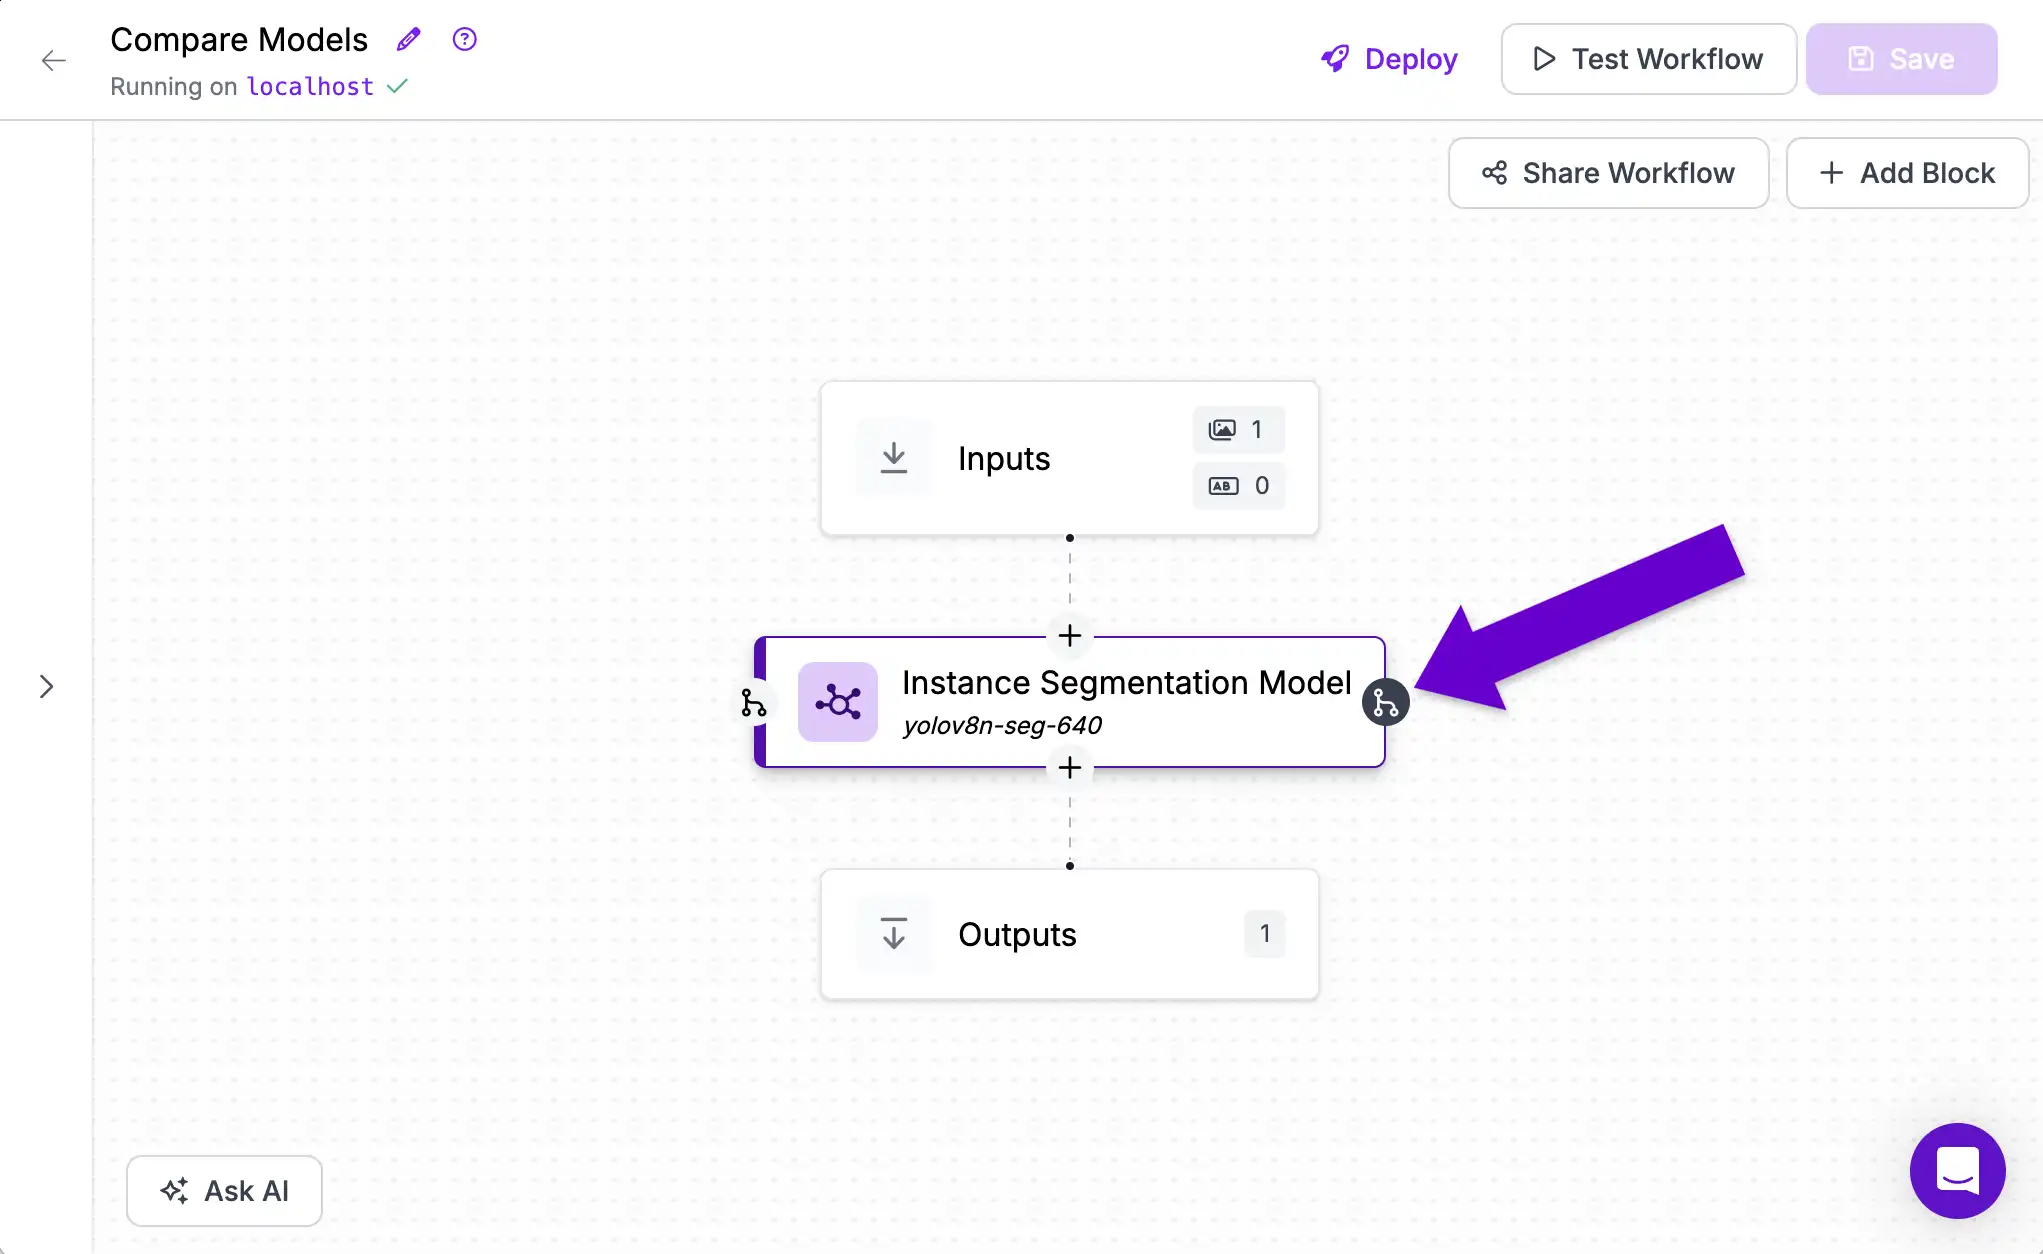
Add Second Model
Next, we will fork the execution flow by adding a second model alongside the first. Workflows will automatically parallelize execution for faster processing where possible. To do this, click the "Fork" button to the side of the first model block.
Then choose to add a second Instance Segmentation Model block.
And configure it to run the YOLOv11 Segmentation model.
Model Comparison
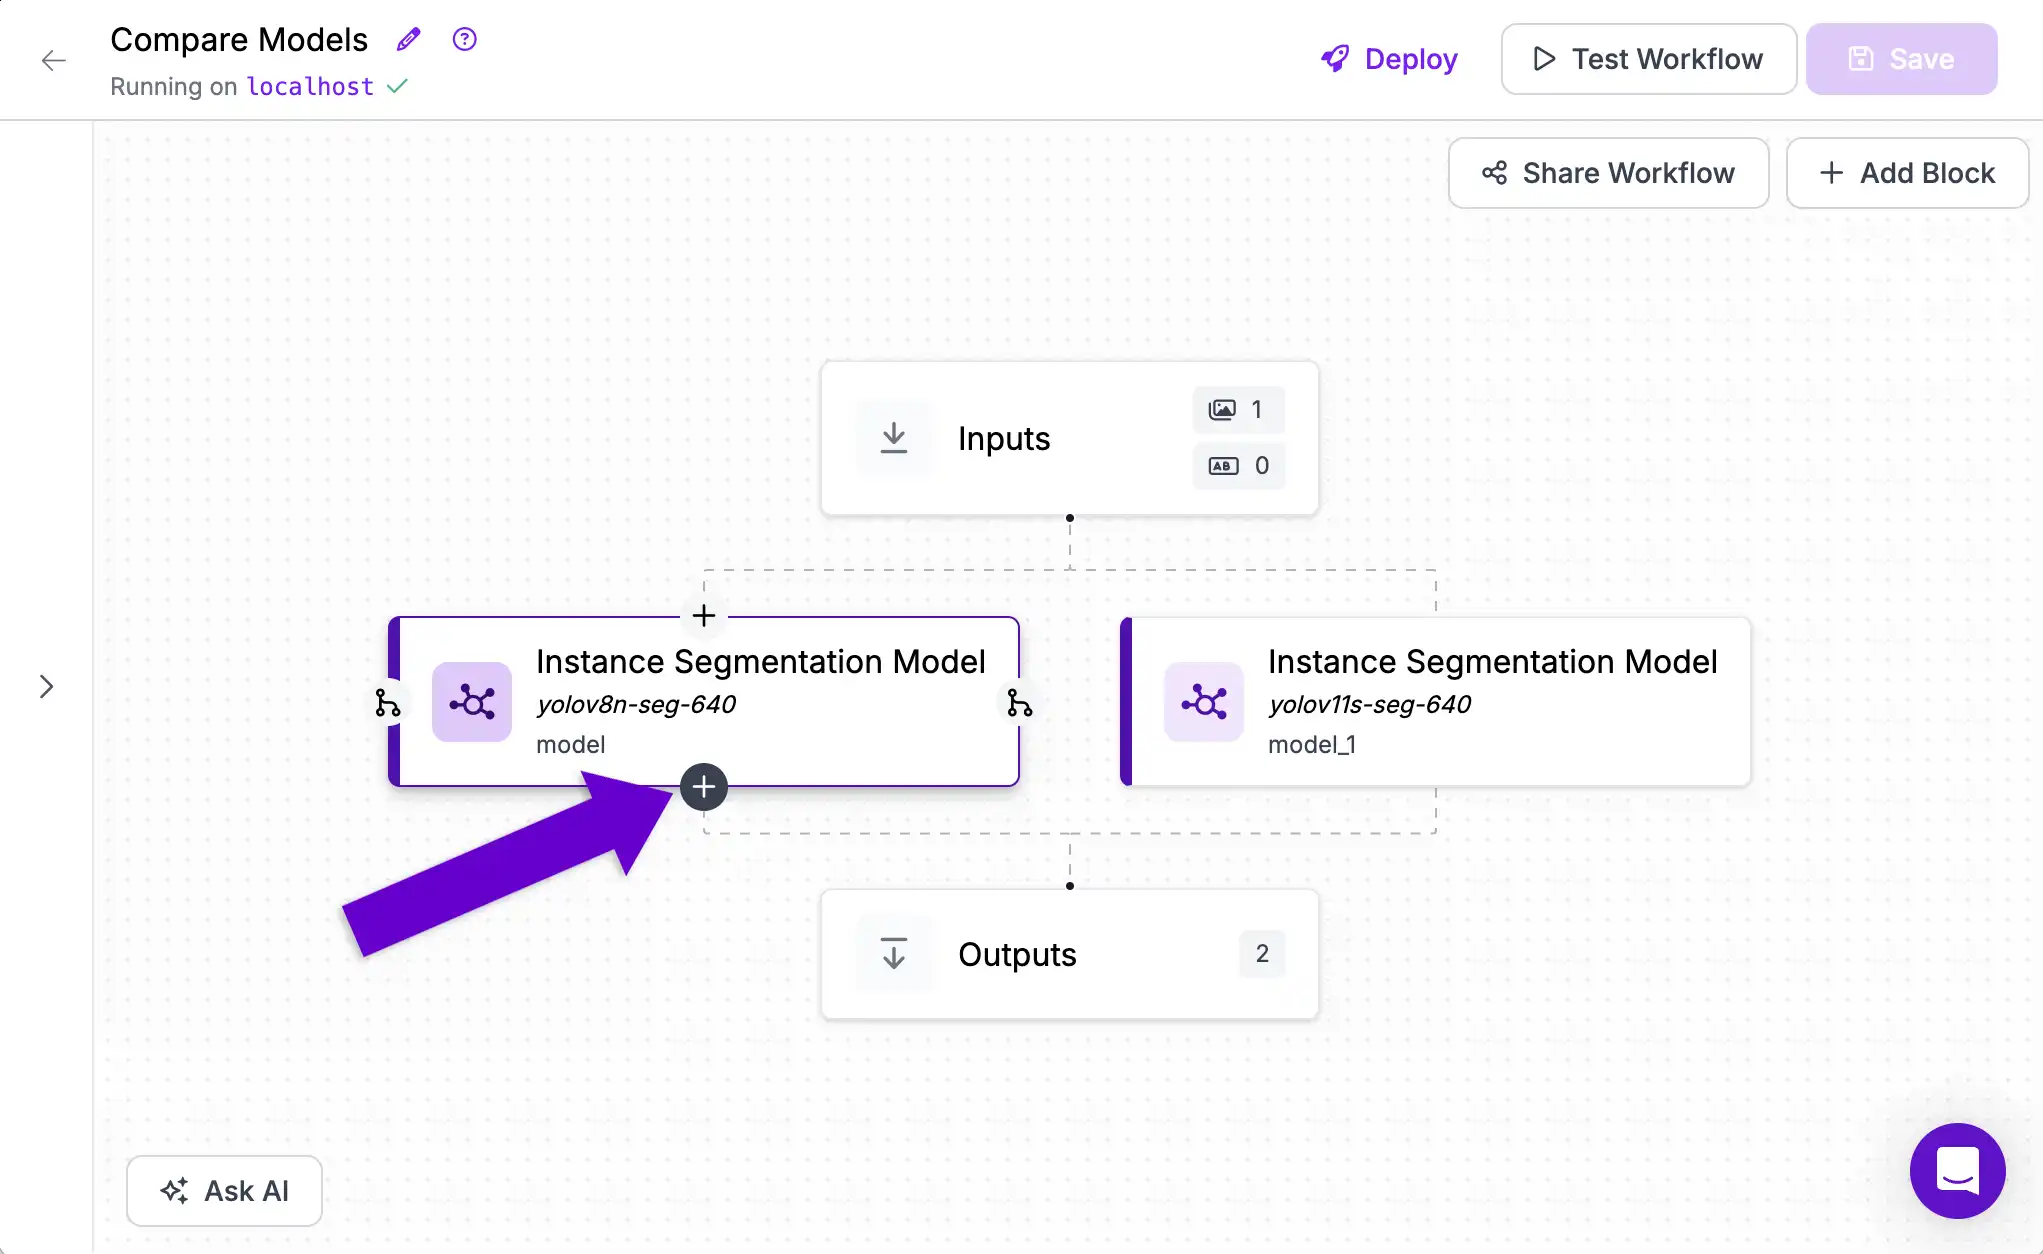
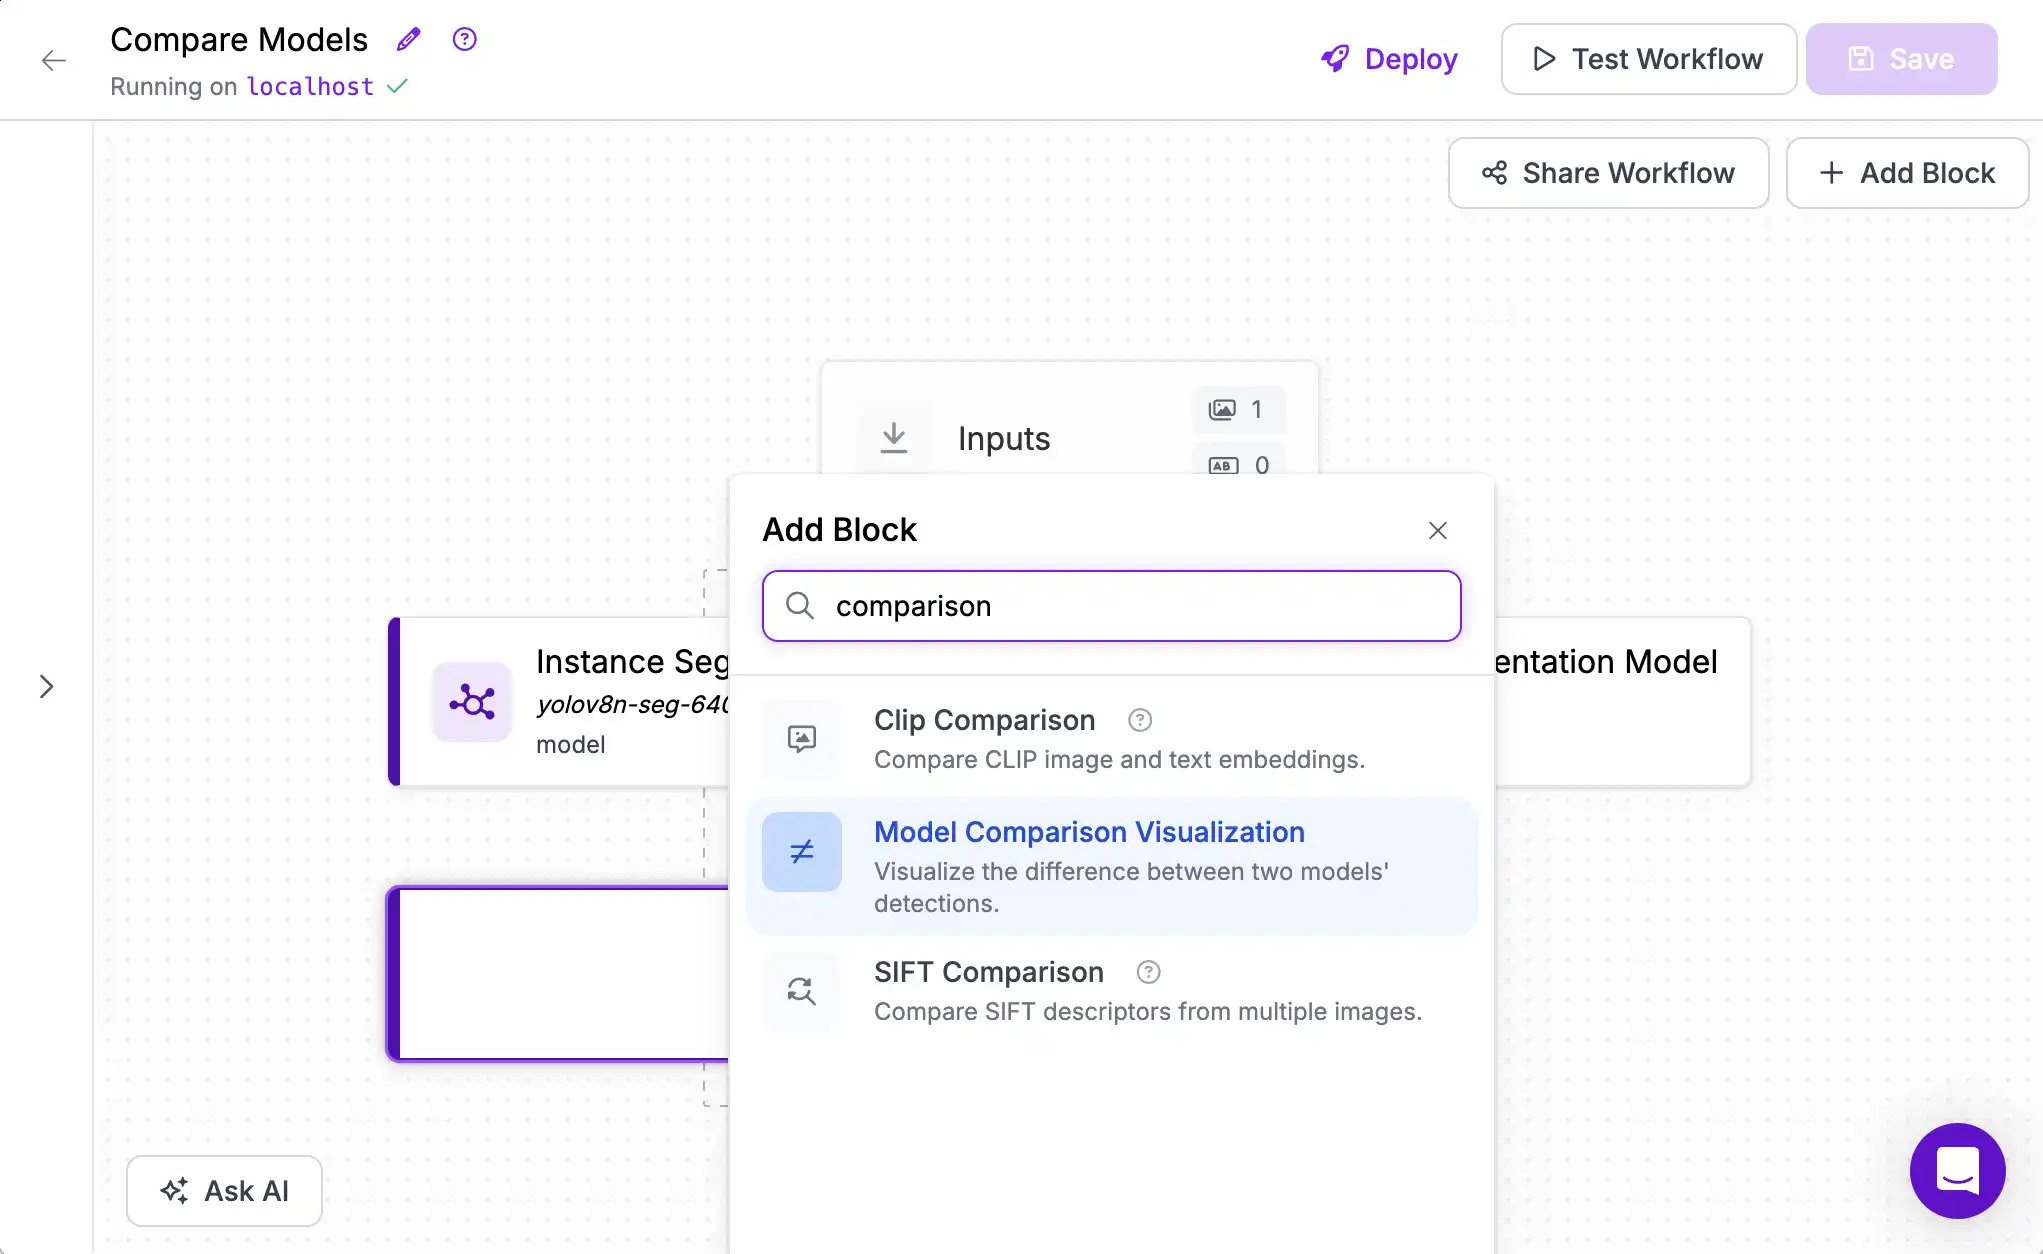
Next, we will add the Model Comparison Visualization Block that takes the predictions from two different models and visualizes the differences between them.
Click the "+" button on the output of one of the two model blocks you added.
Then choose the Model Comparison Visualization Block.
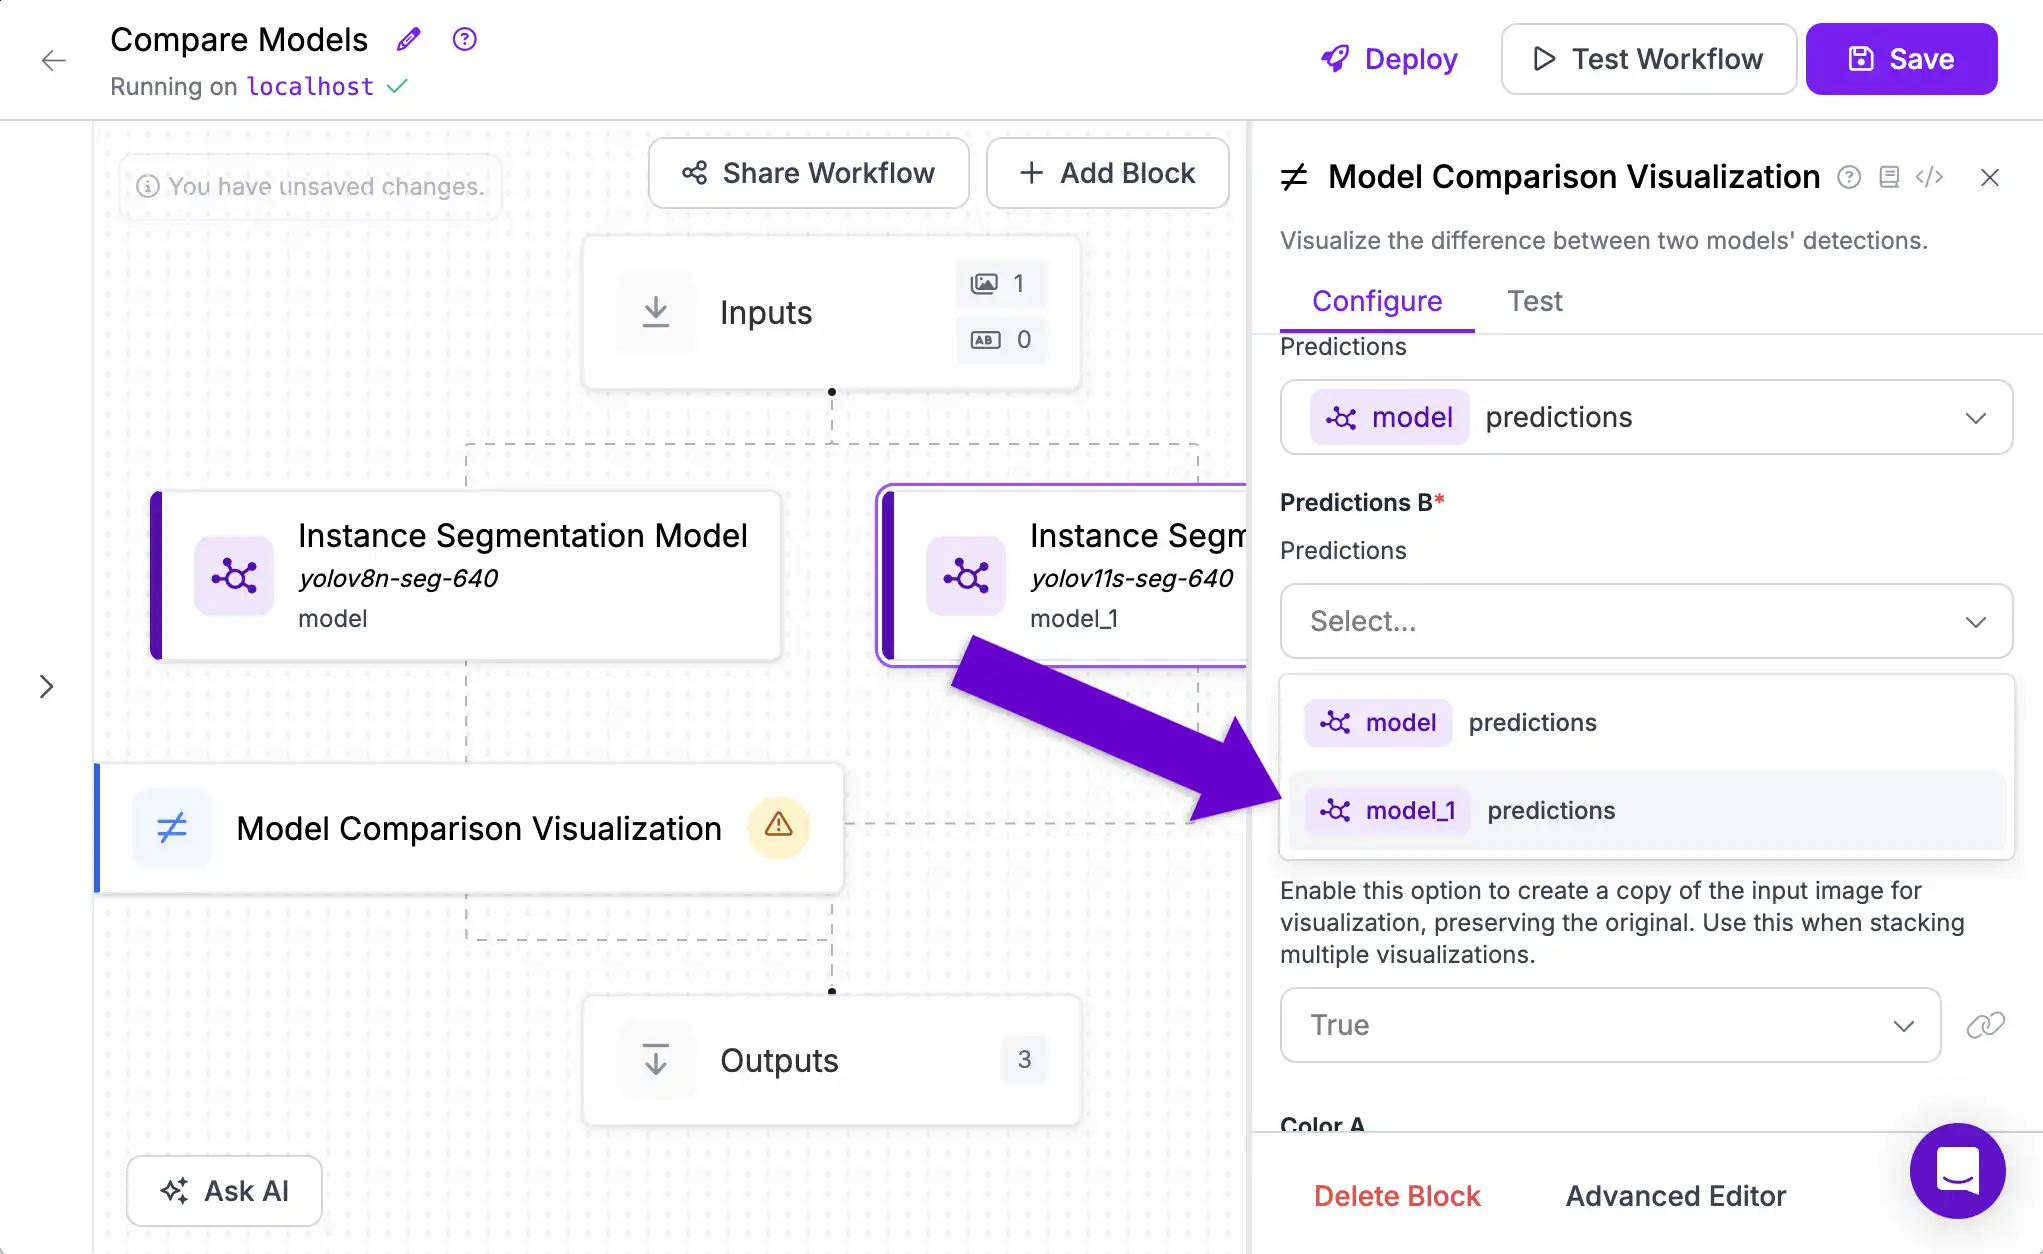
Now we need to wire its second input up to the predictions outputted by our second model. We do this in the block configuration sidebar. This is also where we can change additional settings like colors and opacity.
Customize Outputs
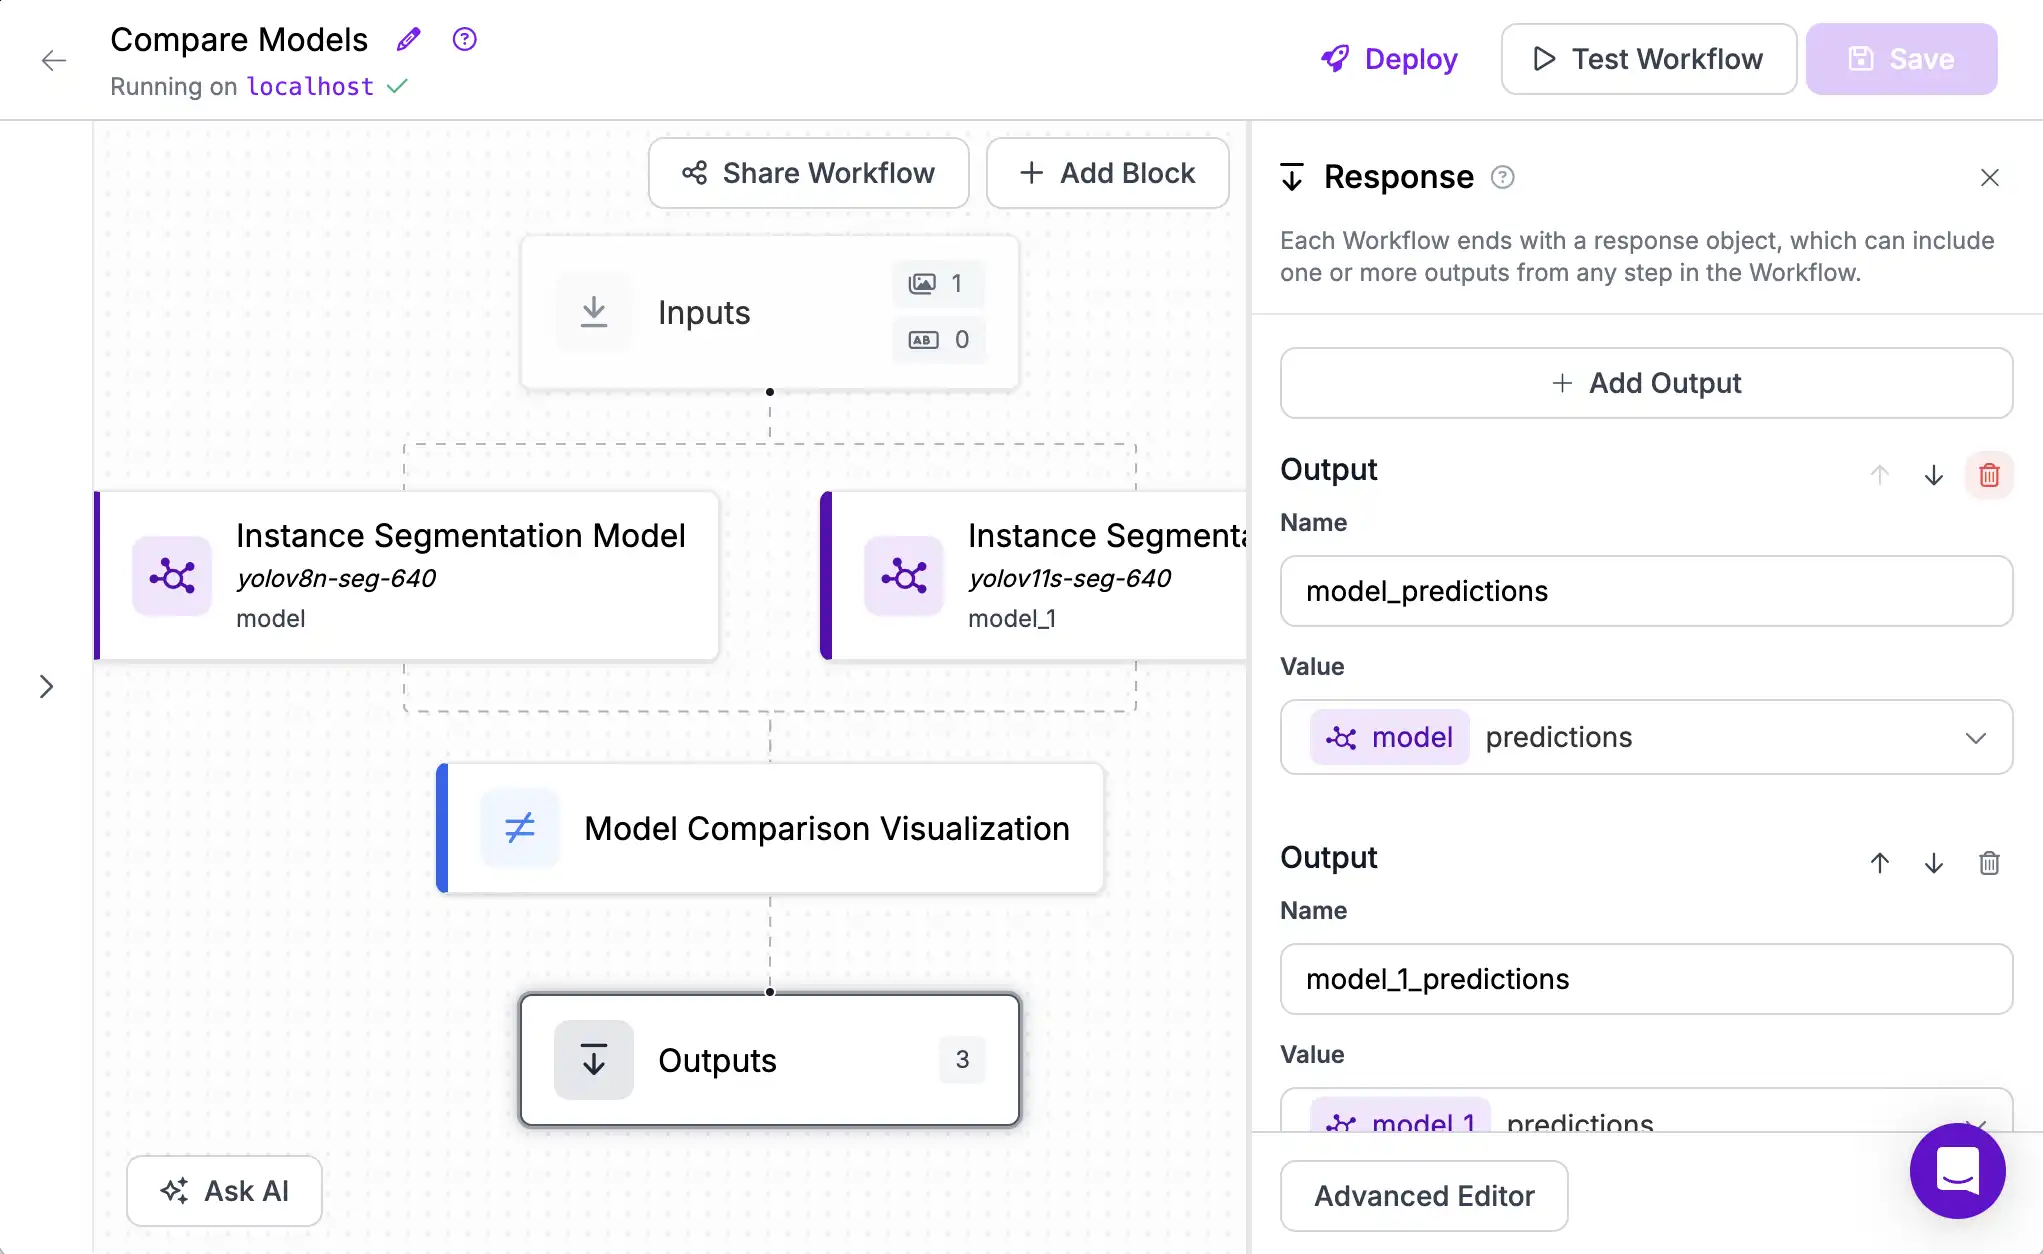
Instance Segmentation models return a lot of data to describe the complex shapes of detected objects. It can be useful for downstream tasks like measurement but for this tutorial, we only care about our visualization so we can remove the additional outputs to simplify the response.
To delete the unneeded outputs, click the "Outputs" block and use the trash can icon for the predictions coming from our two model blocks.
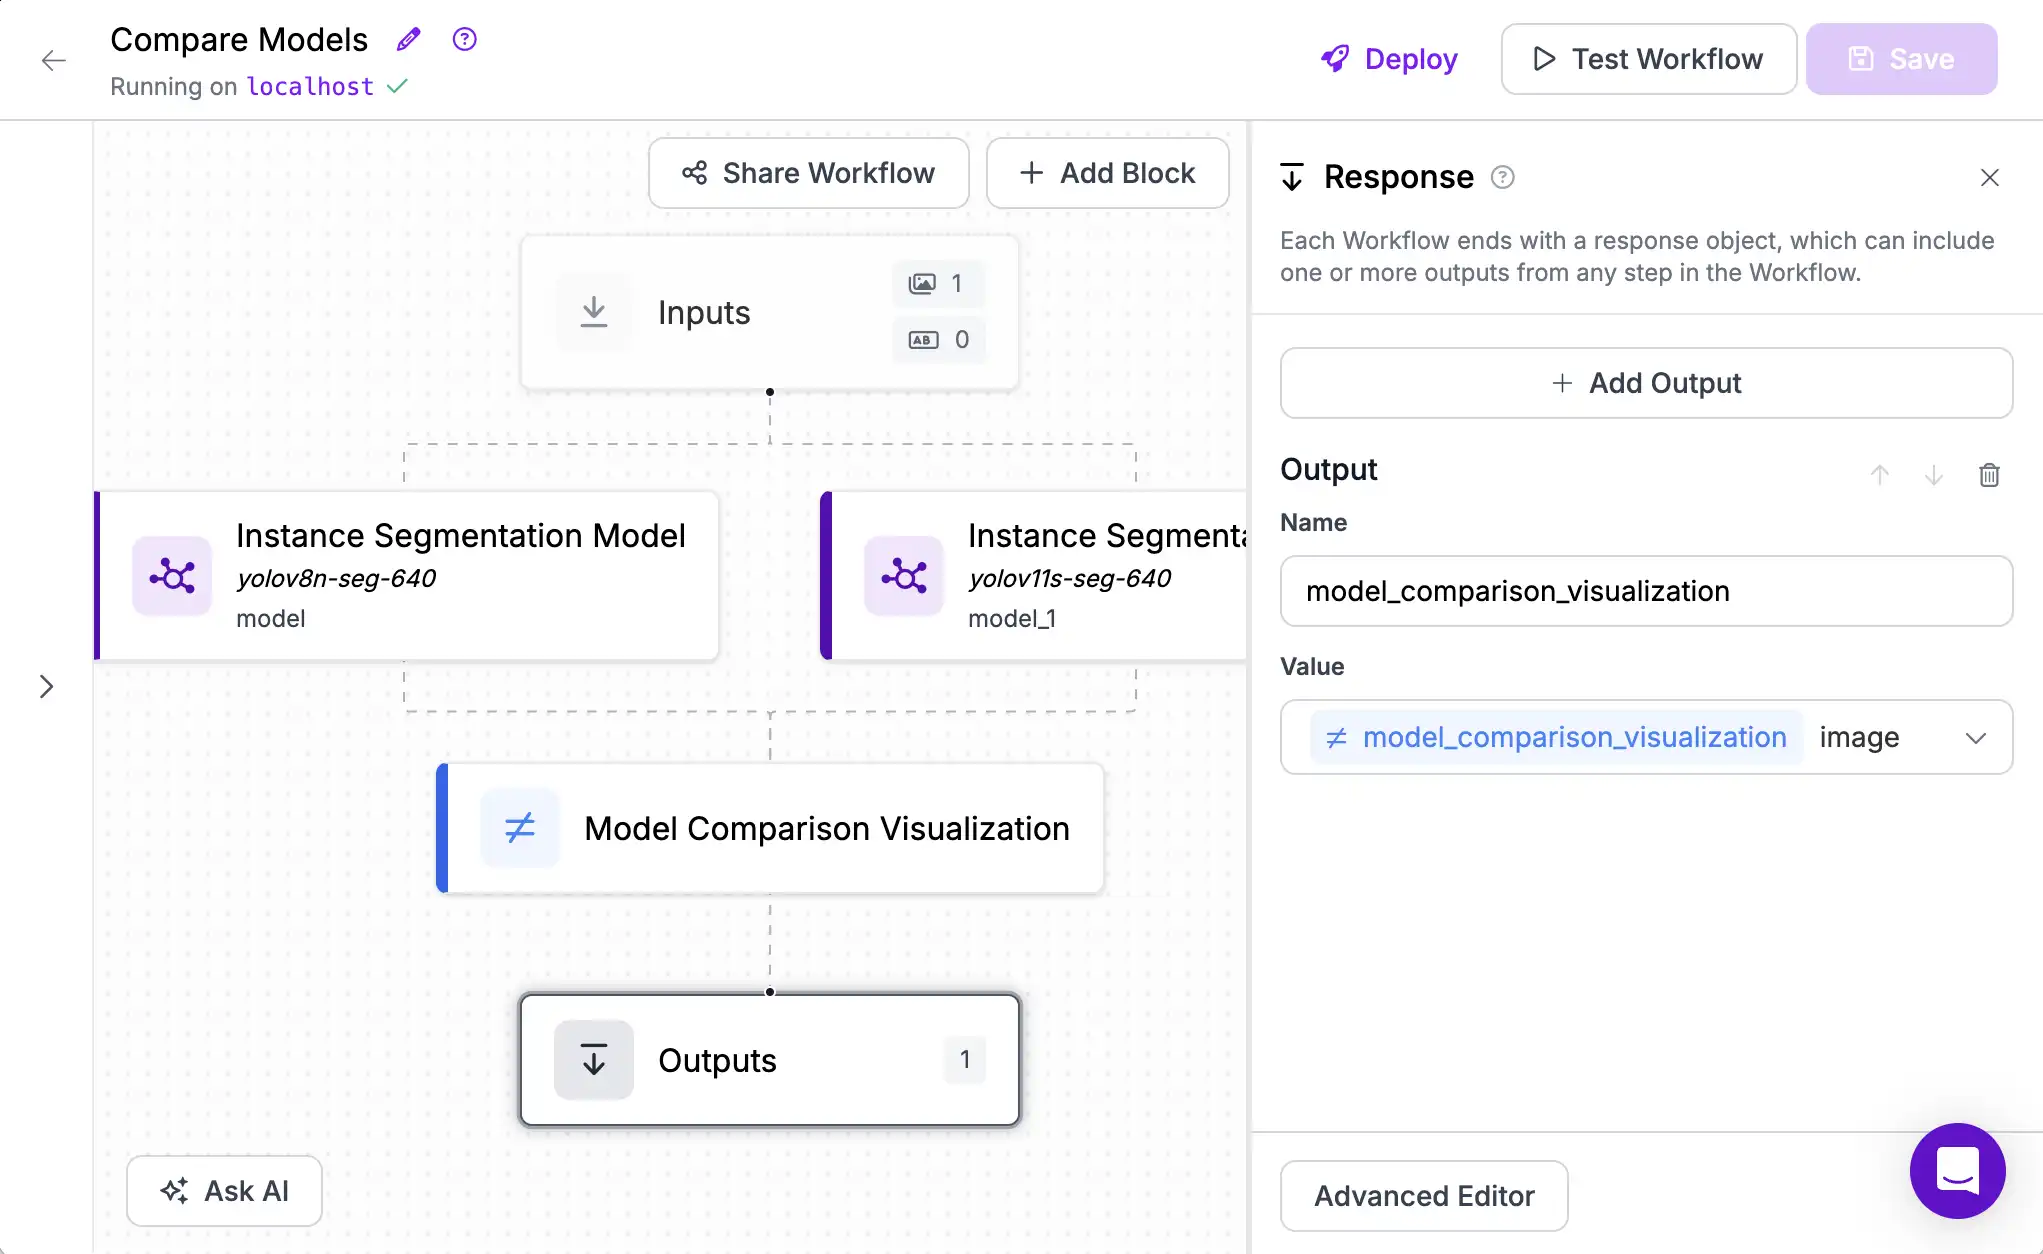
This leaves us with only one output, the image coming from our Model Comparison Visualization block.
Test the Results
Now we're ready to test the Workflow. Click "Test Workflow" on the top right of the Builder UI and then add an image and click "Run".
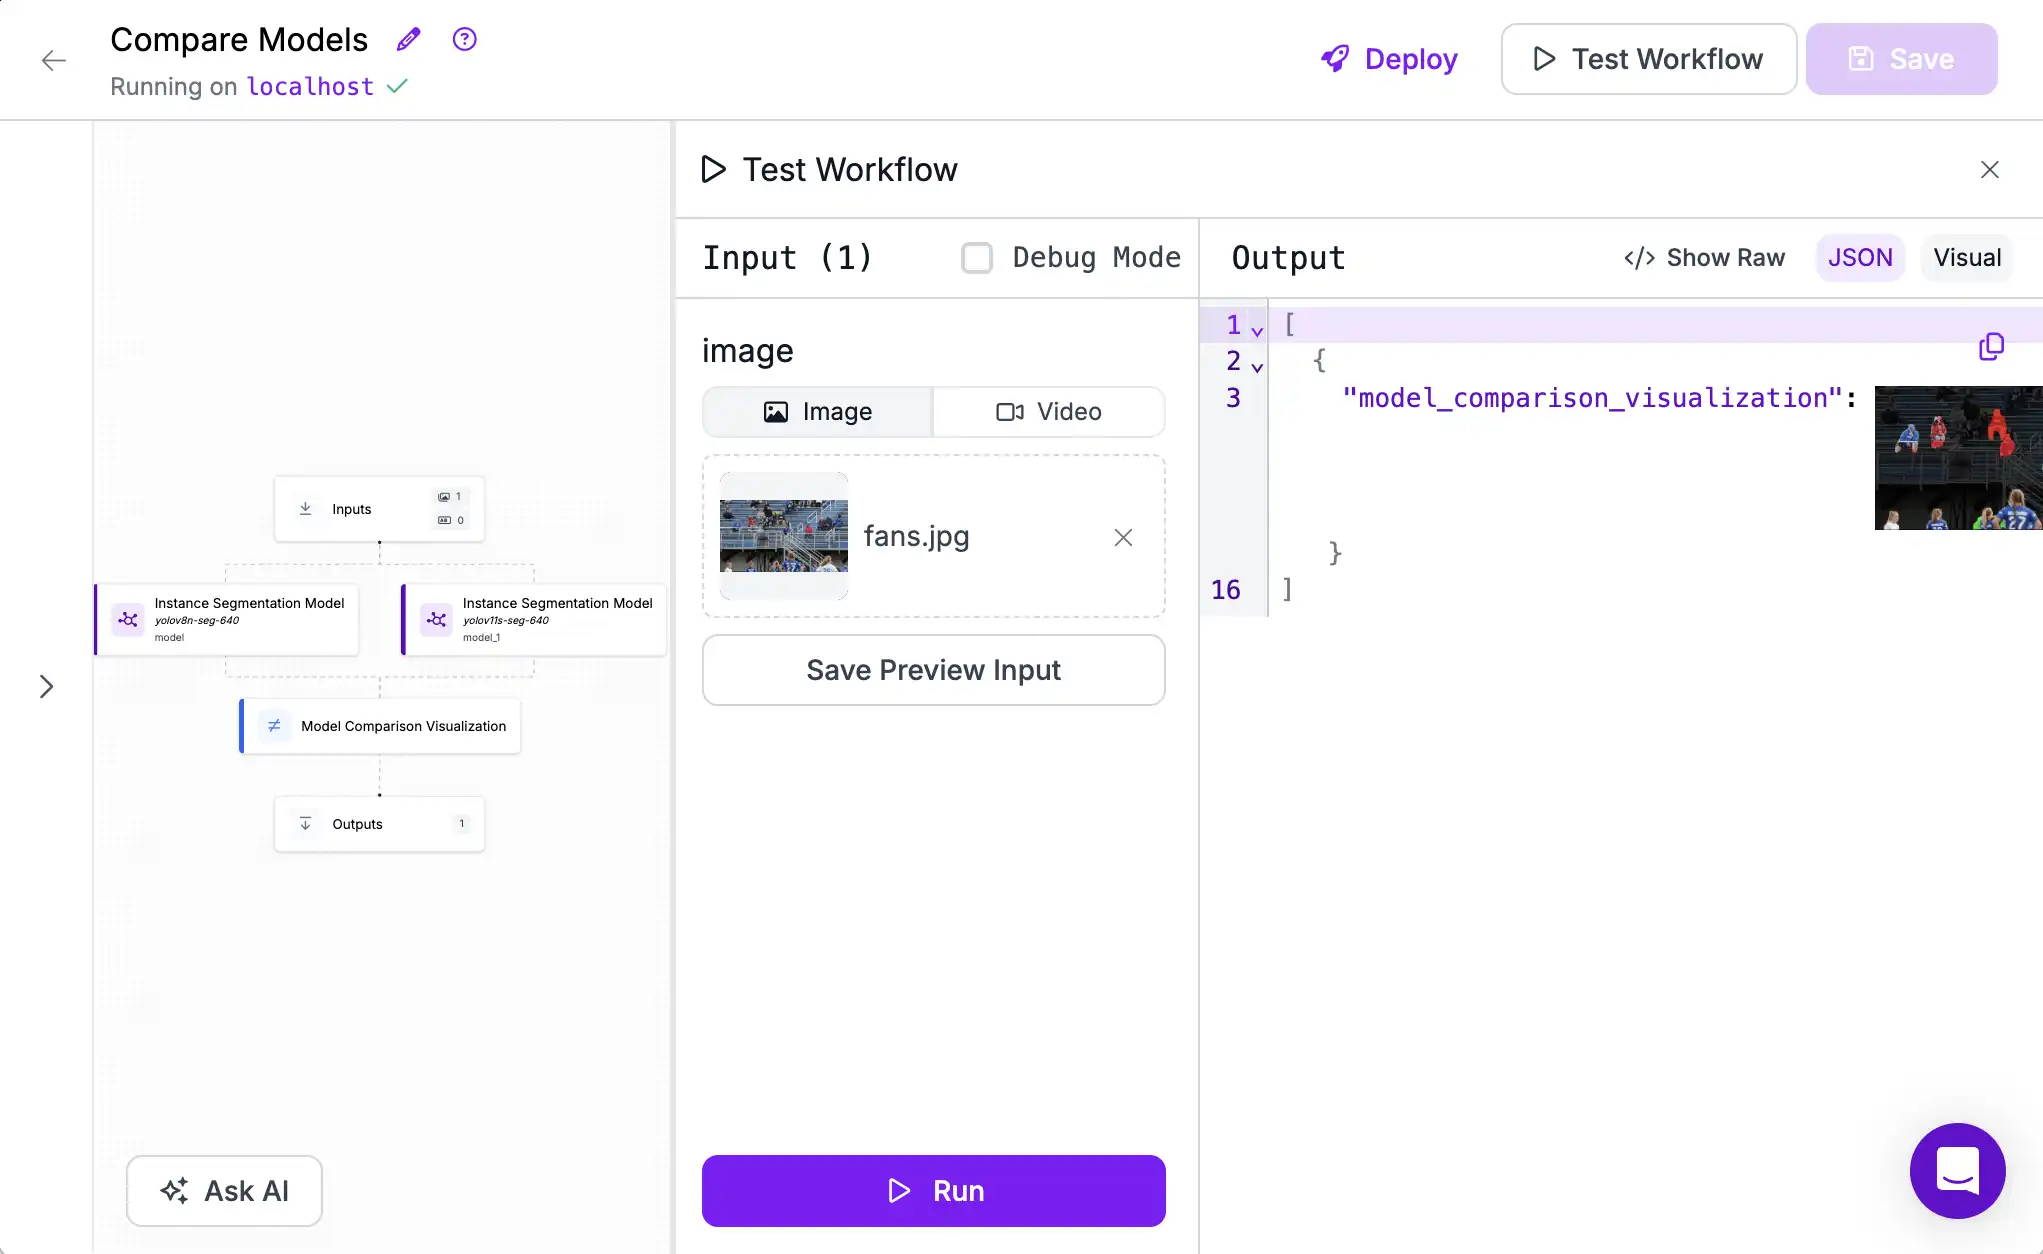
The resulting visualization shows the comparison of the two models' predictions. Dark regions are predicted by neither model, bright regions are predicted by both model, green regions are predicted only by Model A (YOLOv8), and red regions are predicted only by Model B (YOLOv11).
From this, we can see that YOLOv11 performs better than YOLOv8 on this image. It identifies two people that YOLOv8 missed, better captures peoples' feet and legs, and correctly does not predict parts of the background in the players' contours.

Next Steps
In this tutorial we have learned how to configure a Workflow, run multiple models in parallel, and configure blocks with customized inputs. We could use this Workflow to evaluate other pre-trained models or to iterate on our own models' performanc and visualize the results over time as compared to an initial baseline.
Next, let's learn how we can improve models' performance on small objects without changing the models themselves.