Detect Small Objects
The best way to improve the performance of a machine learning system is often peripheral to improving the model. Collecting more data, labeling datasets more accurately, adding redundancy to detections, or breaking down the problem into smaller pieces are usually higher leverage endeavors than iterating on model architecture.
One common shortcoming of model performance occurs when the objects of interest are very small relative to the size of the image. One approach is tiling the image into smaller chunks and feeding them through the model in parallel. This method is called SAHI (Slicing Aided Hyper Inference). A large image is divided into overlapping slices, each slice is run through a model, and a single prediction is reconstructed as the output.
Using SAHI in Workflows is easy using the Image Slicer and Detections Stitch blocks.
Difficulty: Easy
Time to Complete: 10 minutes
Starting Point
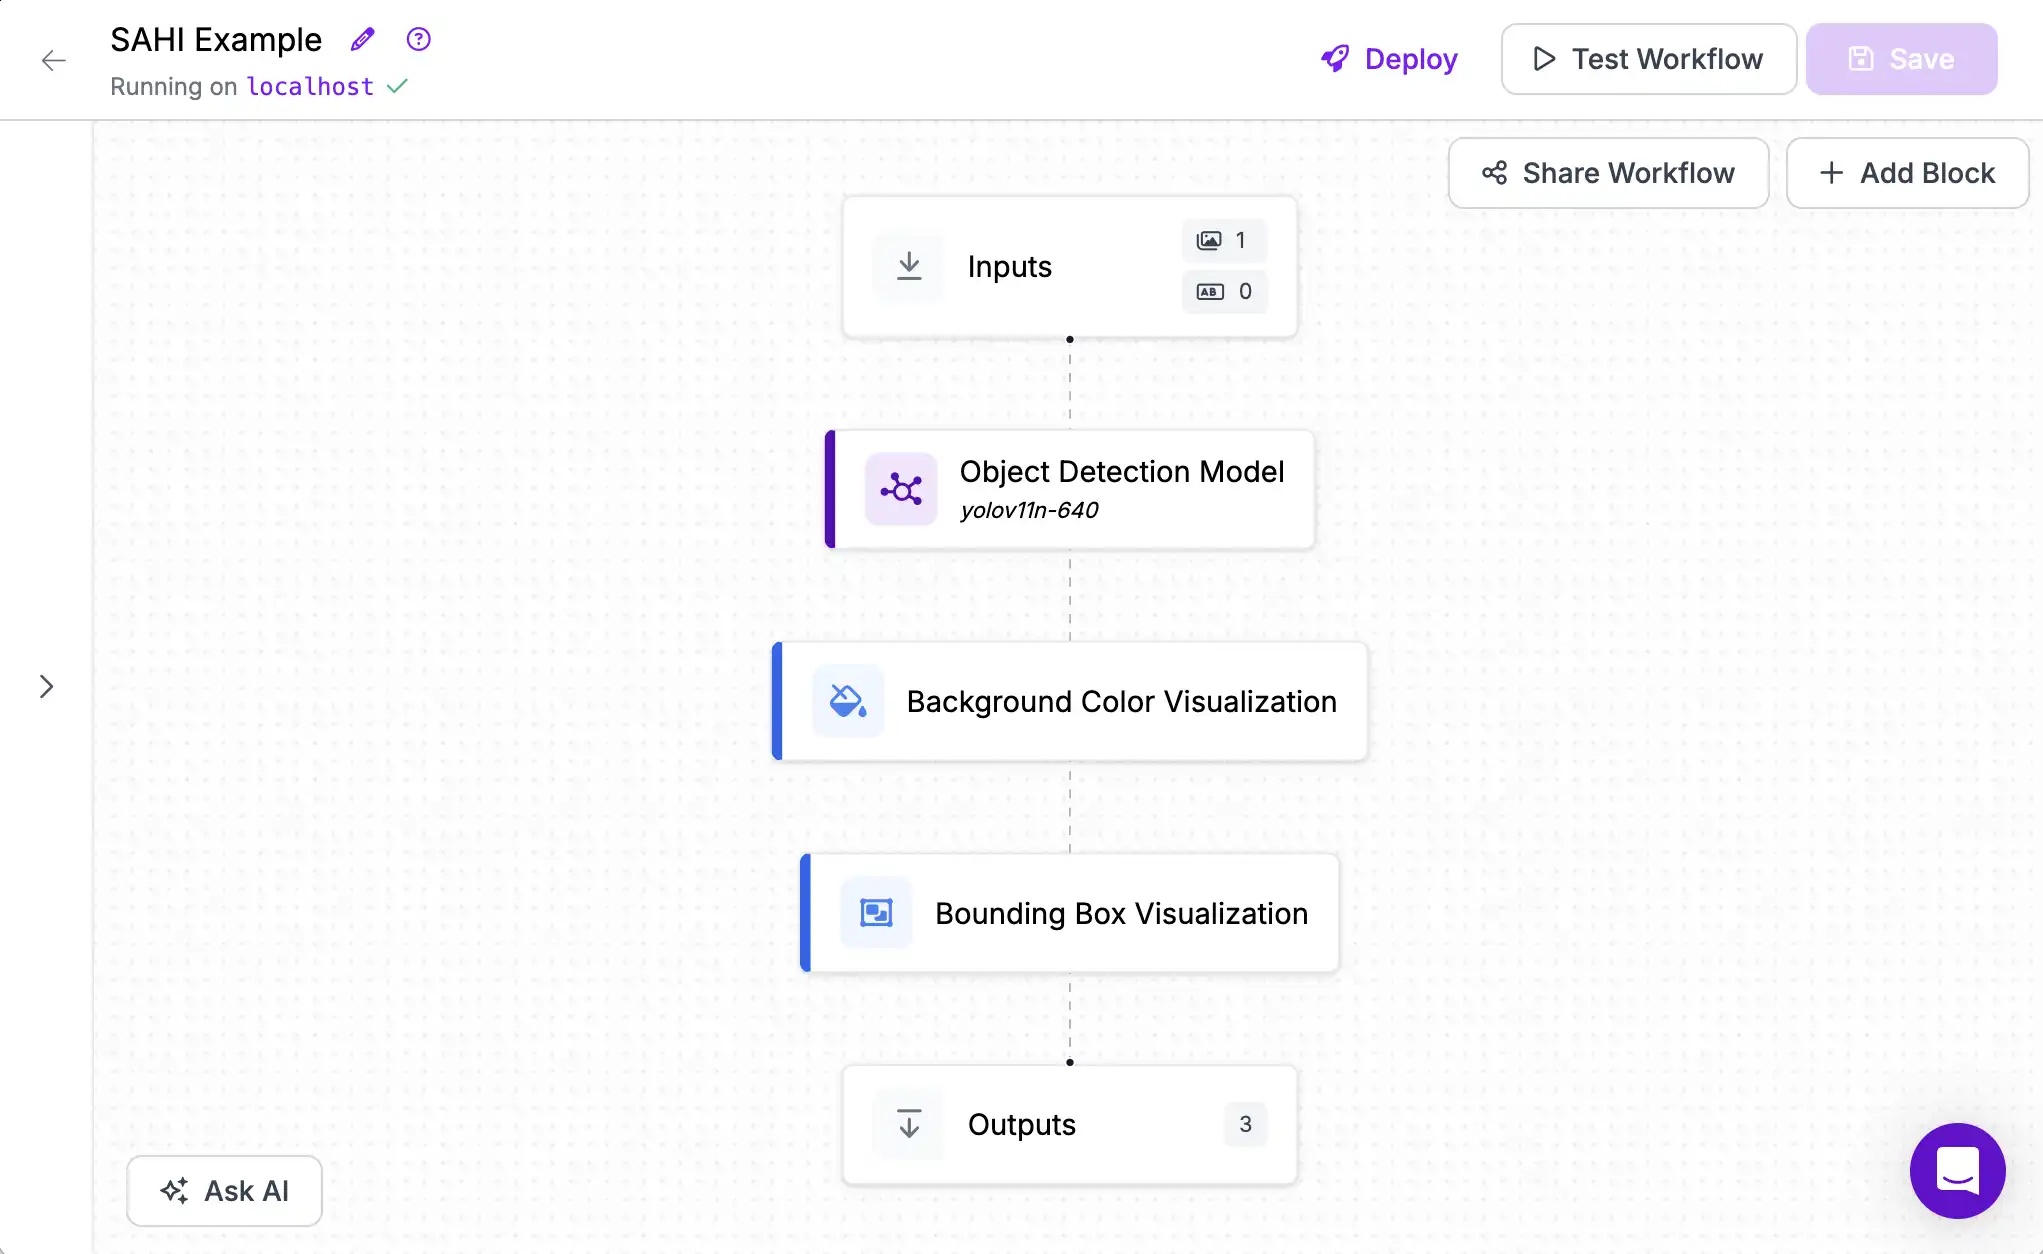
We will start with an output similar to the Hello World tutorial. Follow that guide to create a simple Workflow that visualizes predictions from an object detection model:
But when the objects are small, this model fails to find them.
Even though cars are one of the most widely represented classes in the MS COCO dataset that this model was trained on, it still only finds one of them because when the image is scaled down to the model's input resolution the cars become only a few pixels wide.
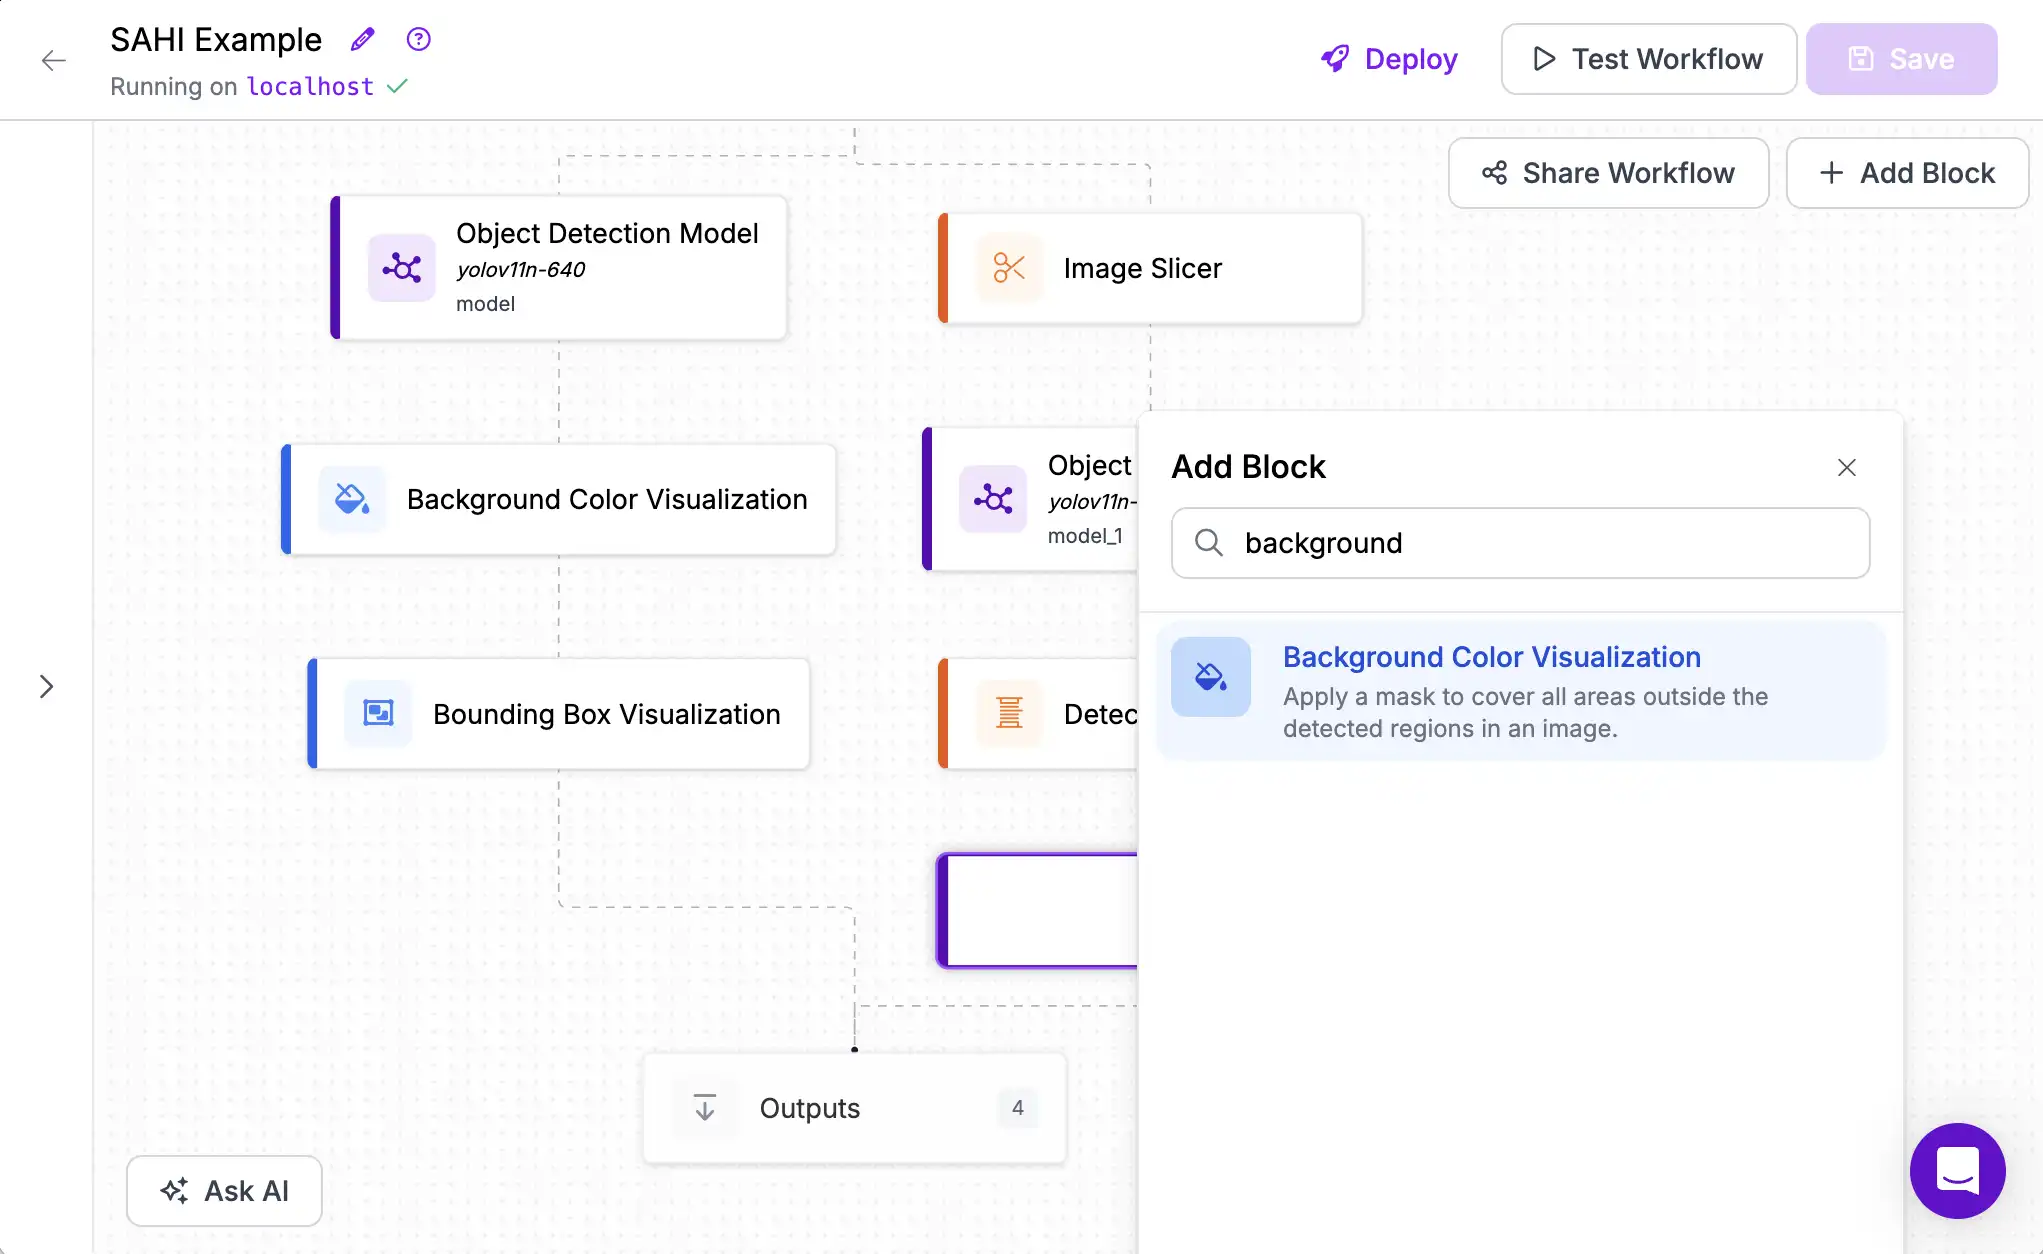
Adding SAHI
We will fix this by slicing the image into smaller tiles so that the model gets more pixels of information to work from.
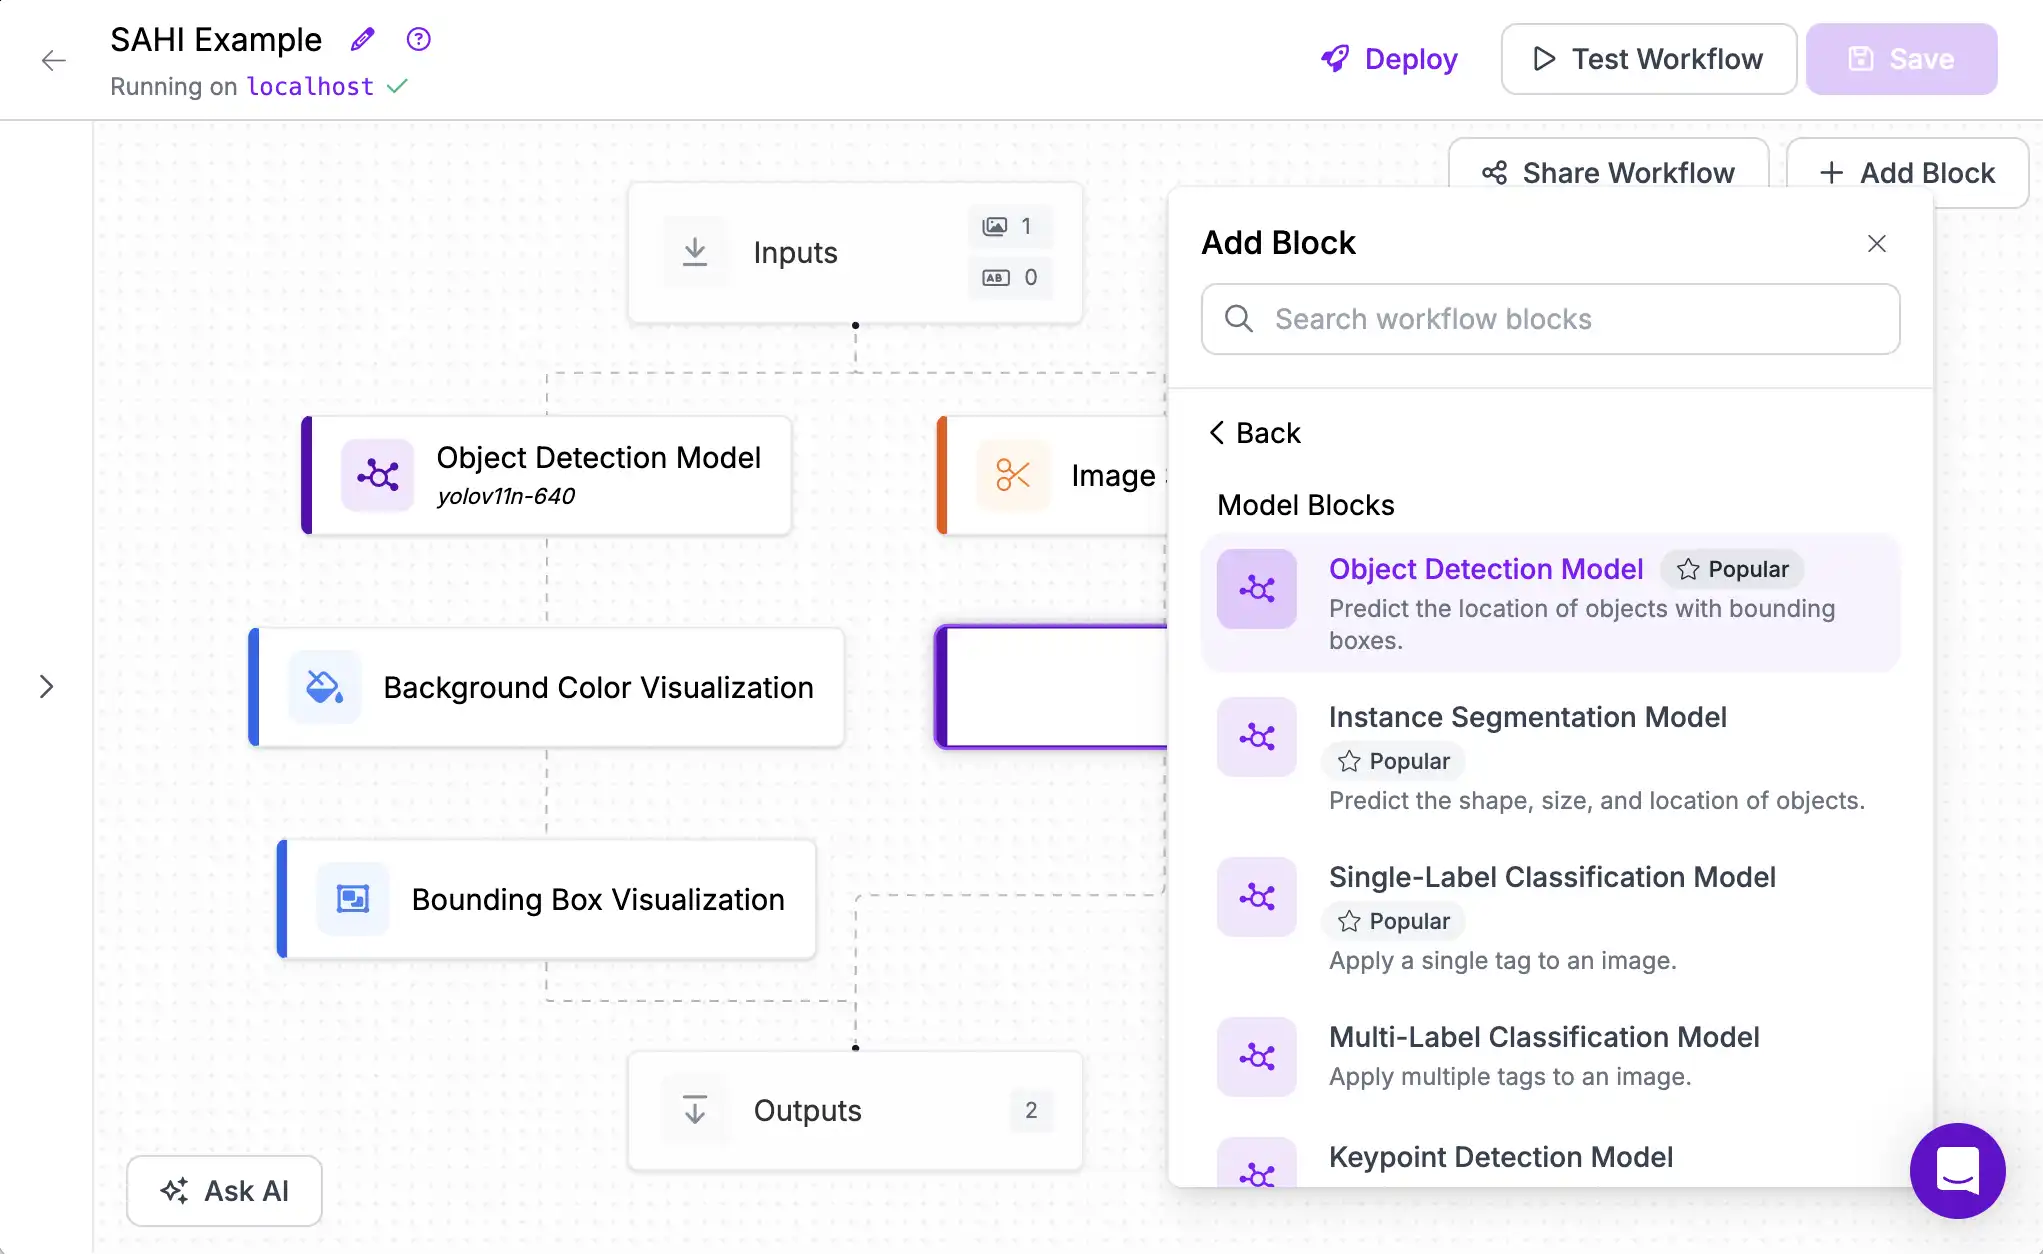
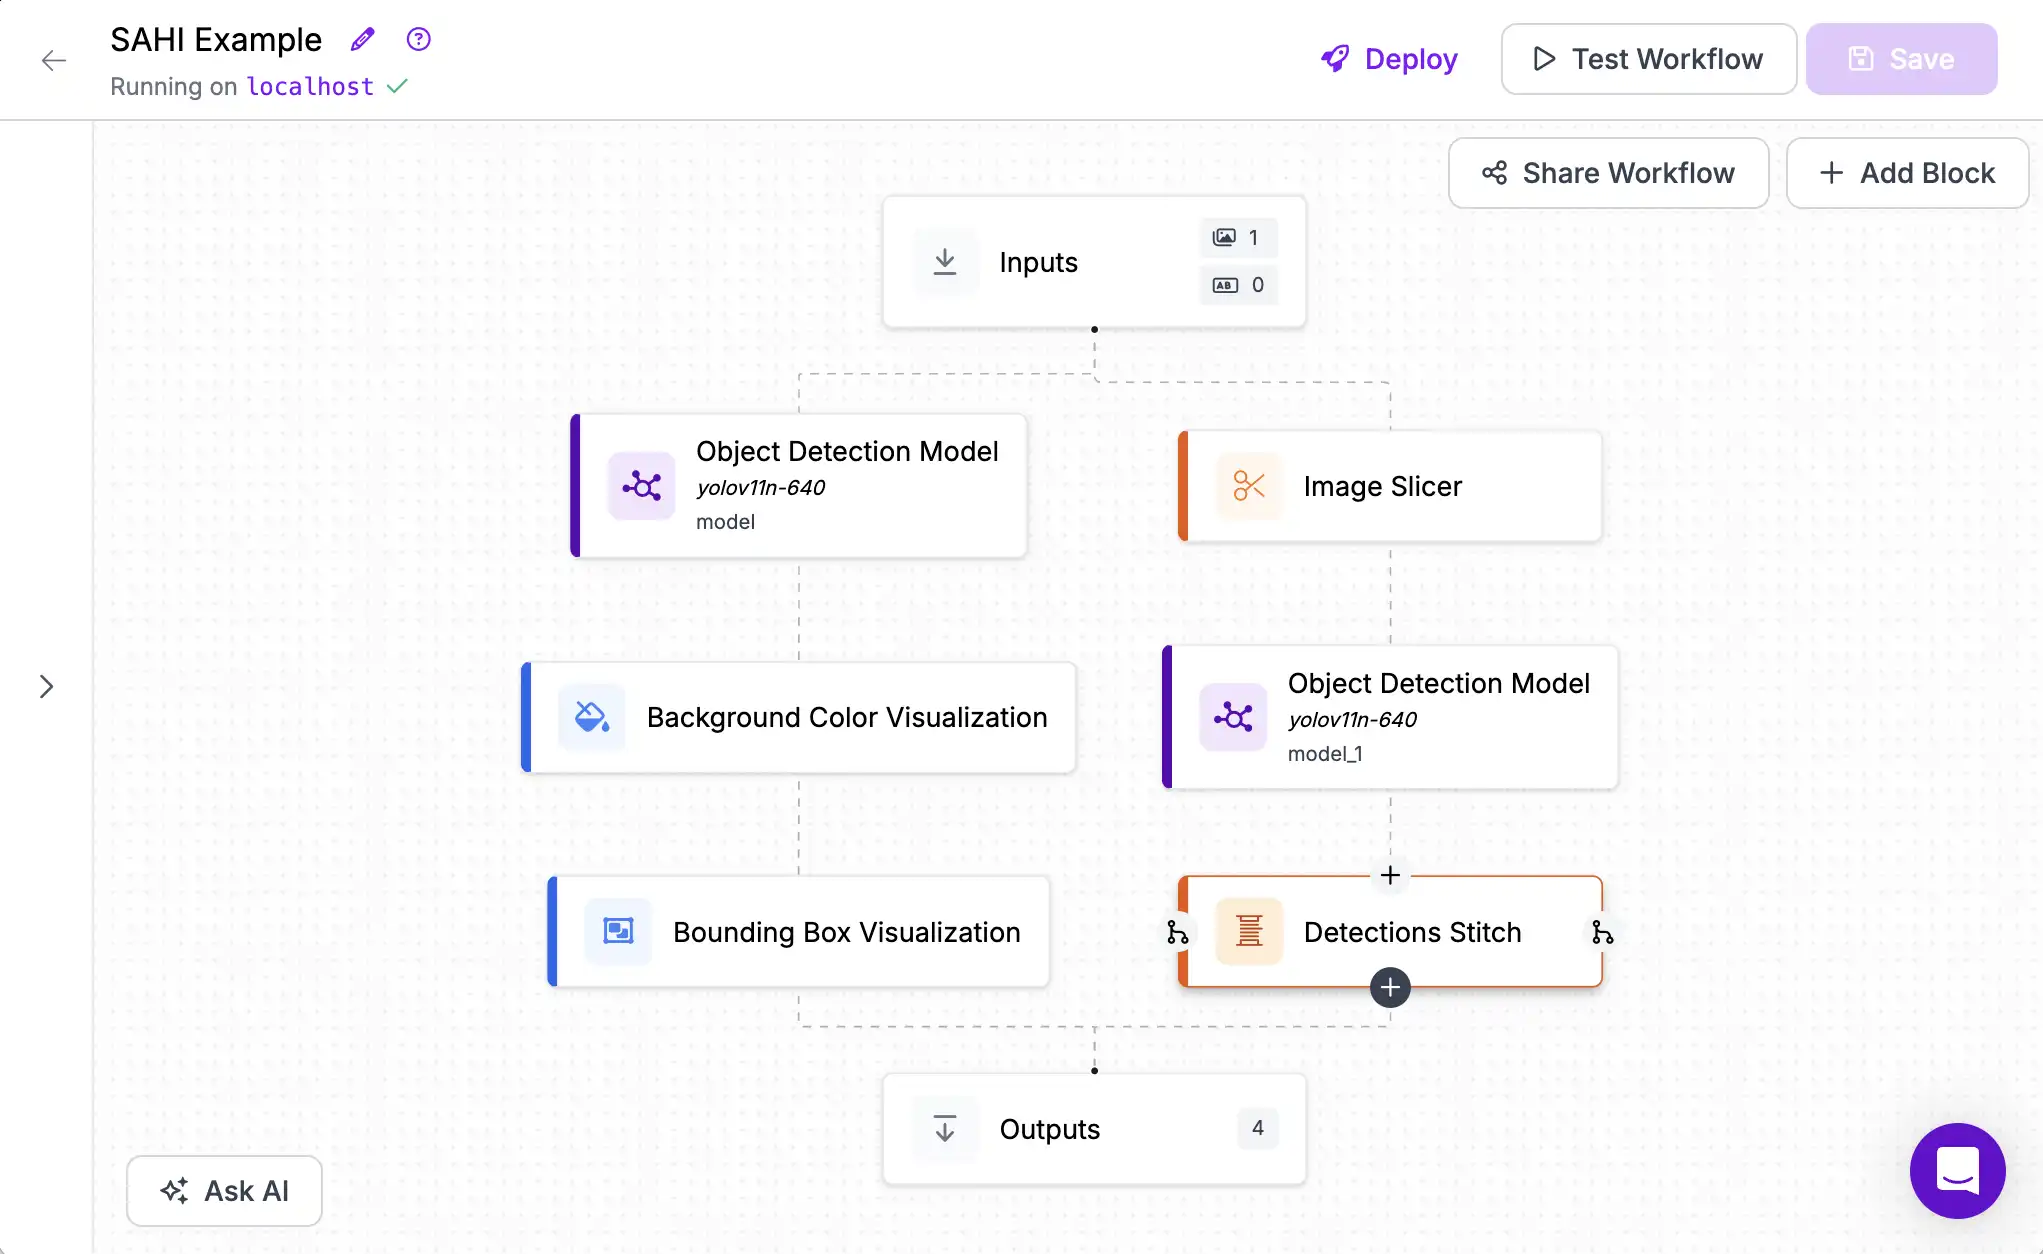
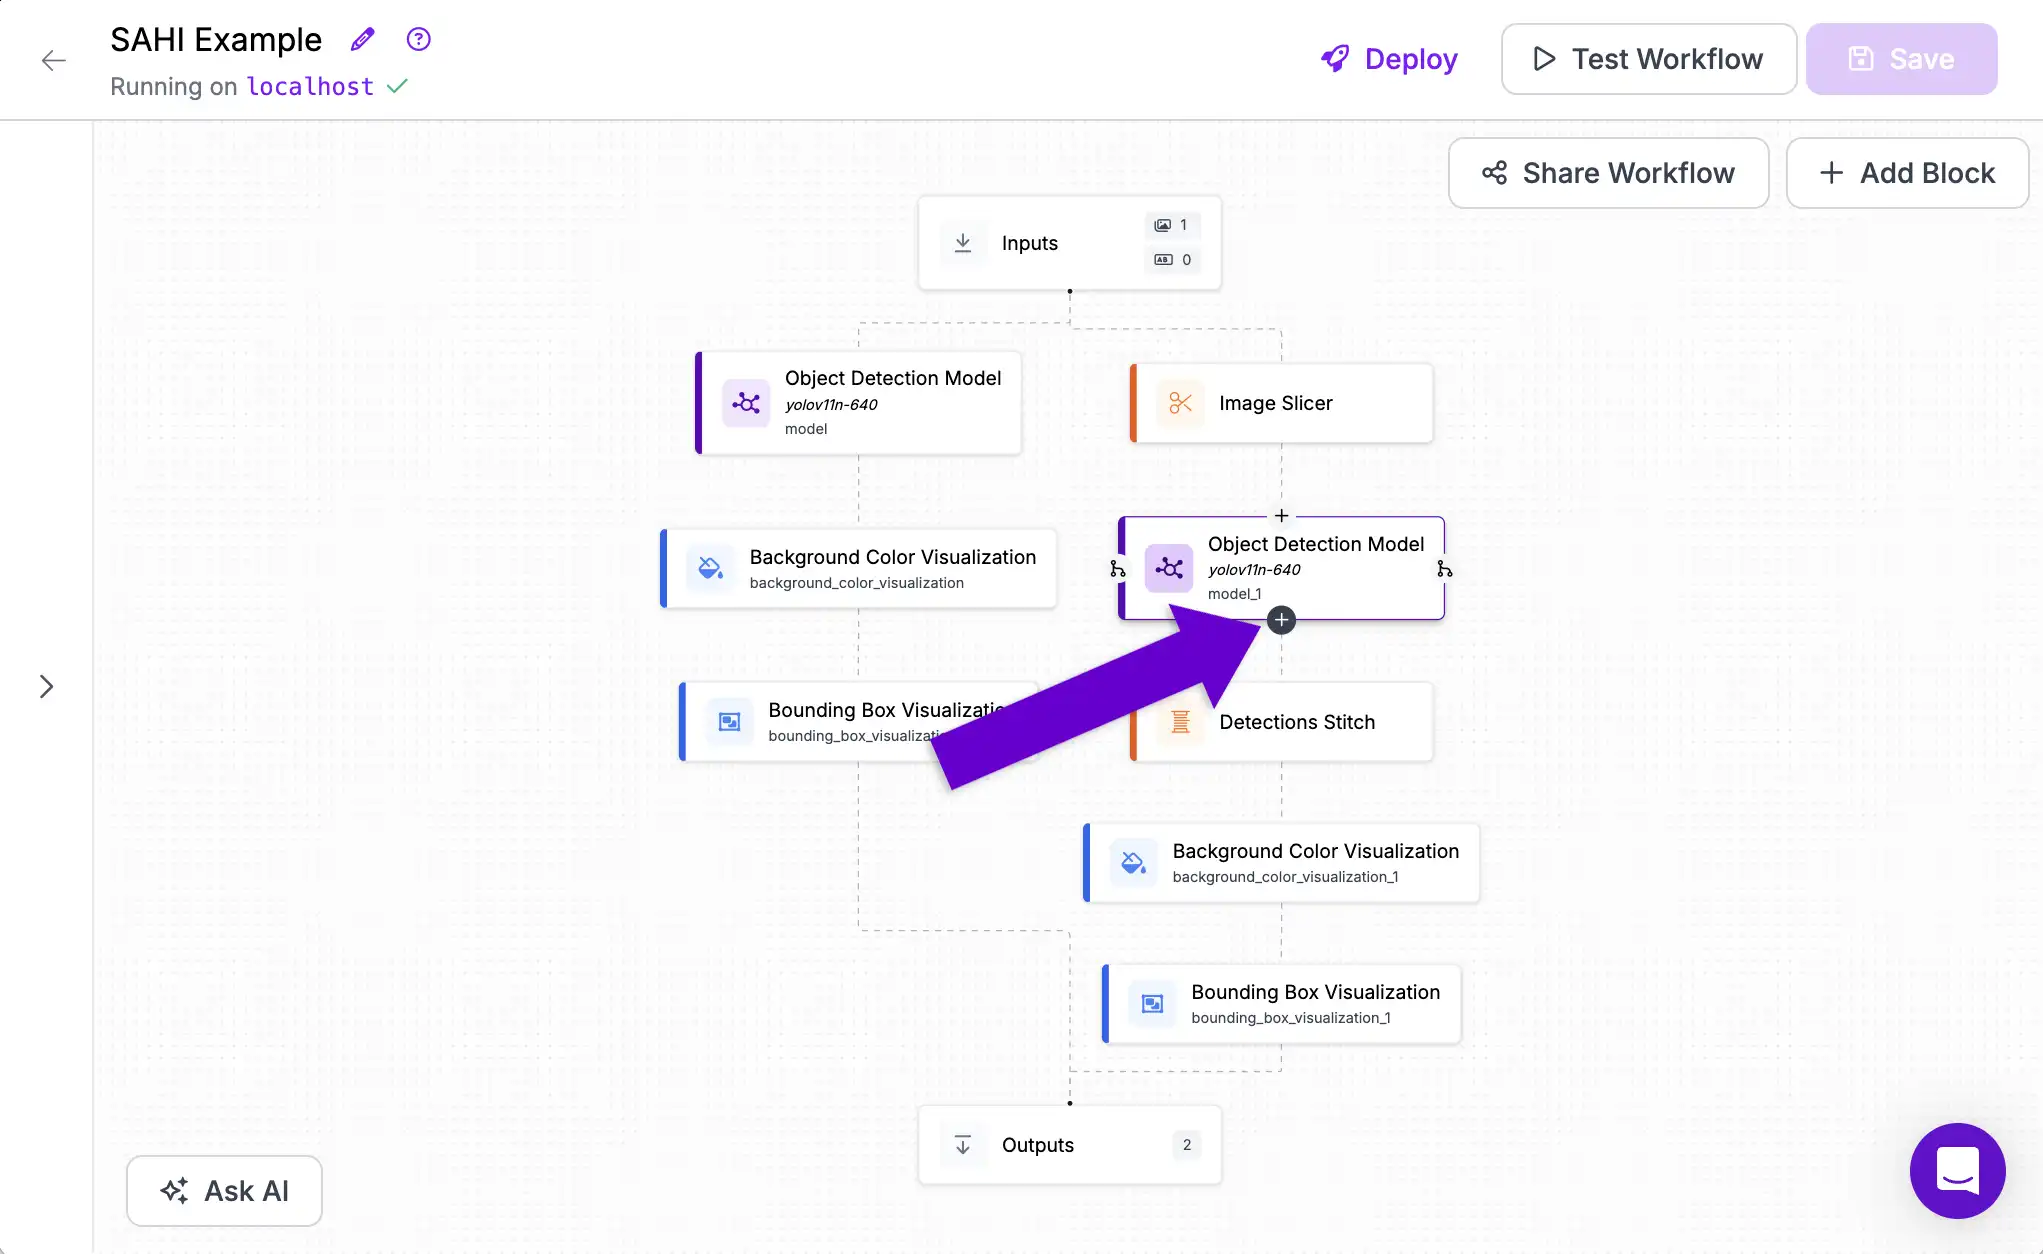
The first step is to add the Image Slicer block to the Workflow. We will do this in a parallel execution path so that we can compare the outputs to the original non-SAHI predictions at the end.
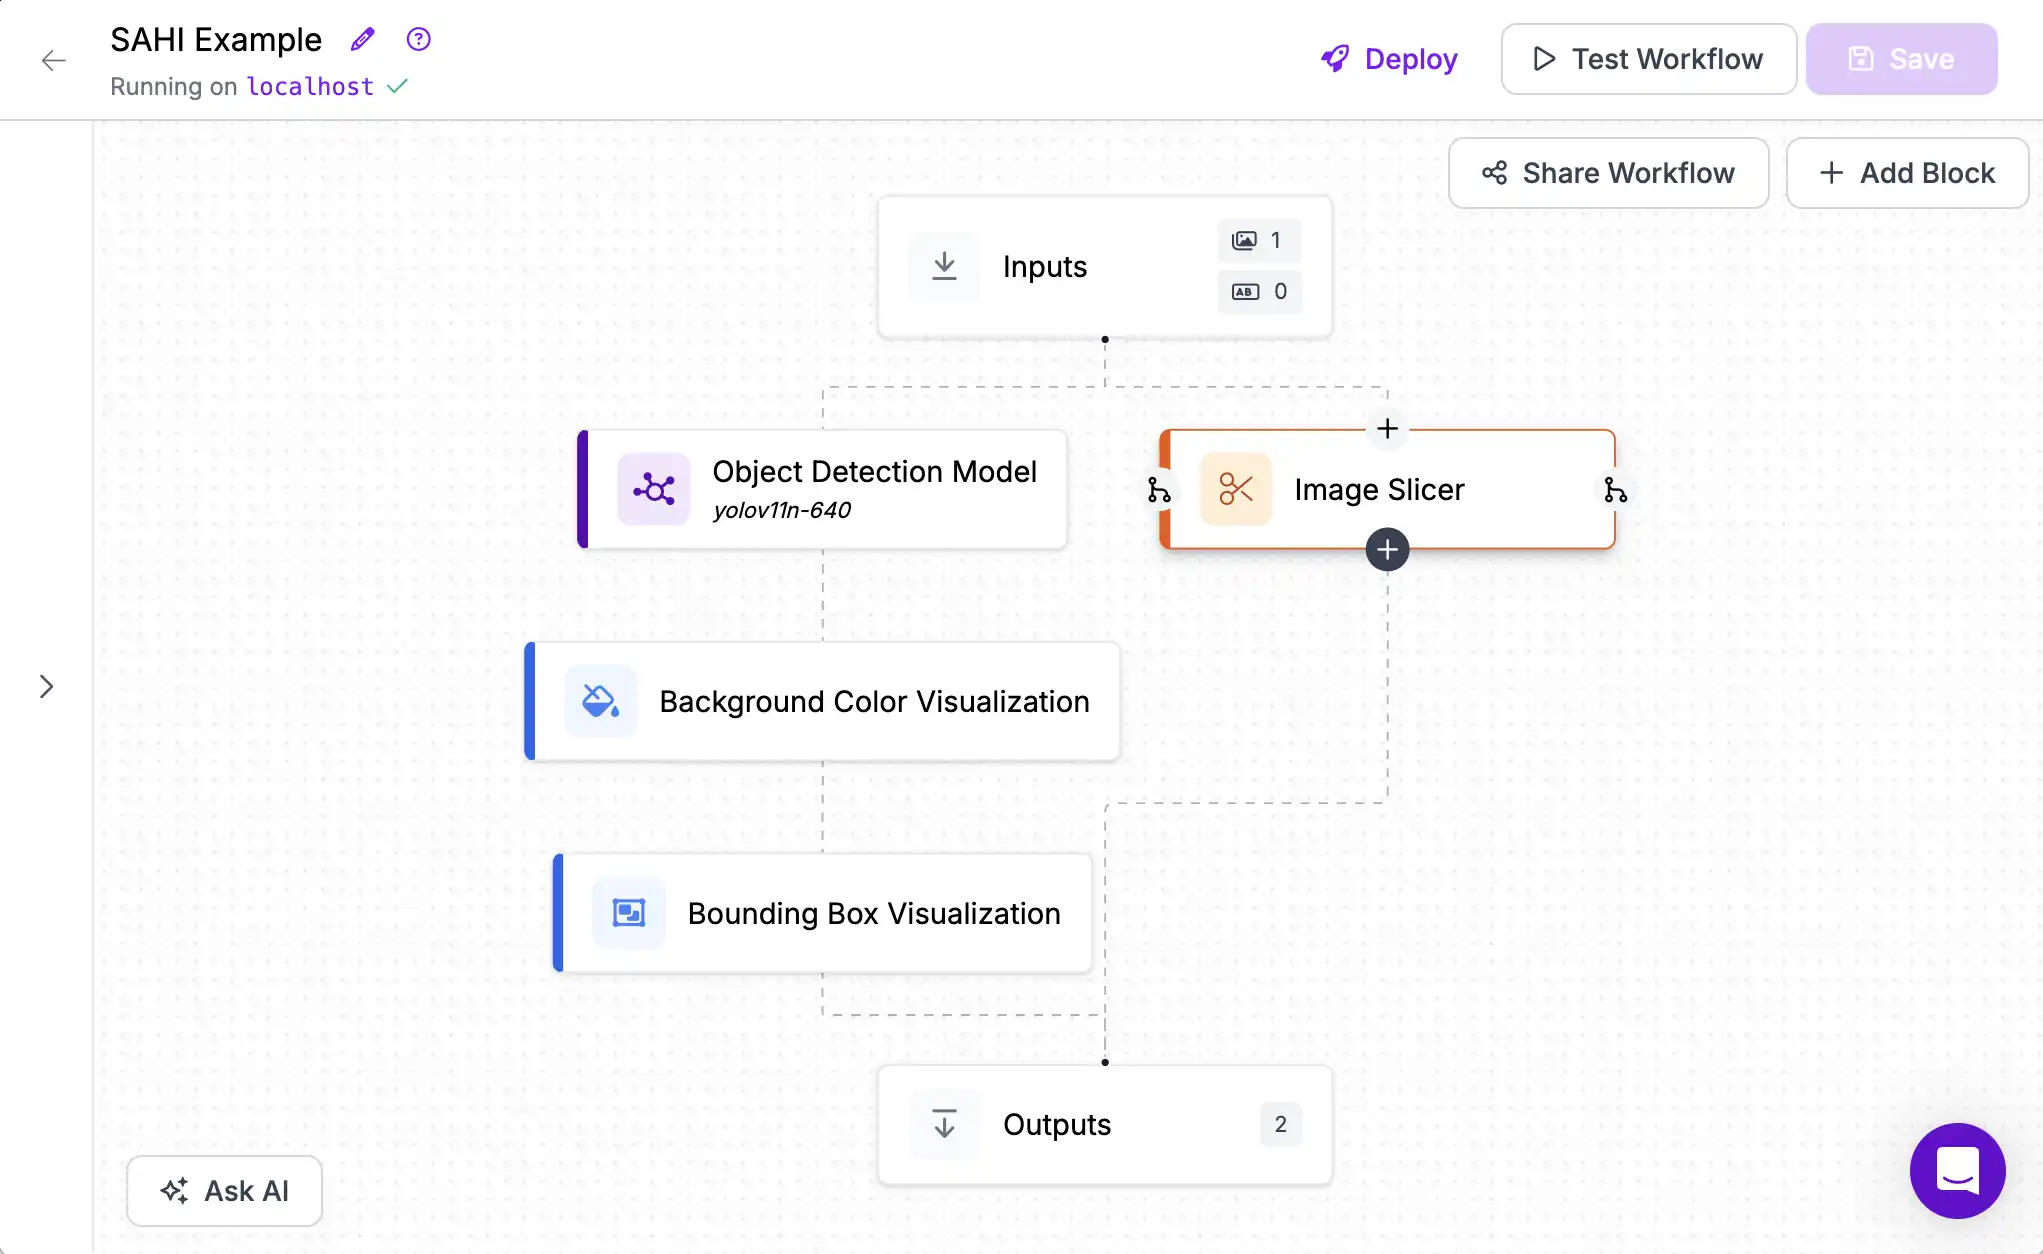
Then we will add an Object Detection model that will run on each frame. Everything between an Image Slicer and an Image Stitch block operates element-wise on the set of slices. Workflows will automatically parallelize work (such as batching predictions through the GPU) where it can.
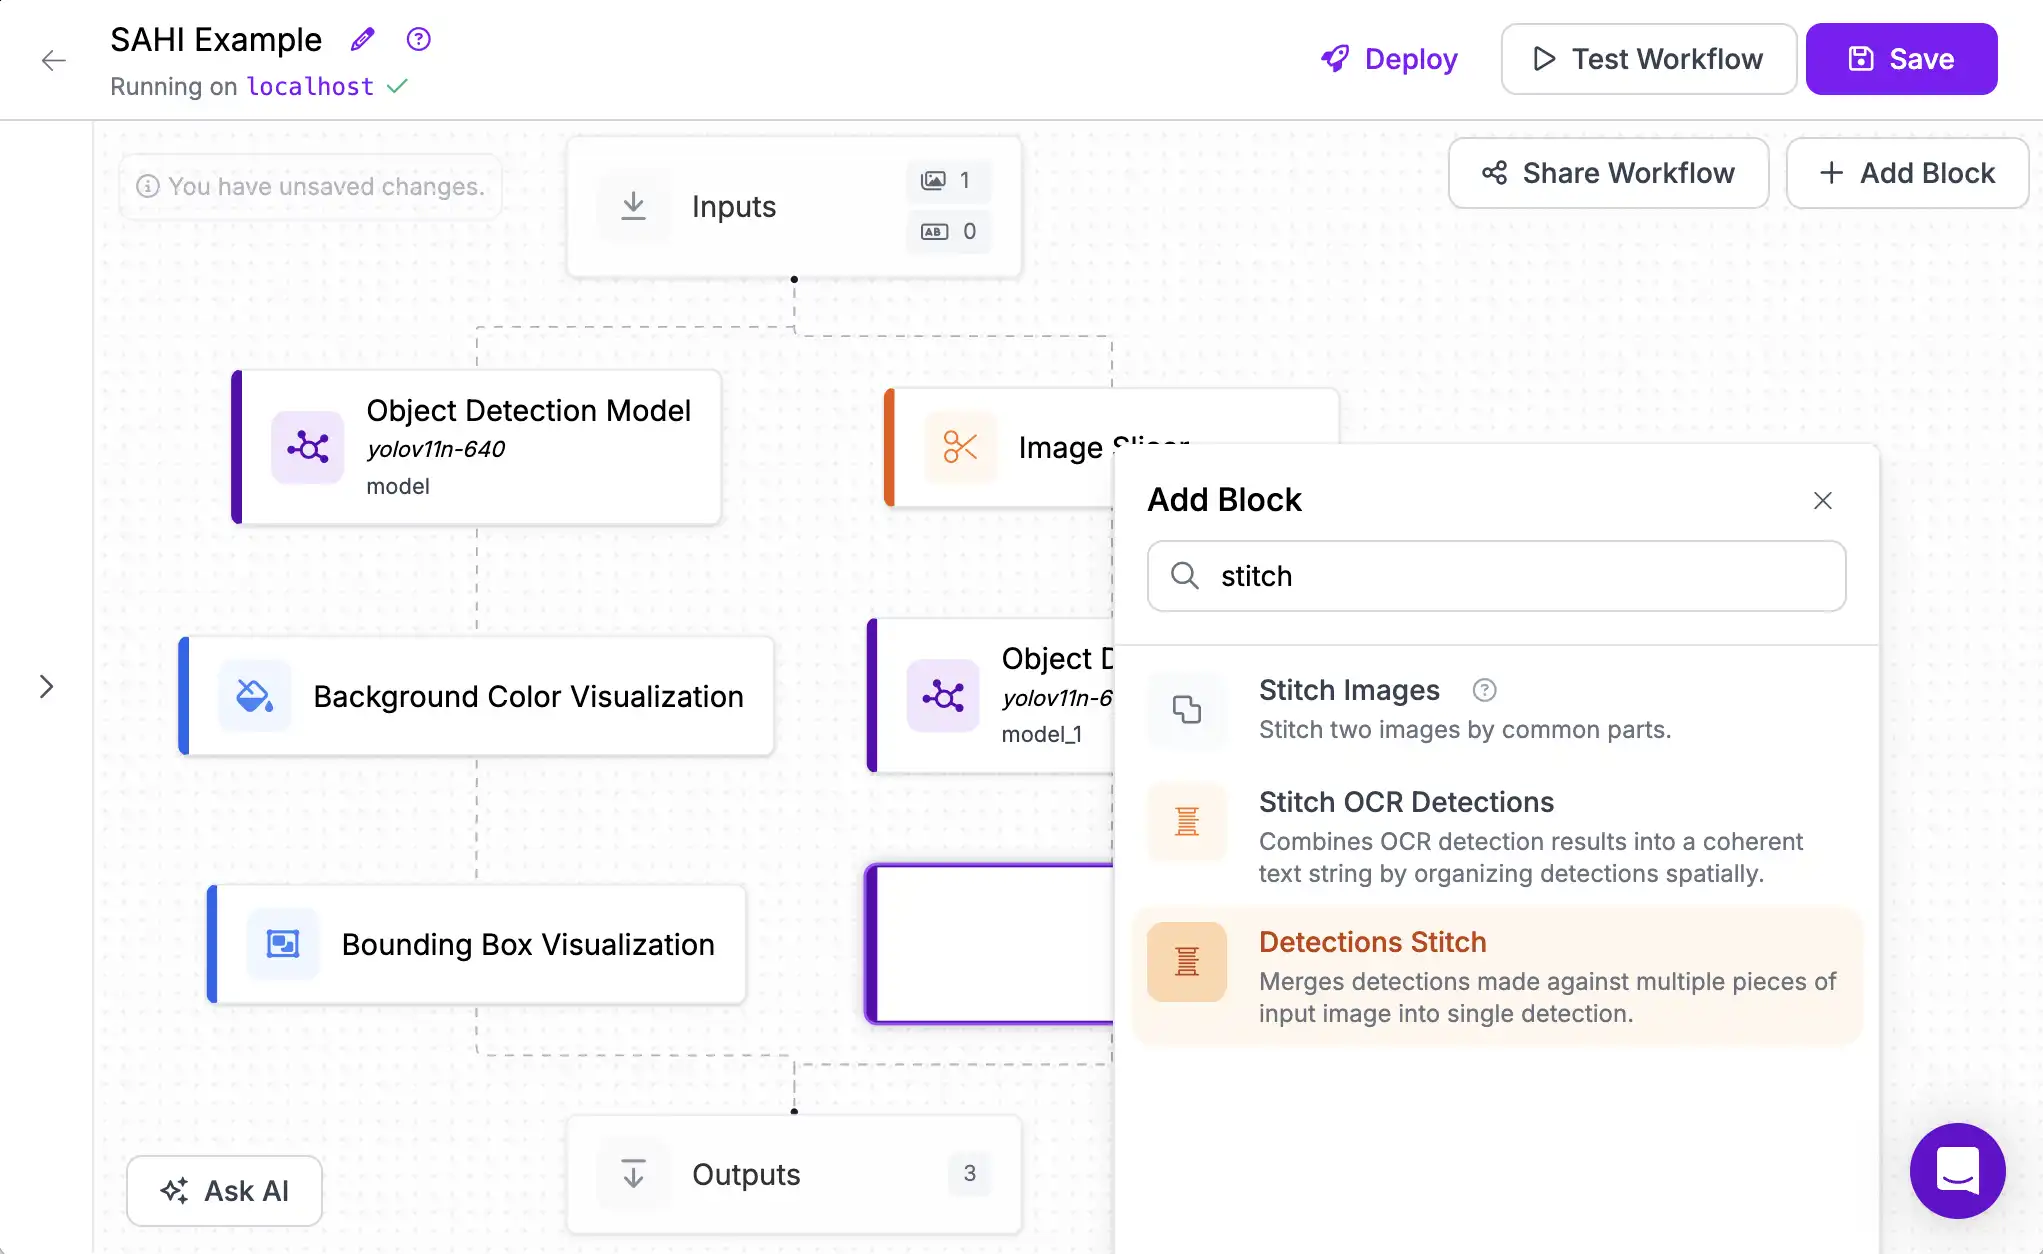
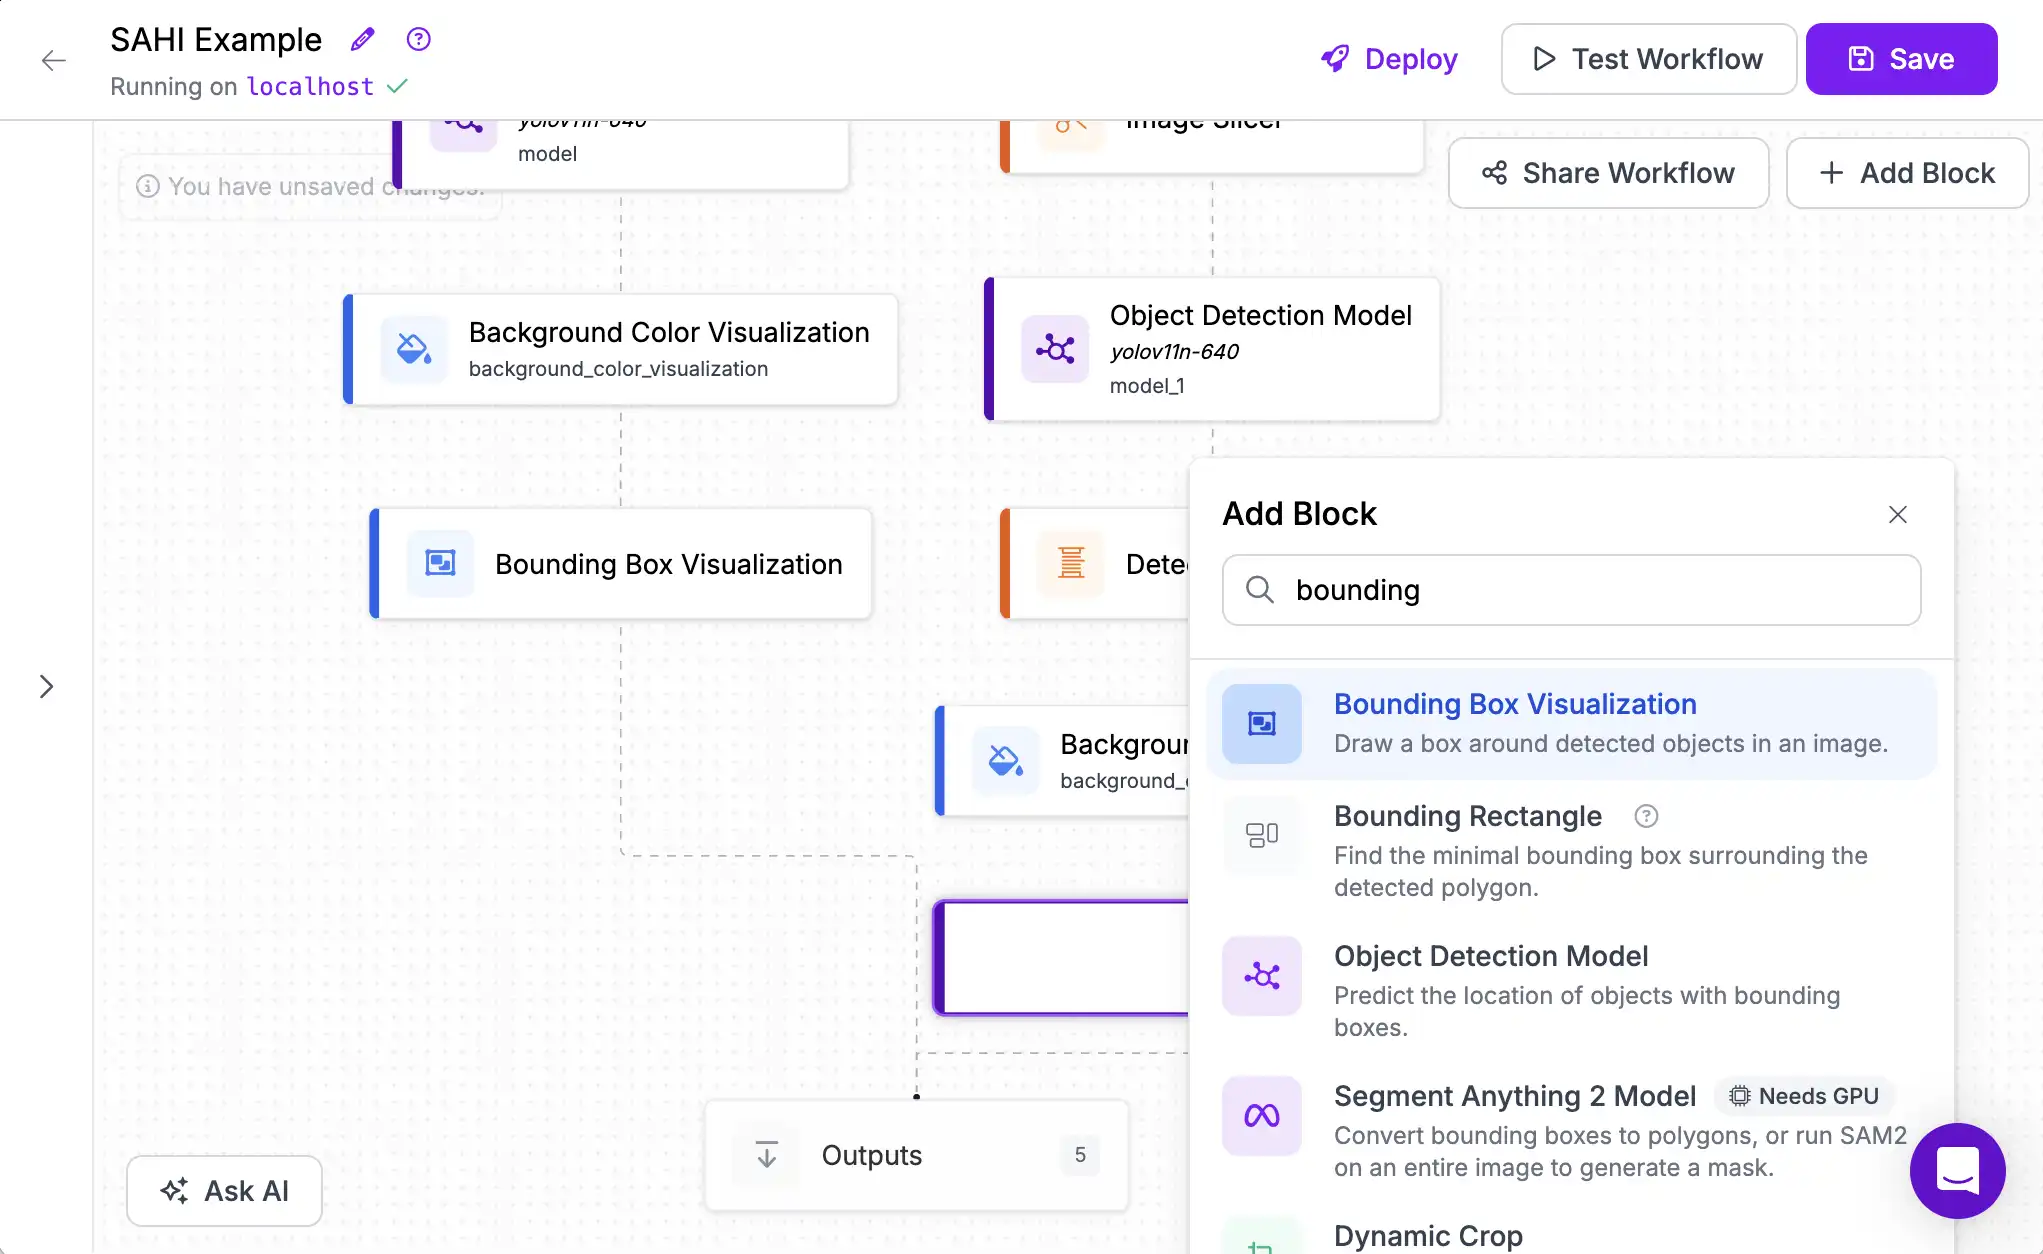
Next, we'll add the Detections Stitch block to aggregate the predictions back into the dimensionality of the original image.
Now, we can visualize these aggregated predictions in the same way as we visualized outputs of a regular model.
We will add a Background Color Visualization to dim regions of the image that were not predicted by the model to make the predicted areas stand out.
And a bounding box around predicted objects of interest.
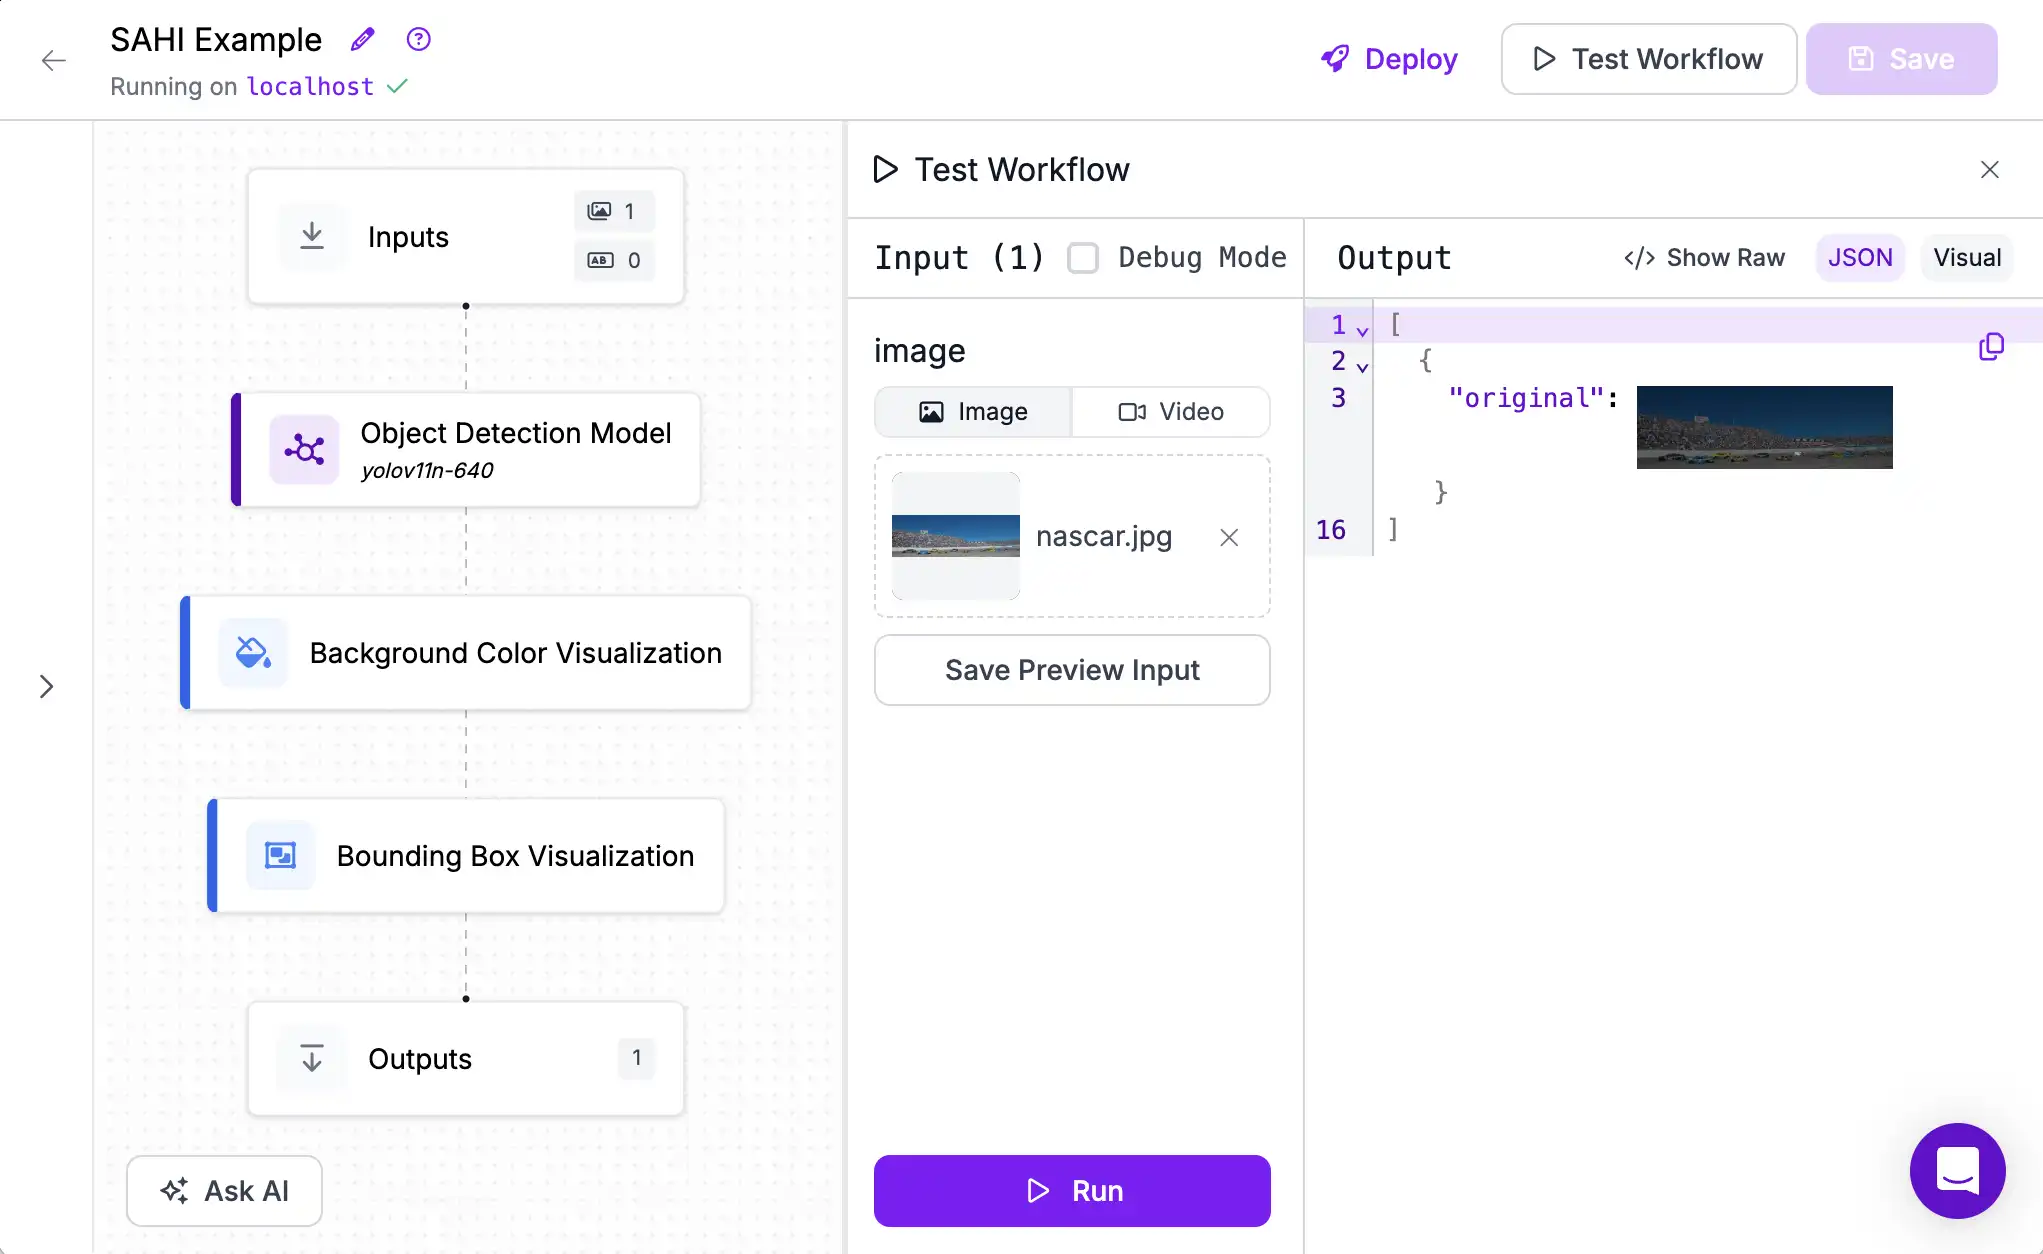
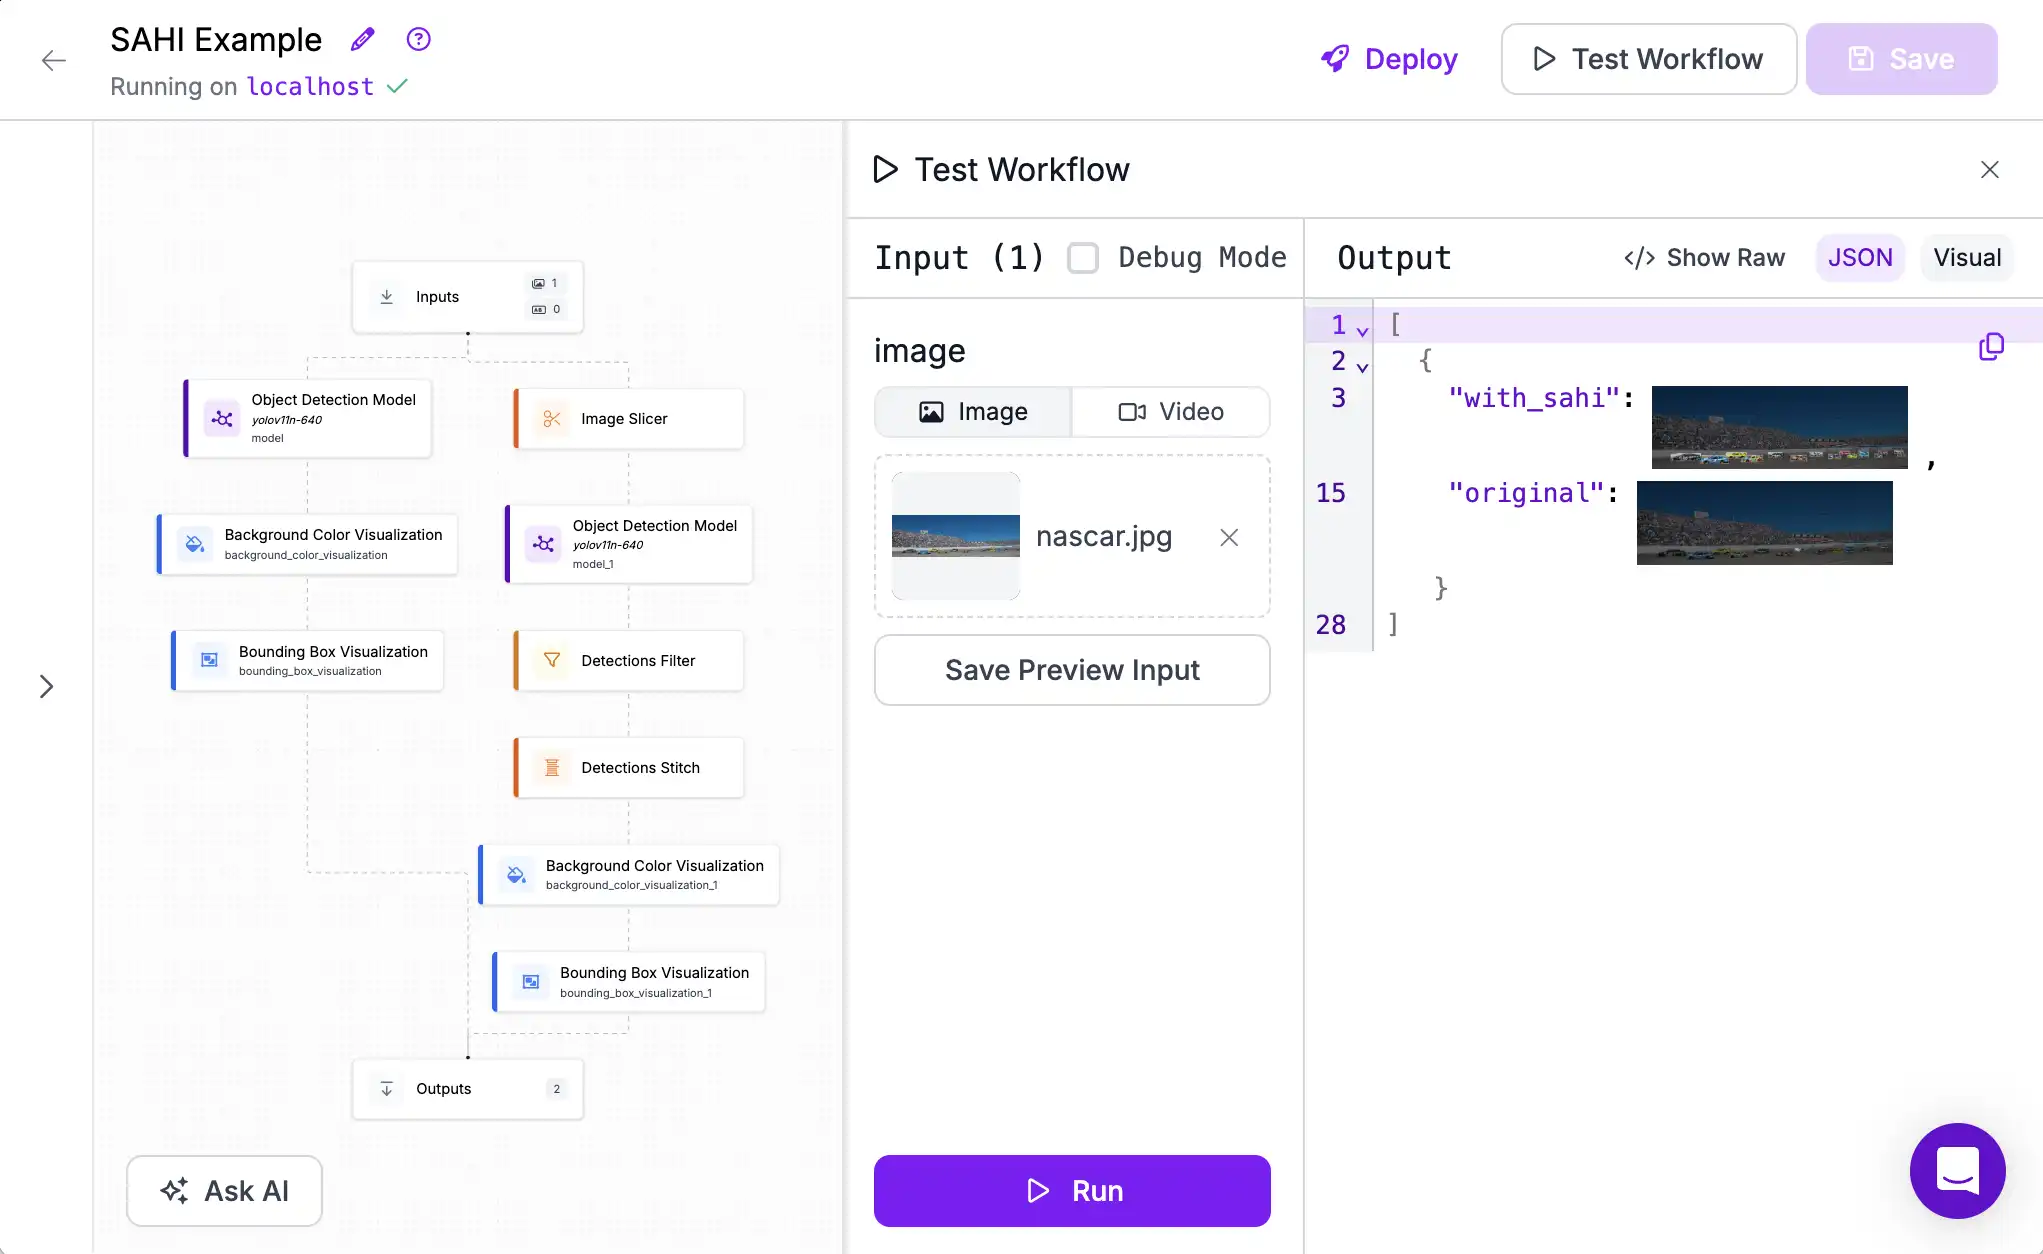
Testing SAHI
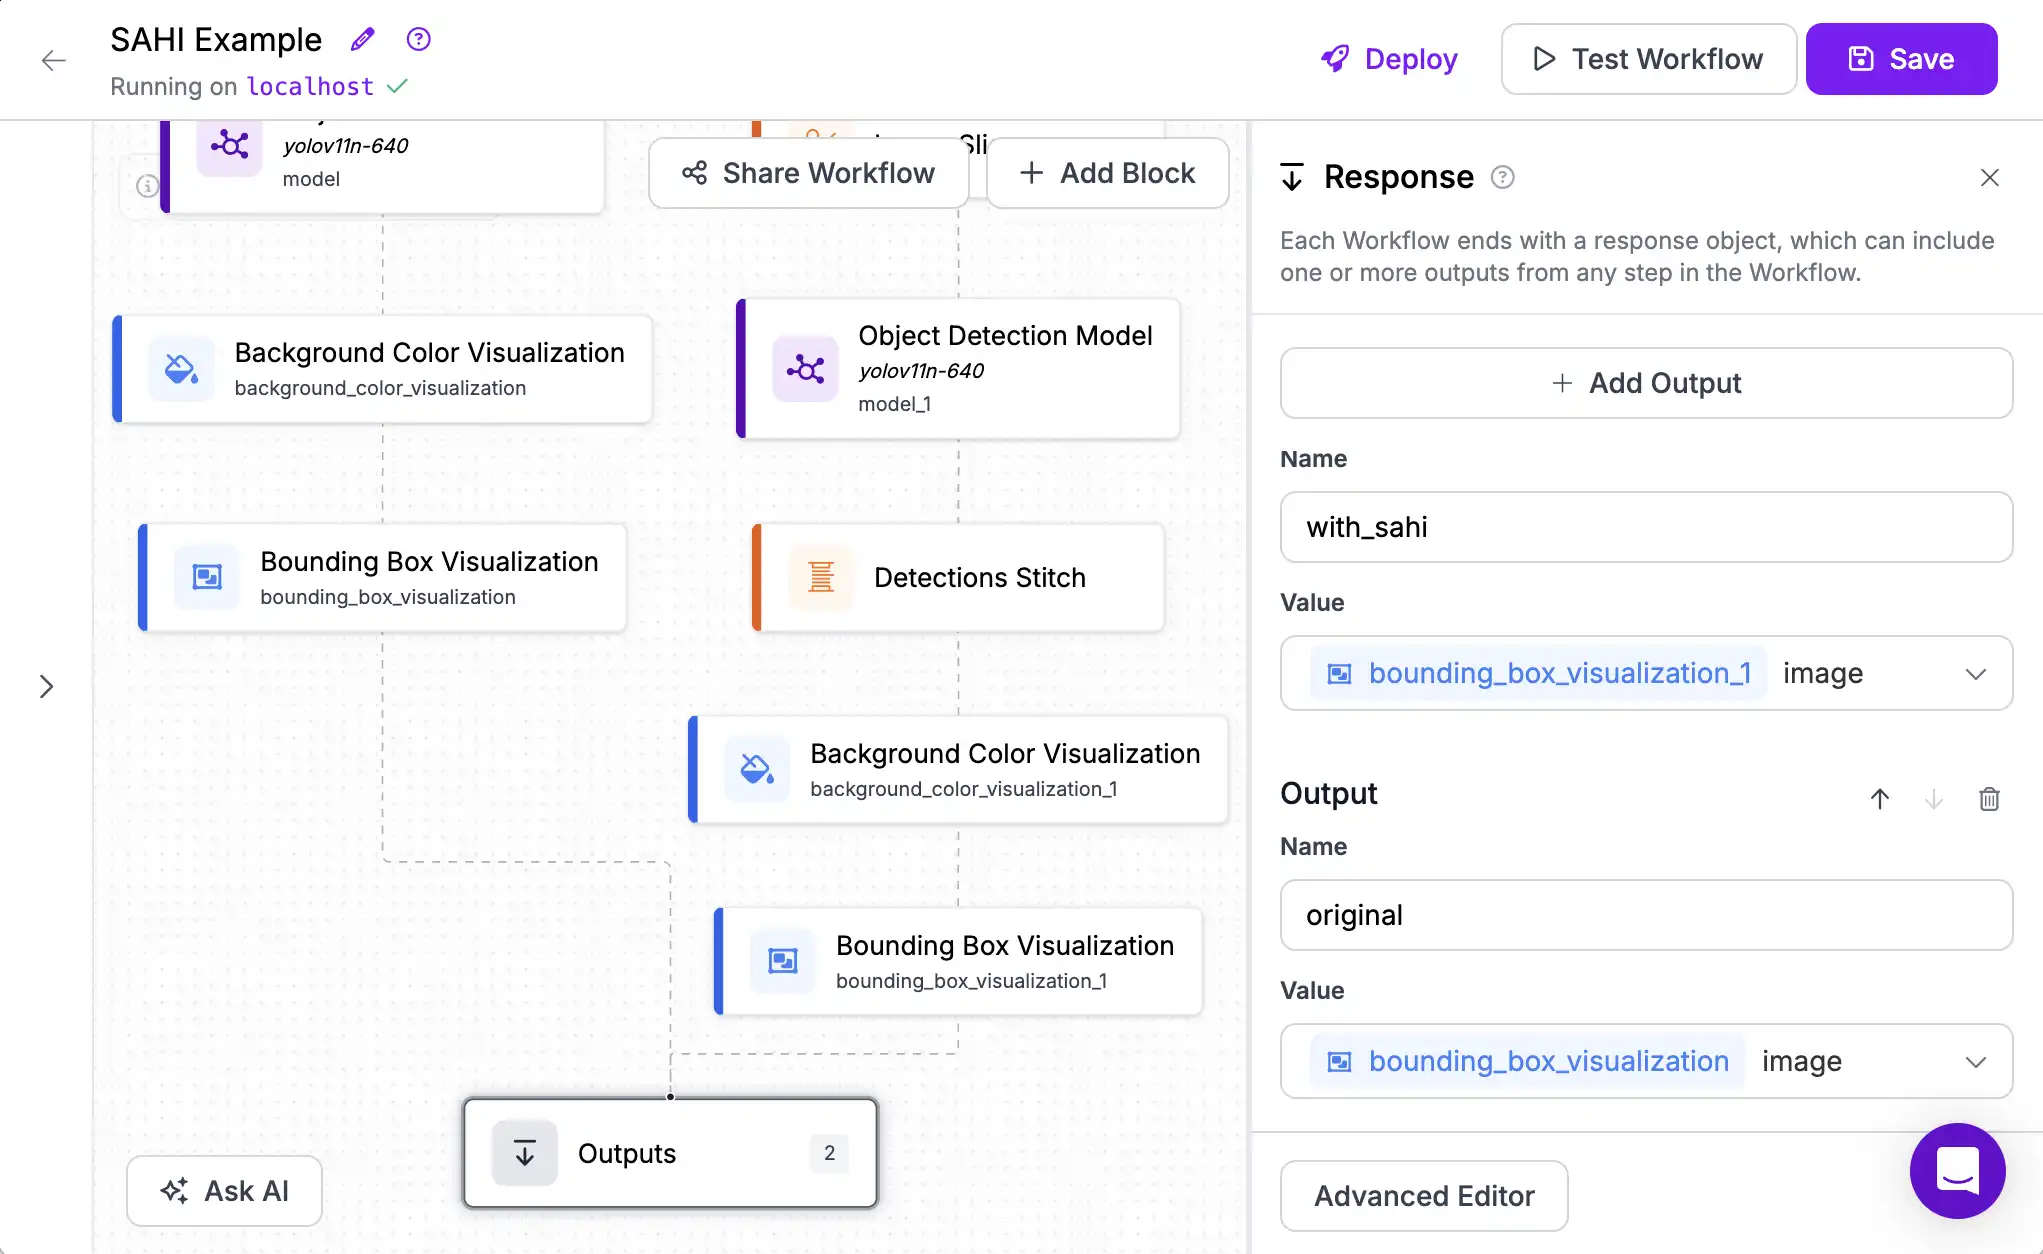
Now we're ready to see how our revised approach is working. We'll simplify the output to predict only the two visualizations we're interested in.
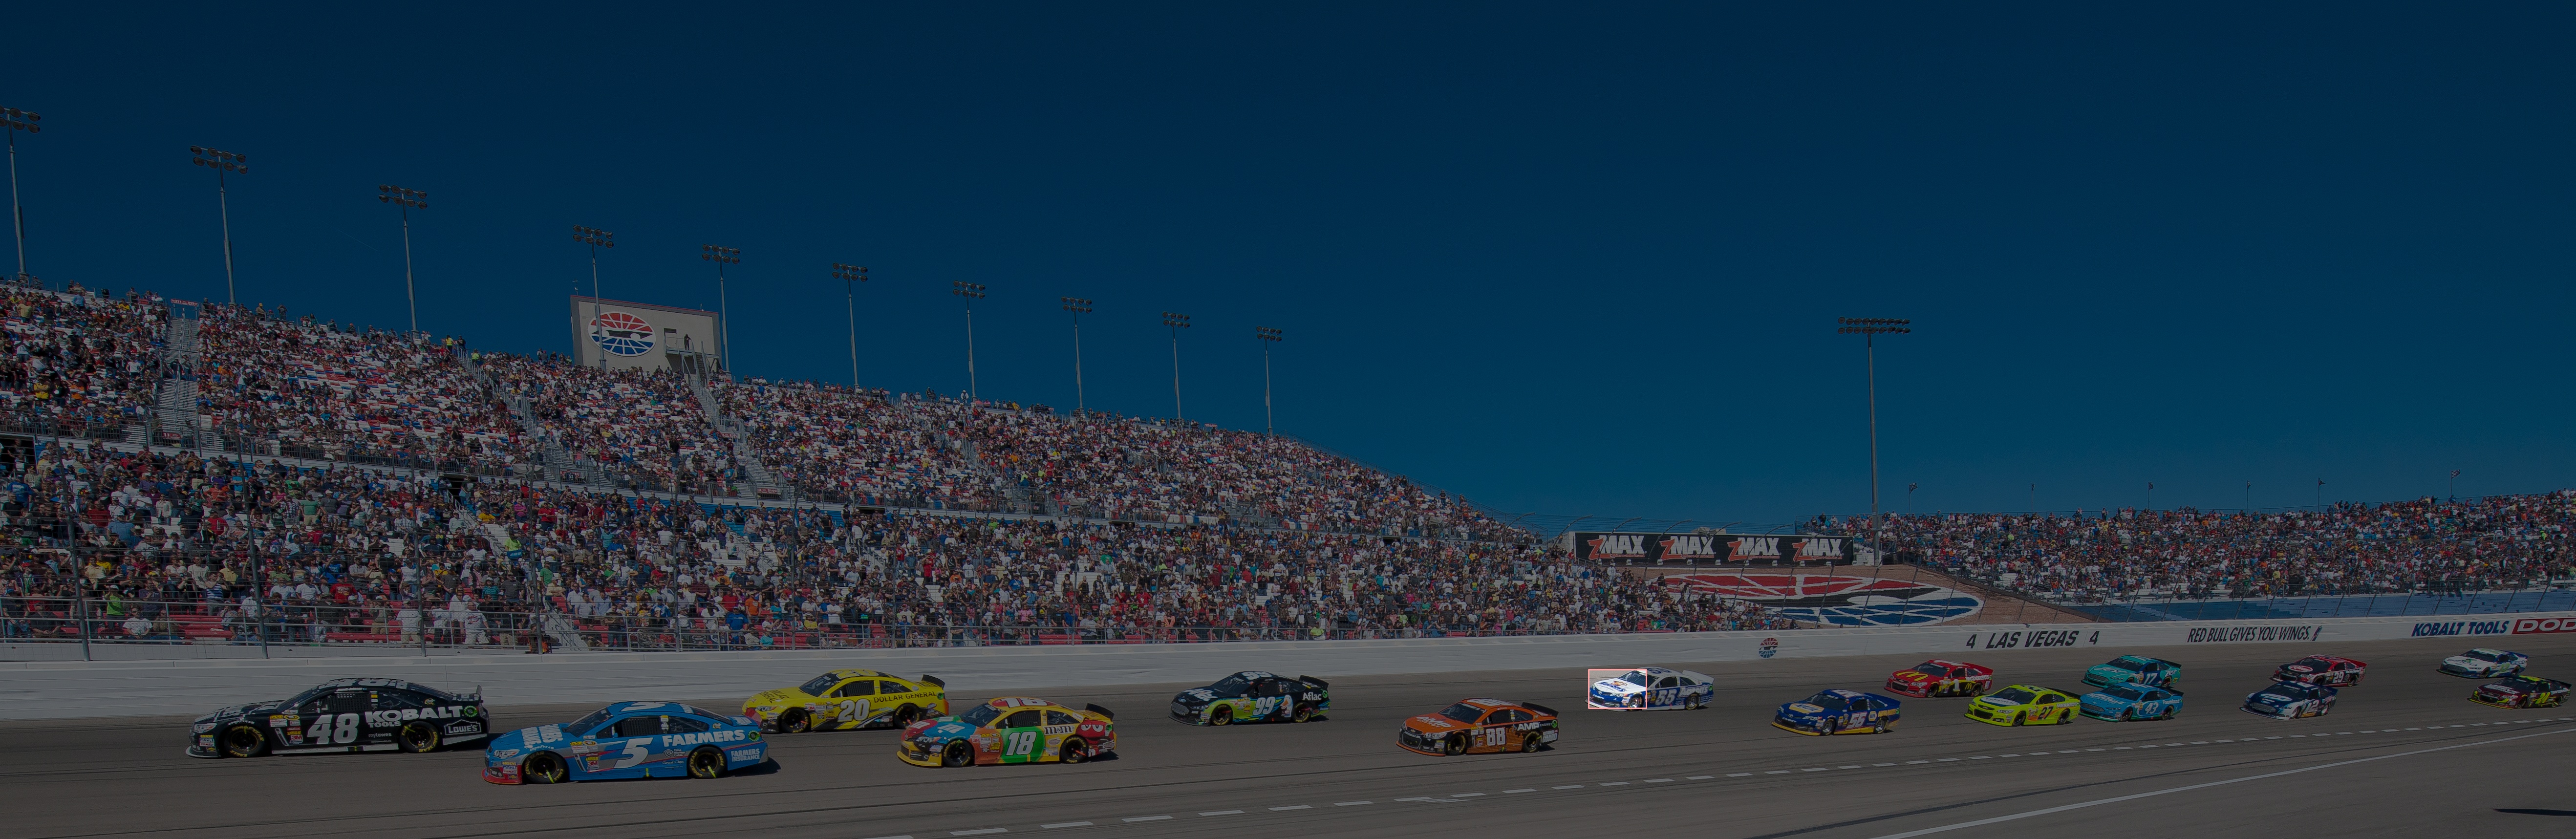
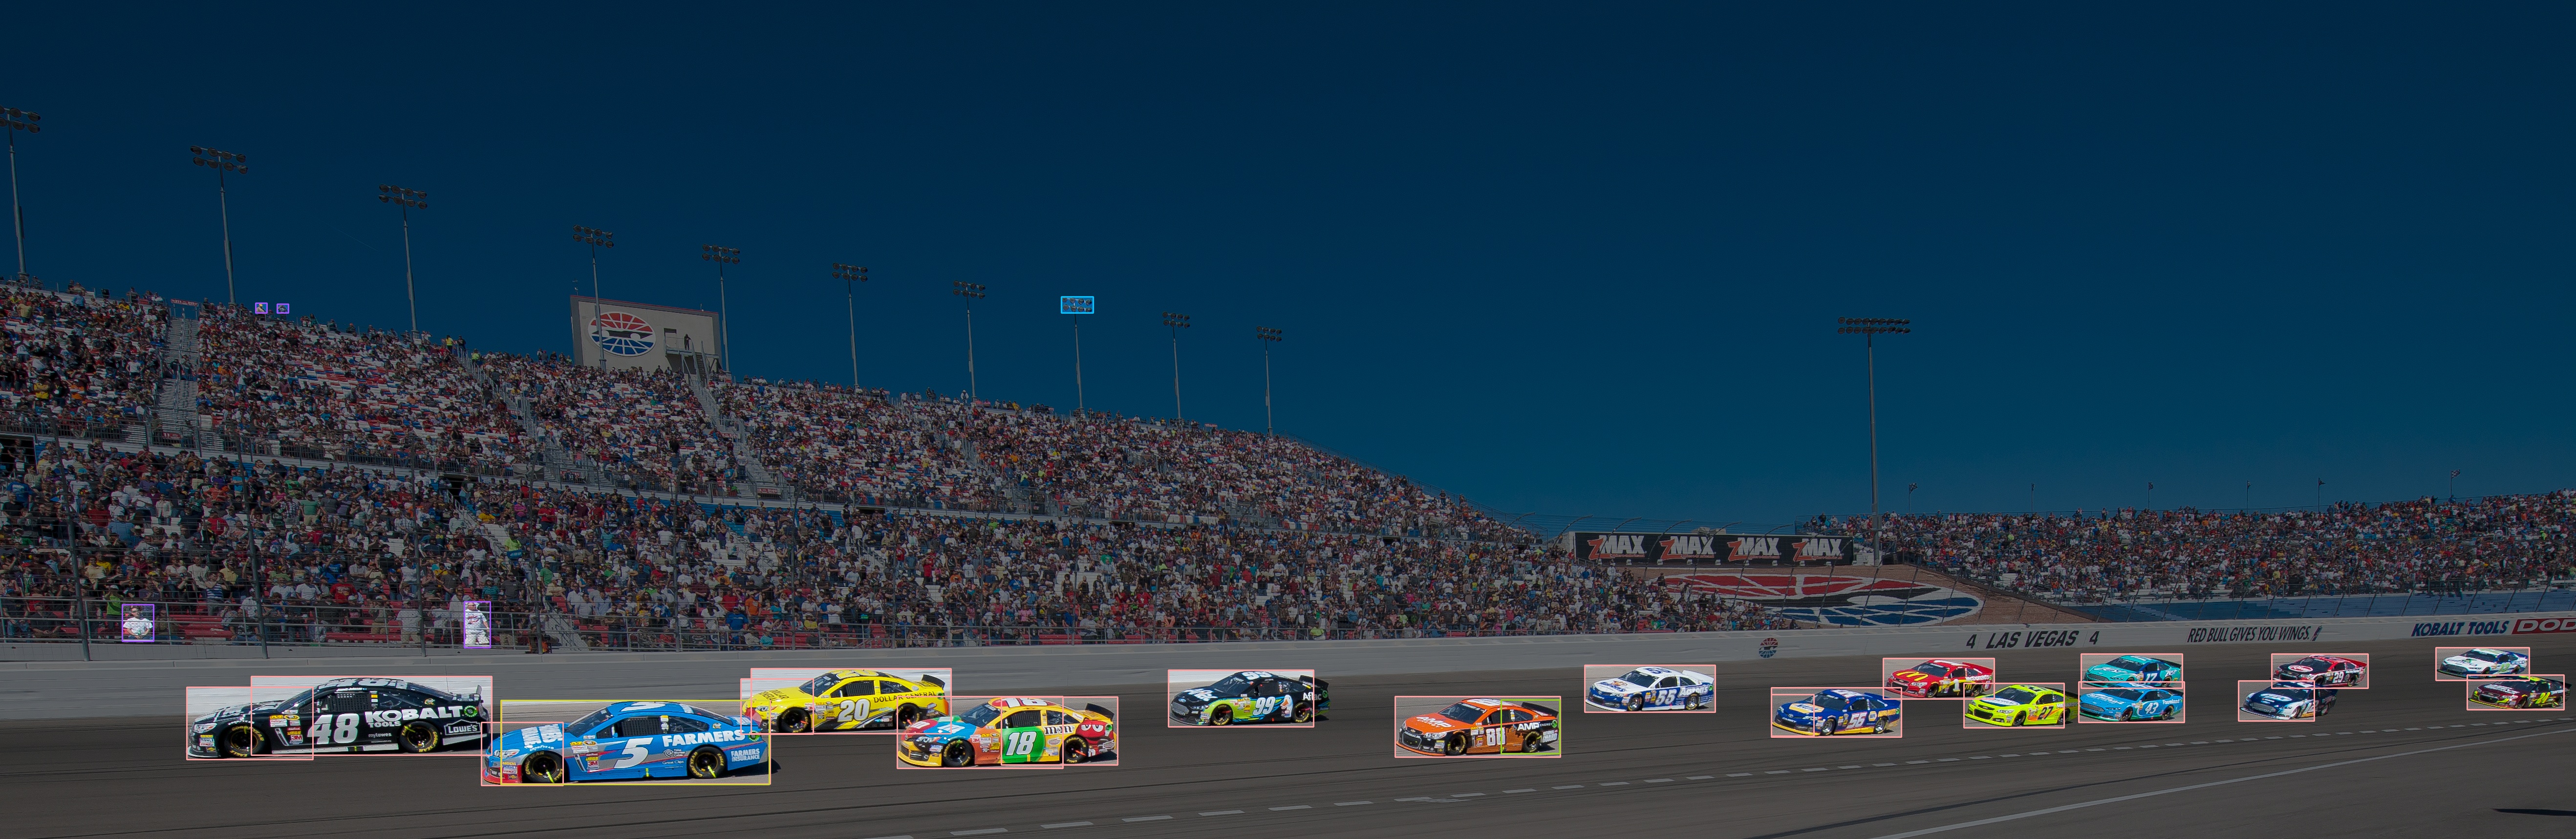
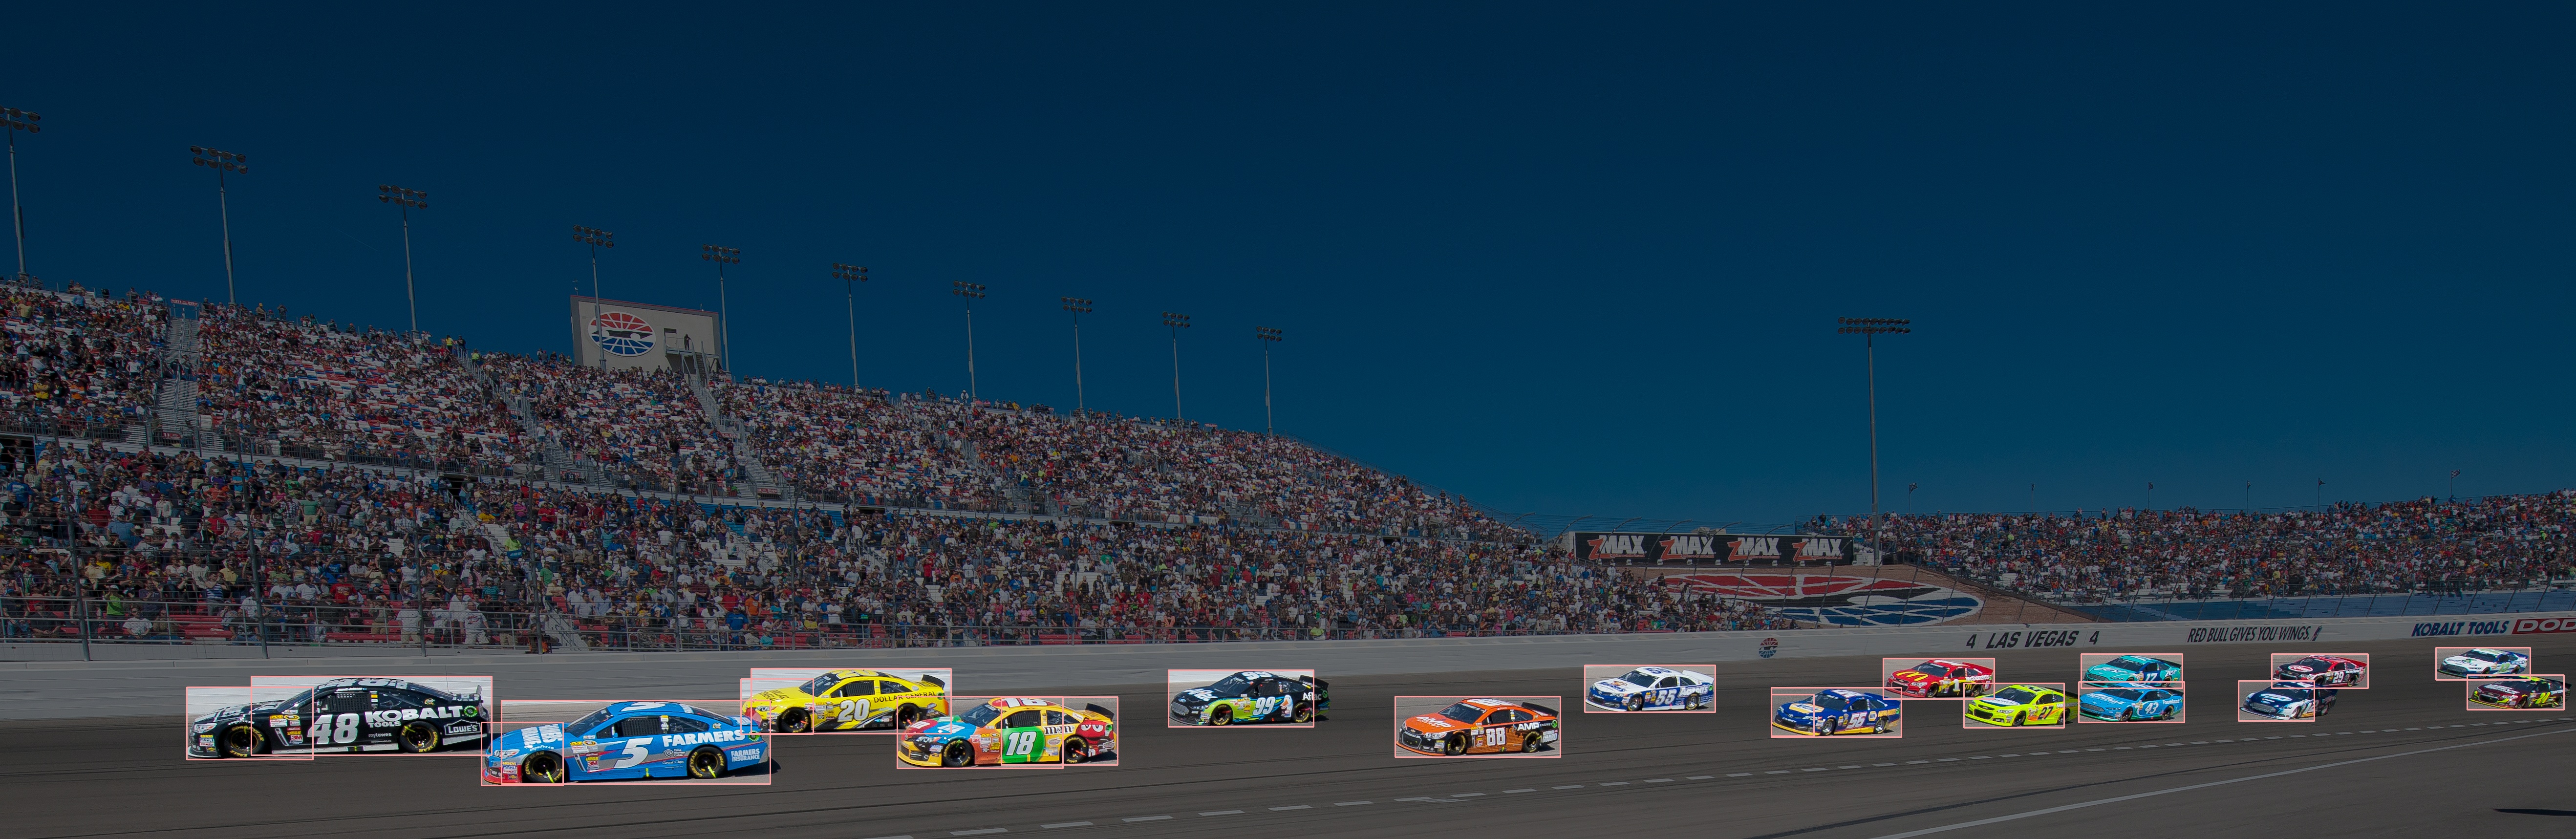
When we run the Workflow we see that now all of the cars are detected!

Filter Unwanted Predictions
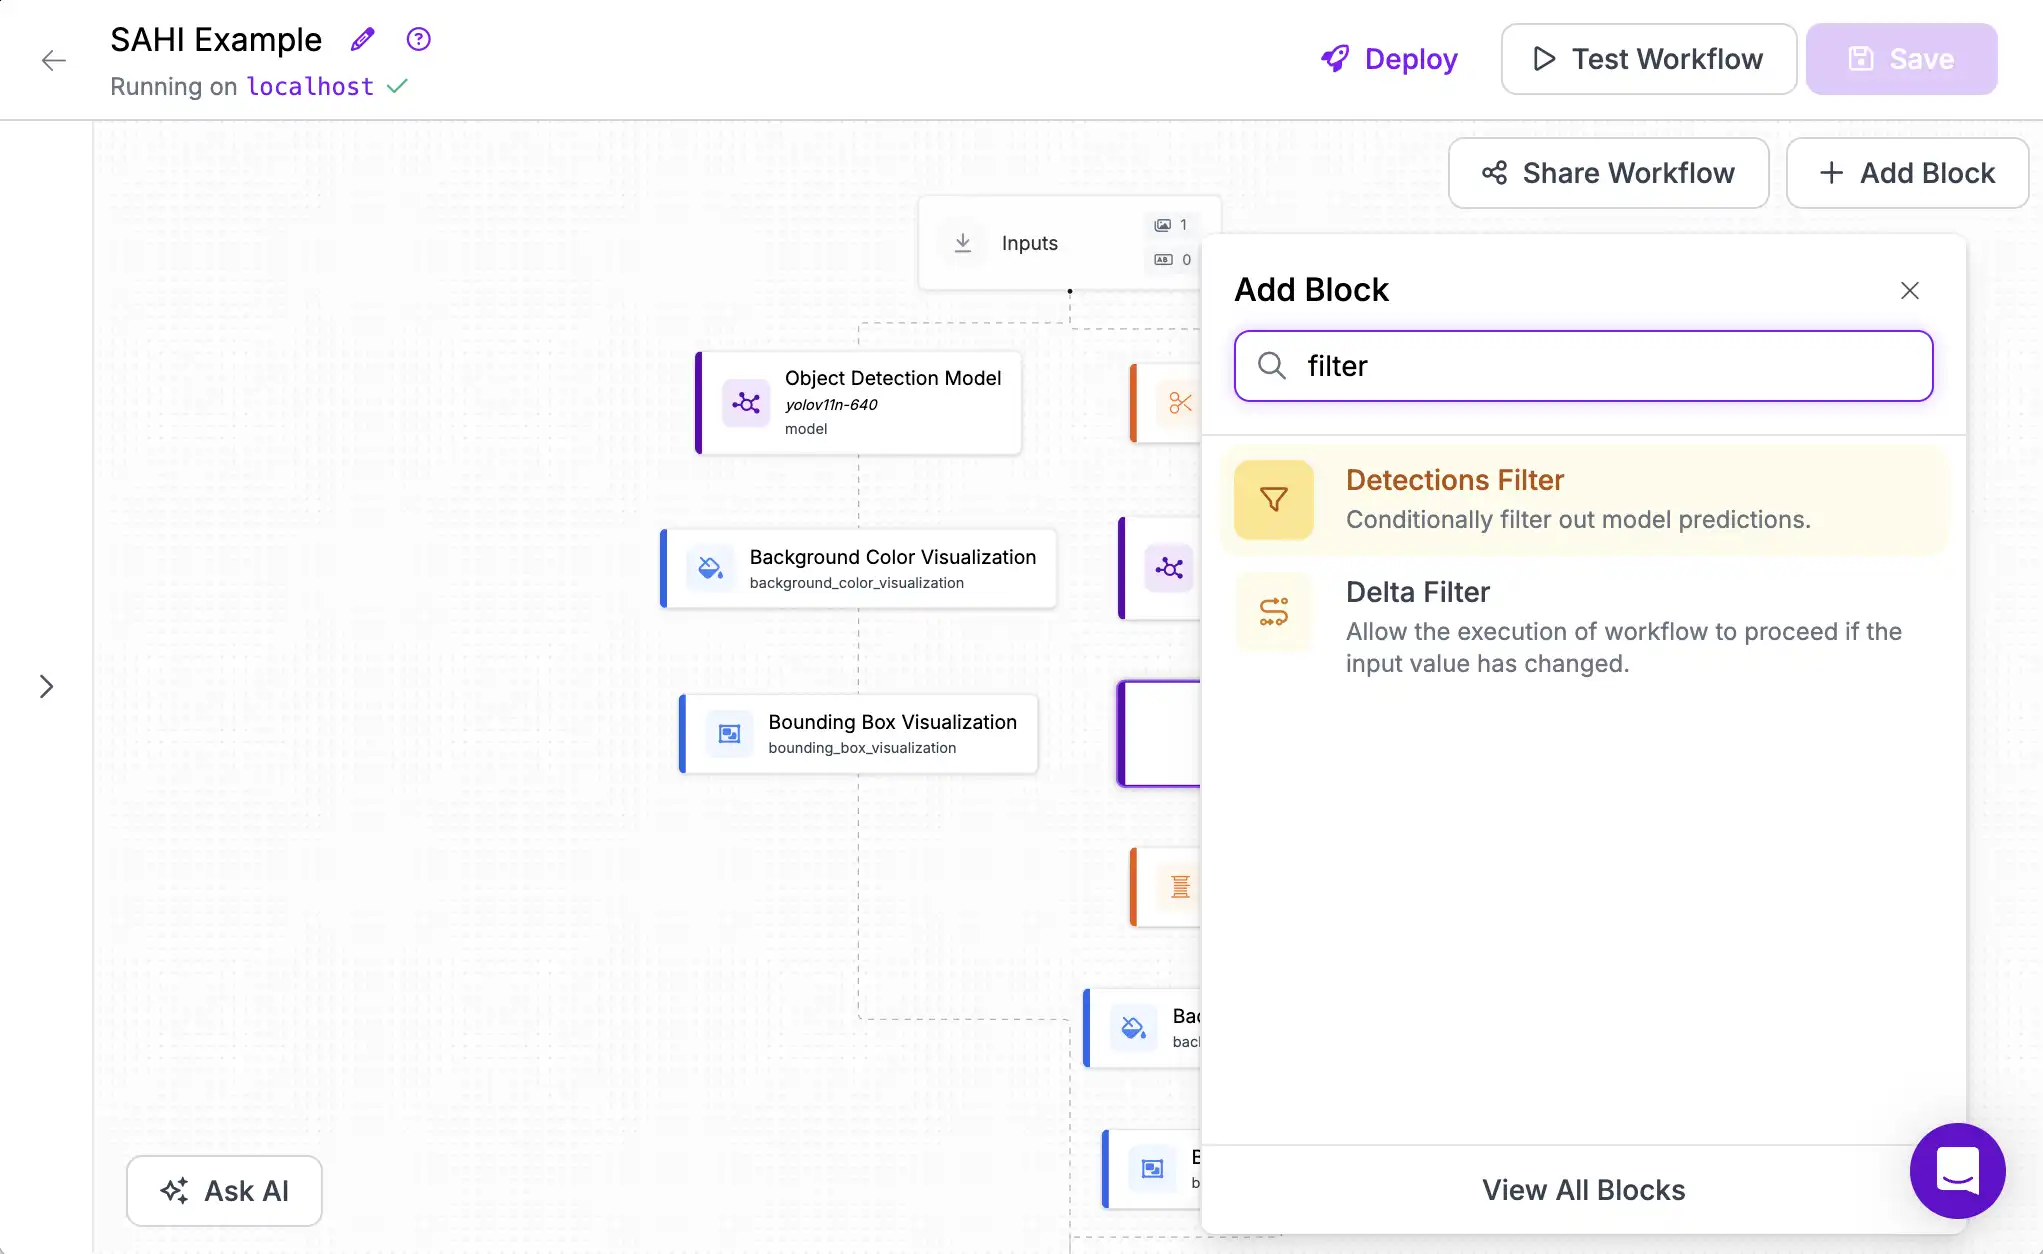
But the SAHI approach worked a little bit too well. The model is now picking up some objects from the background that we weren't interested in. Let's fix this by modifying the predictions from the model.
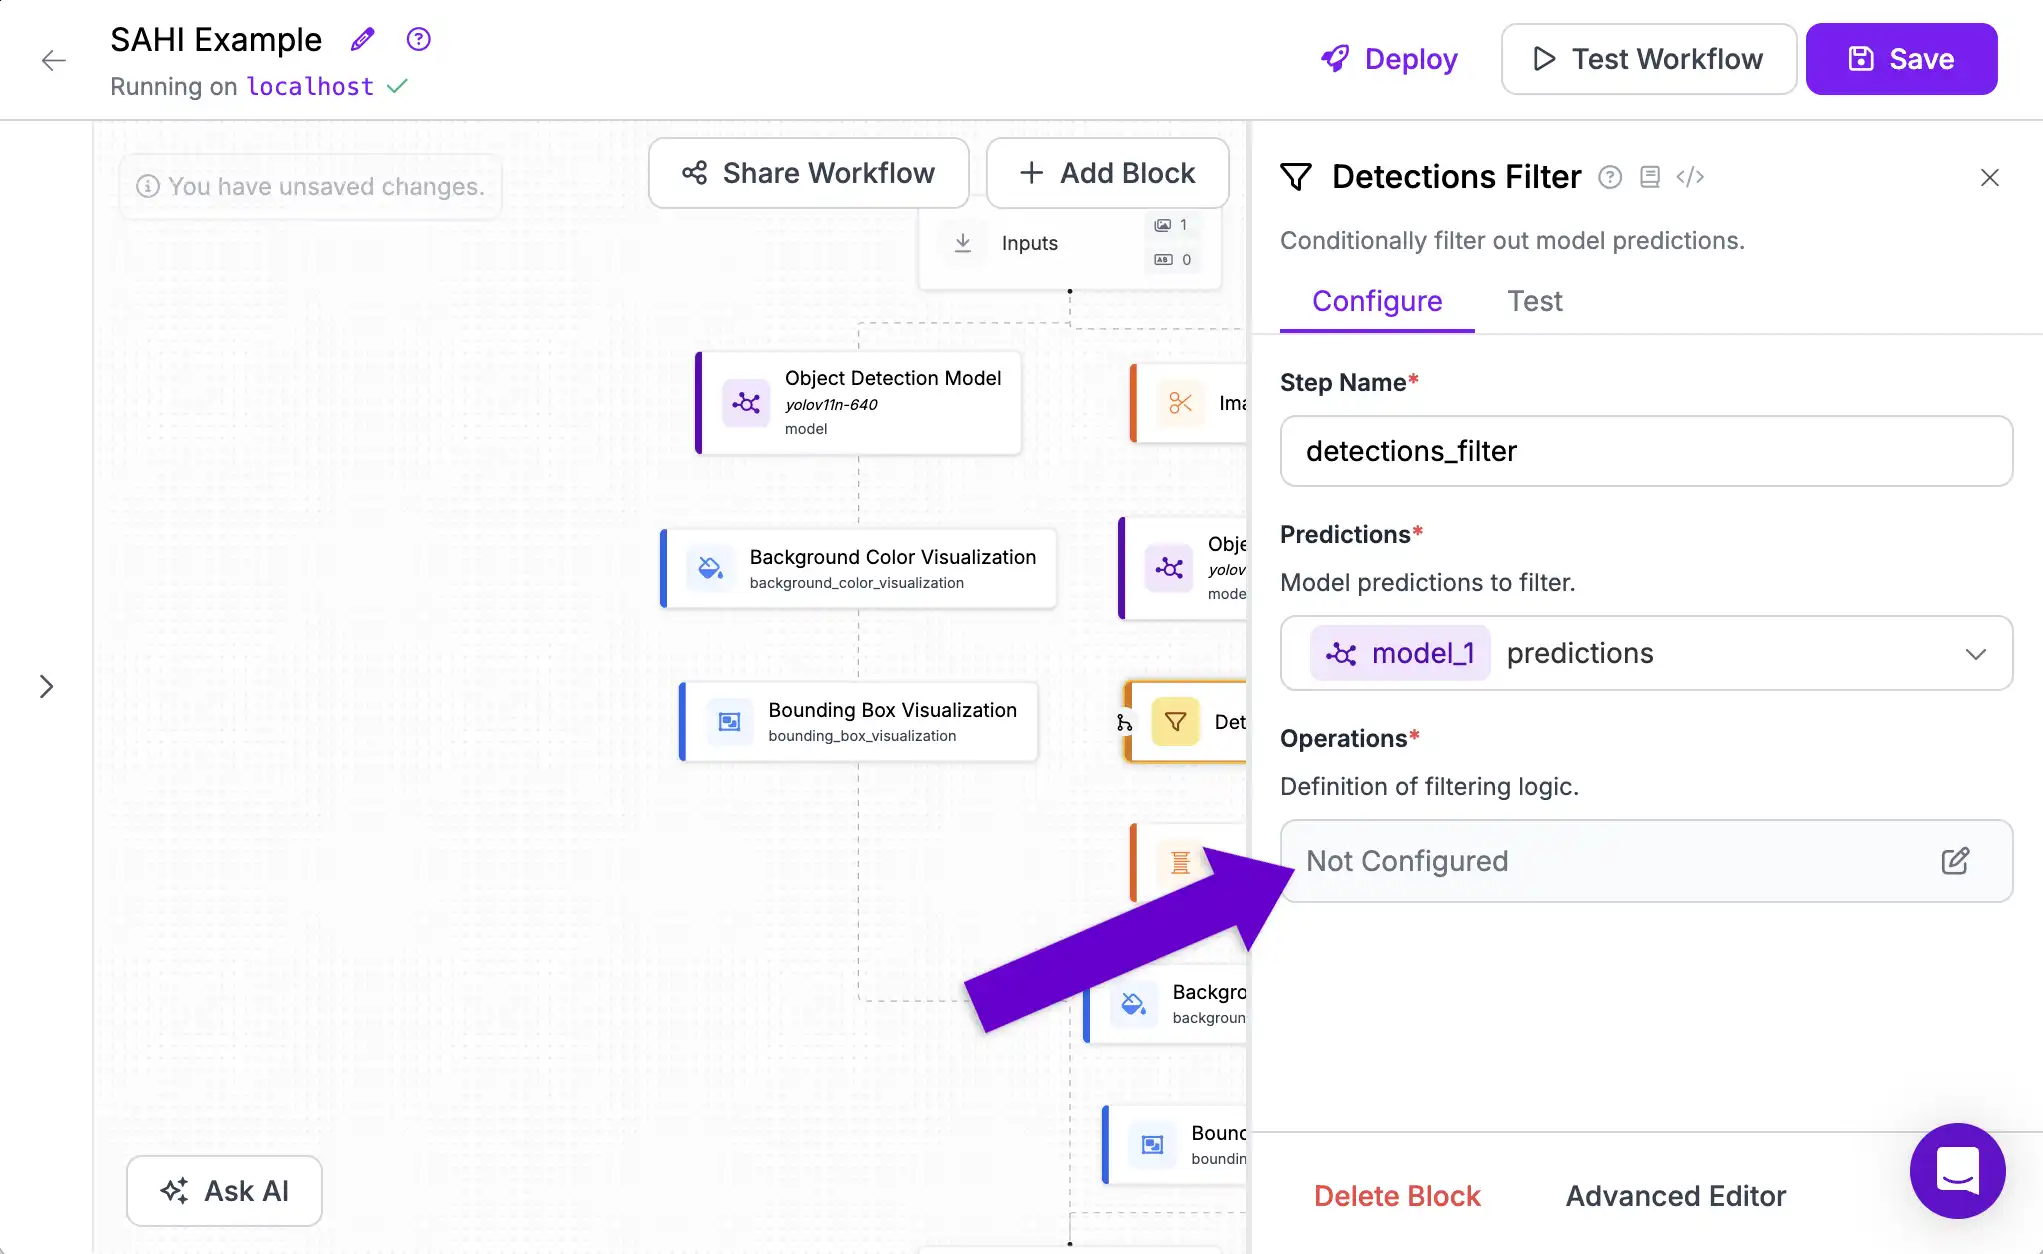
Add a Detections Filter block. This block lets us exclude predictions that don't match a set of criteria that we define.
To set our criteria, click the Operations configuration in the block's sidebar.
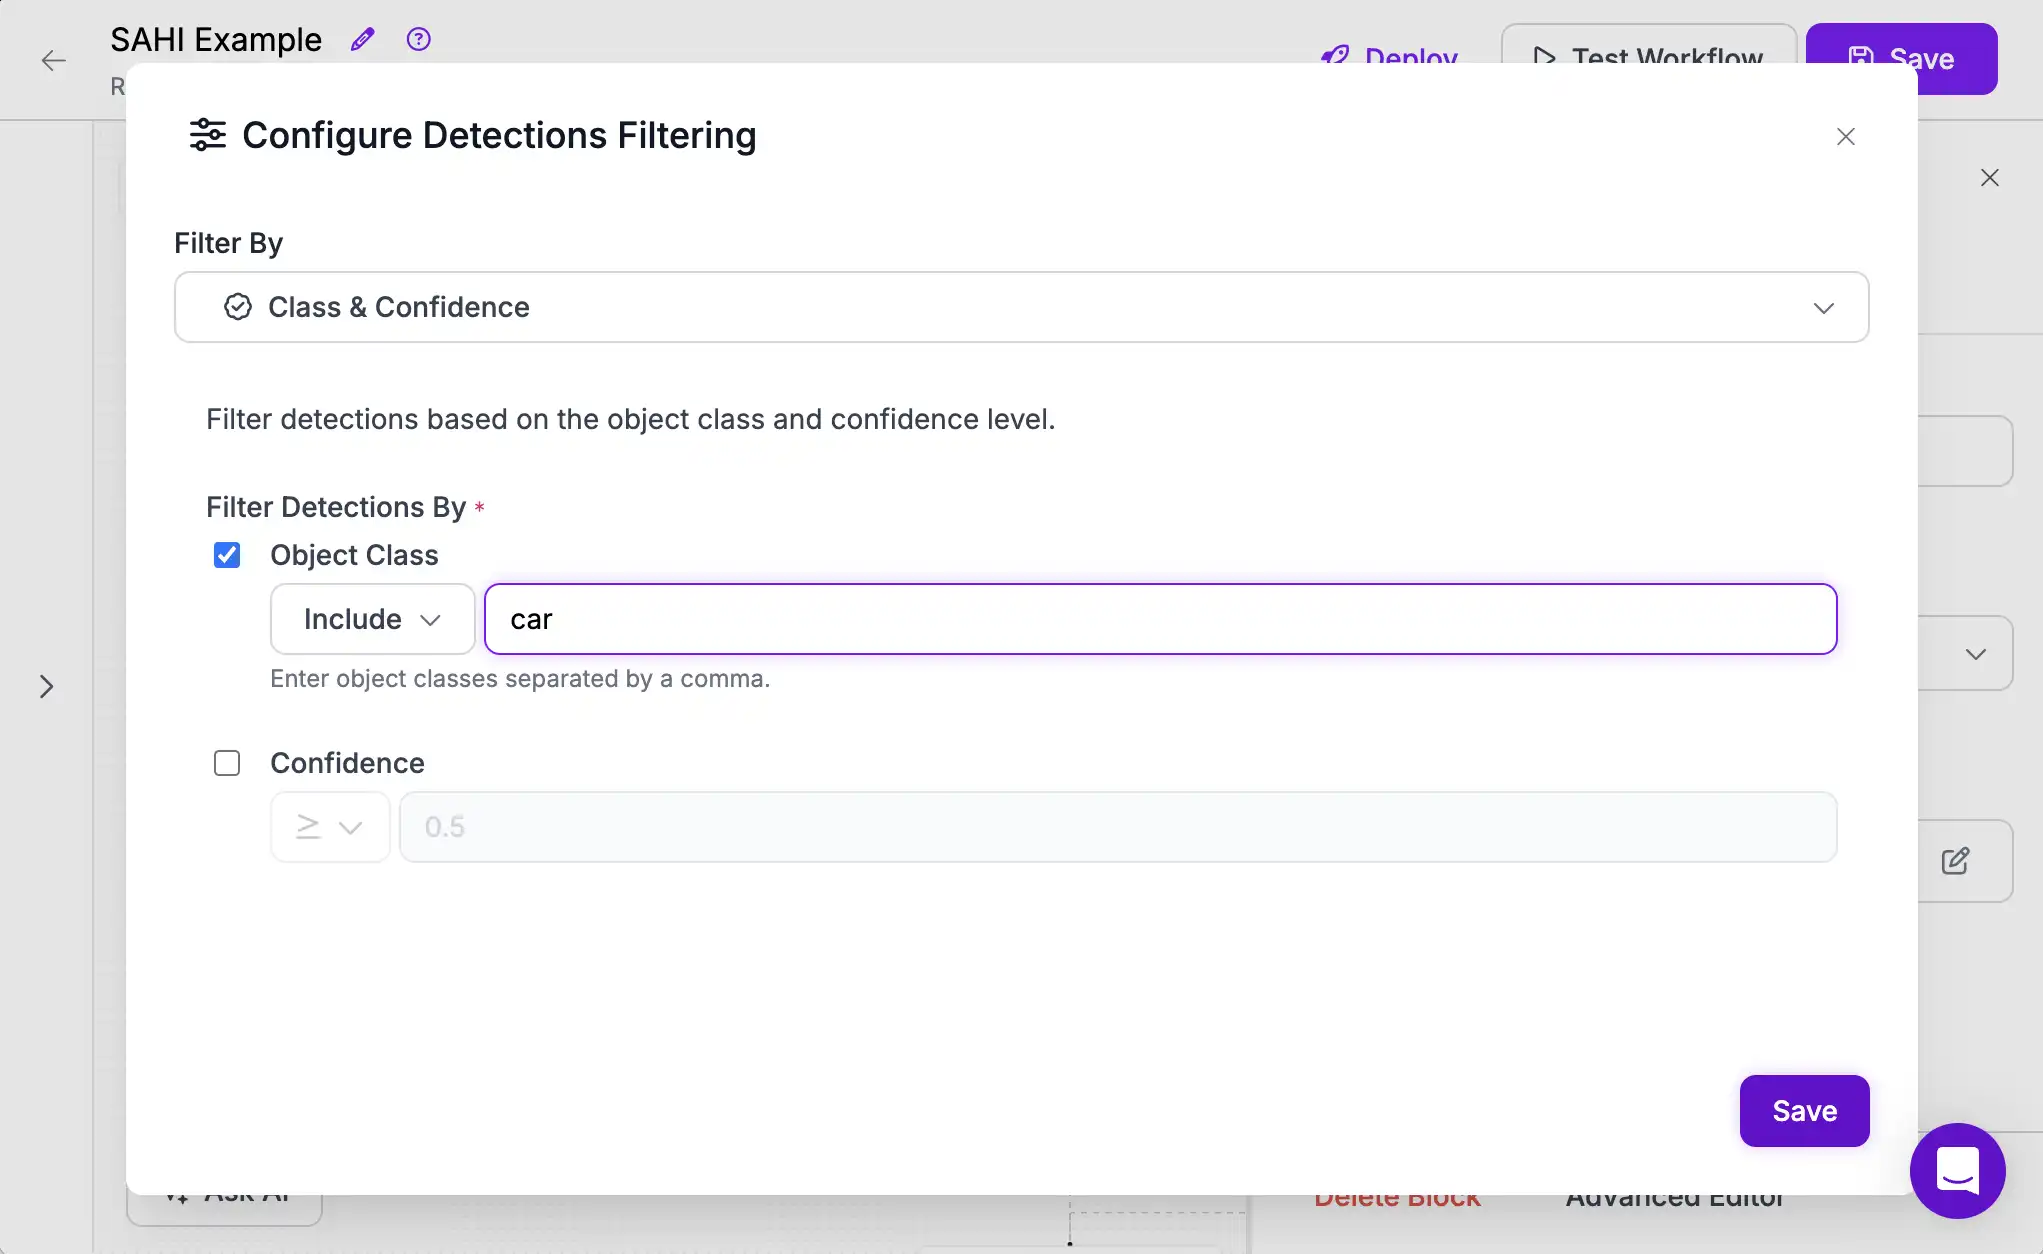
Then choose "Filter By Class & Confidence".

And include only the car class.
Now, when we test our model again we see boxes around the cars and no extraneous detections in the background.
Next Steps
In this tutorial we learned how to use SAHI to detect small objects, how to perform operations on a batch of images, and how to transform detections.
Next, we will run a Workflow on a live video stream.